


After reading this Quick Start Guide, you will be familiar with all the features, settings, and operation modes of 4-Organizer Ultra.
If you have never used 4-Organizer Ultra before, we recommend reading this guide from top to bottom.
› Using 4-Organizer Ultra for the first time
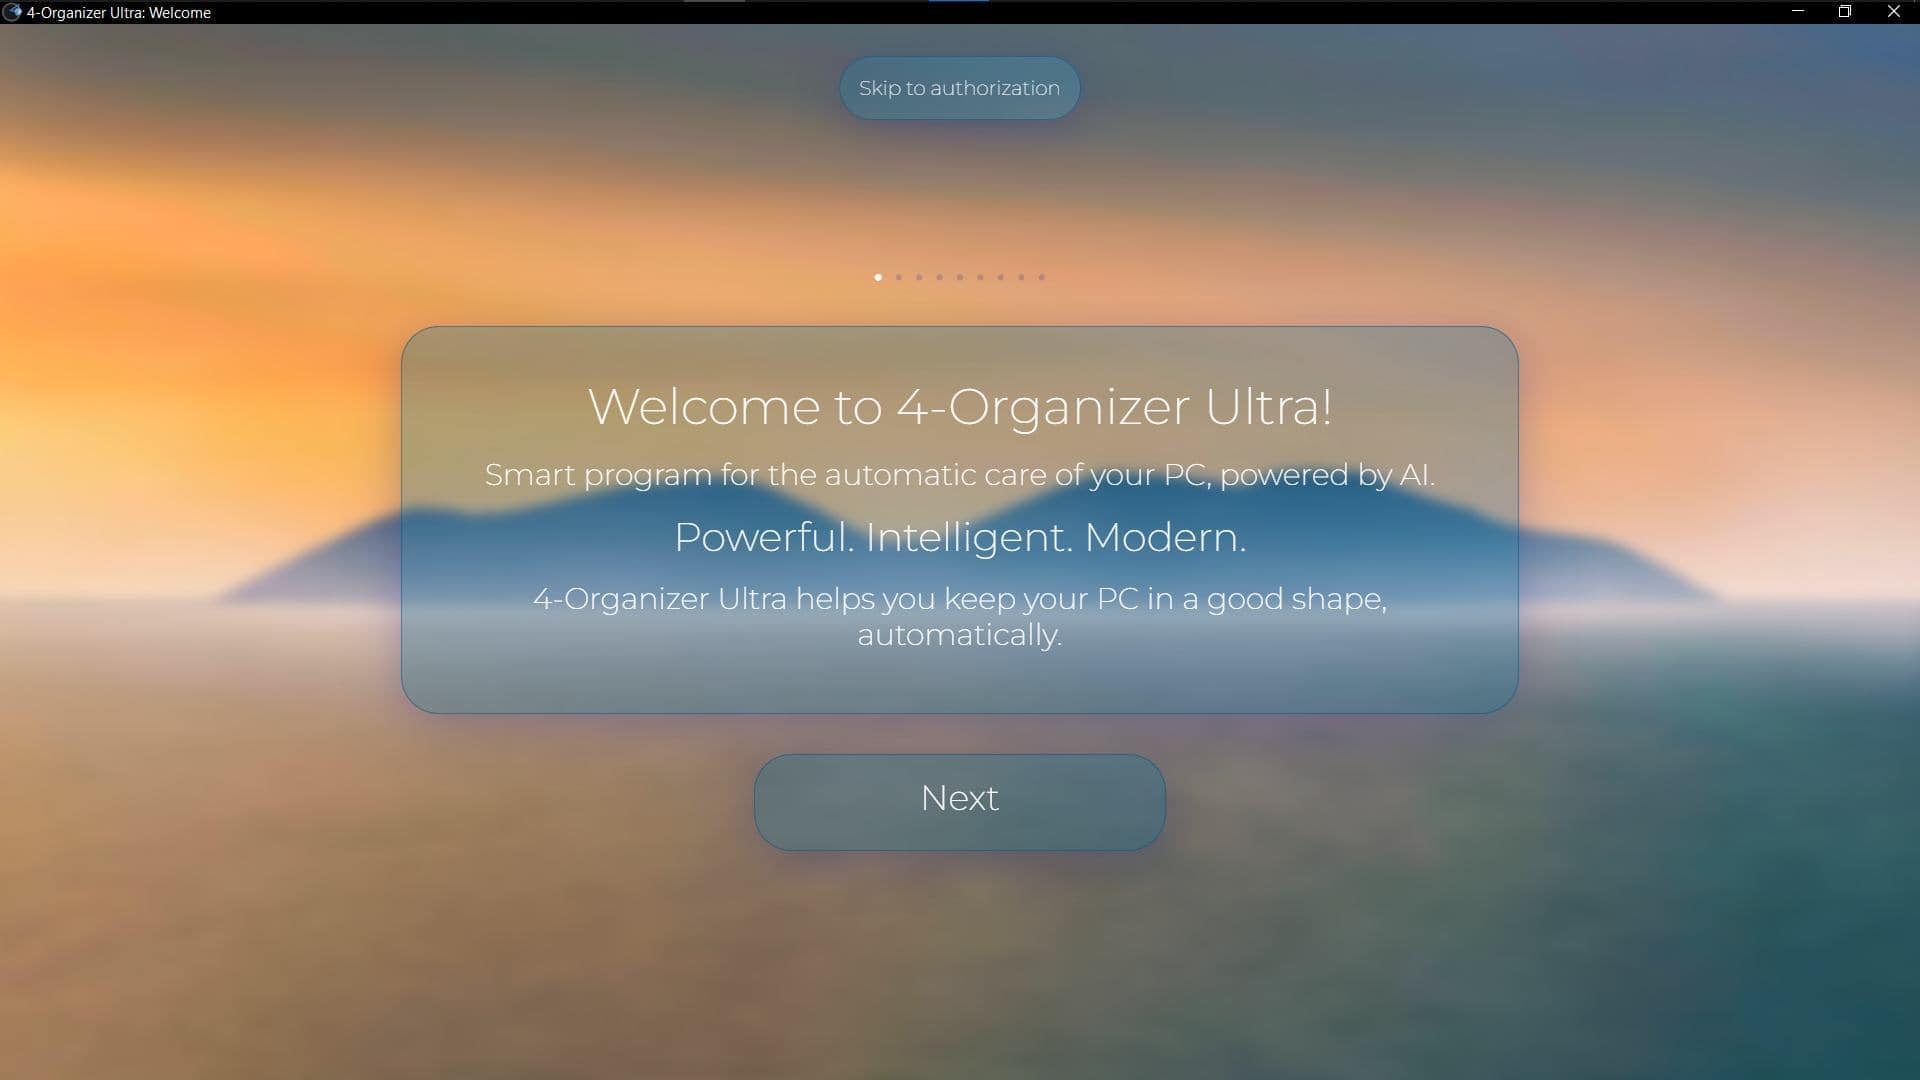
When you open 4-Organizer Ultra for the first time, you will see 9 welcome pages that explain what 4-Organizer does and introduce you to the main Ambeteco technologies that make 4-Organizer powerful.
You can navigate through the program windows by using:
• "Next" or "Back" buttons
• "Left" or "Right" keyboard keys (when available)
• "Esc" or "Enter" keyboard keys (when available)
• Small white circles at the top of the program (when available)
You can go directly to the "Authorization" page where you can enter your Ambeteco account details and start using 4-Organizer Ultra by clicking on the "Skip to Authorization" button at the top of the window.
› Authorization
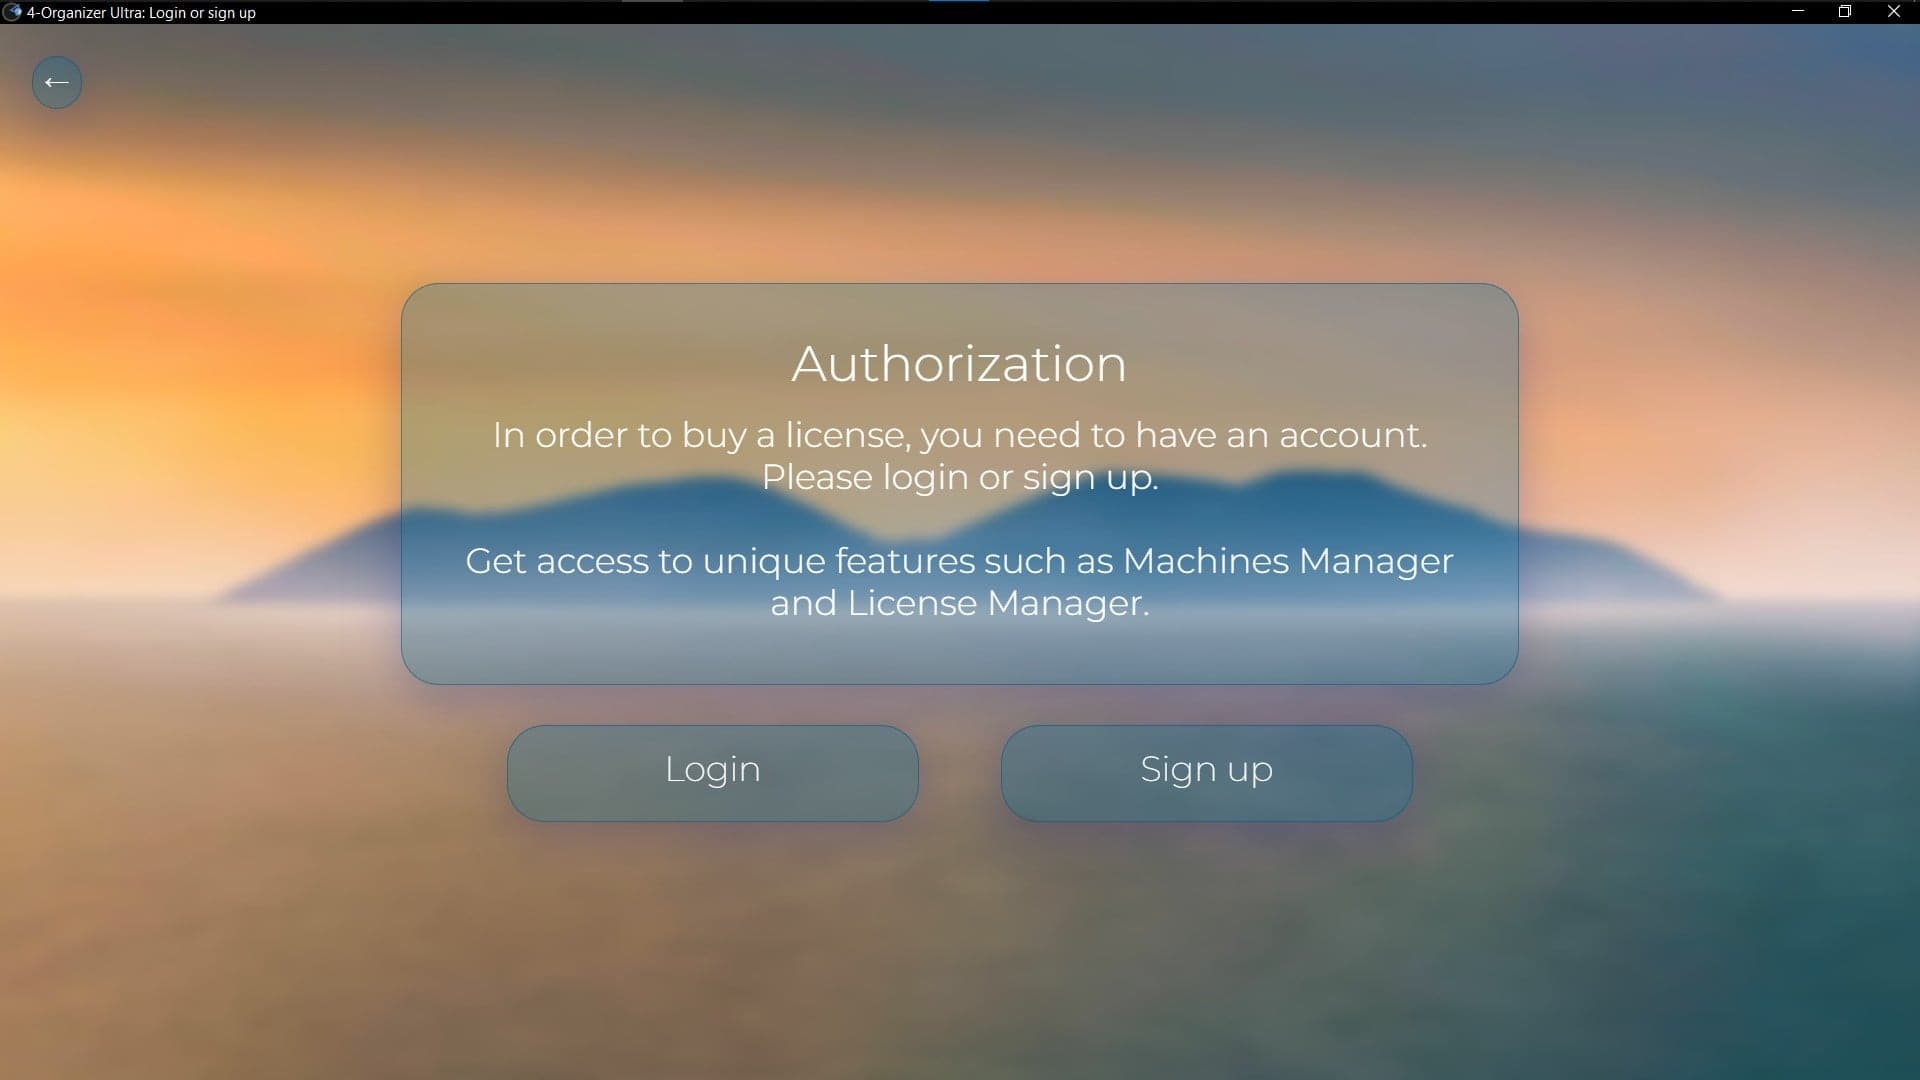
To use 4-Organizer Ultra, you need to have an Ambeteco account - instead of using archaic license keys, we introduced an account-based login system, where you need to have only one Ambeteco account to use all our software. On the "Authorization" page, you can log in to your Ambeteco account or create a new one using the respective buttons. You only need to log in or register once: 4-Organizer Ultra uses a custom authentication algorithm that securely stores your account information, so you don't need to authenticate each time.
› Login
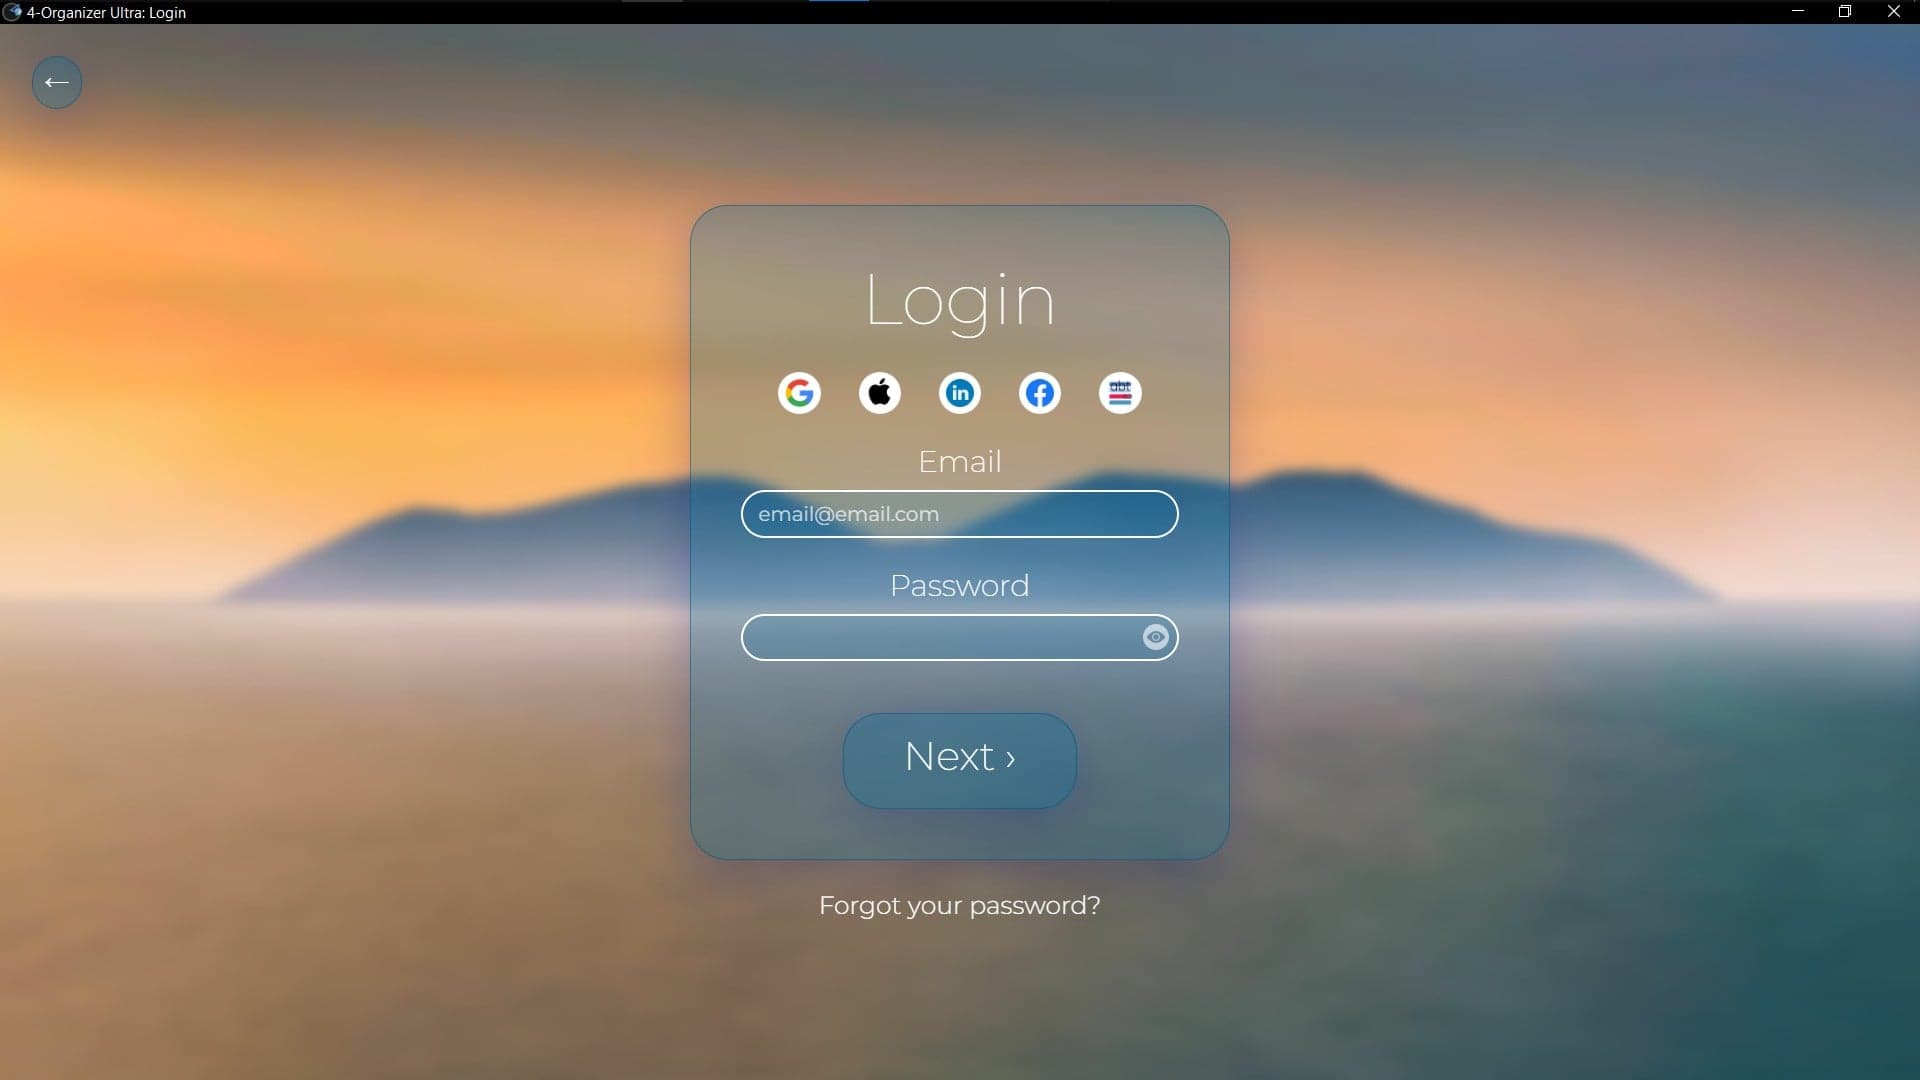
If you already have an Ambeteco account, you can log in using your email and password. Click the eye icon to show or hide your password.
Additionally, you can quickly log into your account via Social Media, or by using Ambeteco Connect. Google, Apple, Facebook, and LinkedIn can be used to log in; the last button, the Ambeteco logo, will open Ambeteco Connect.
› Sign up
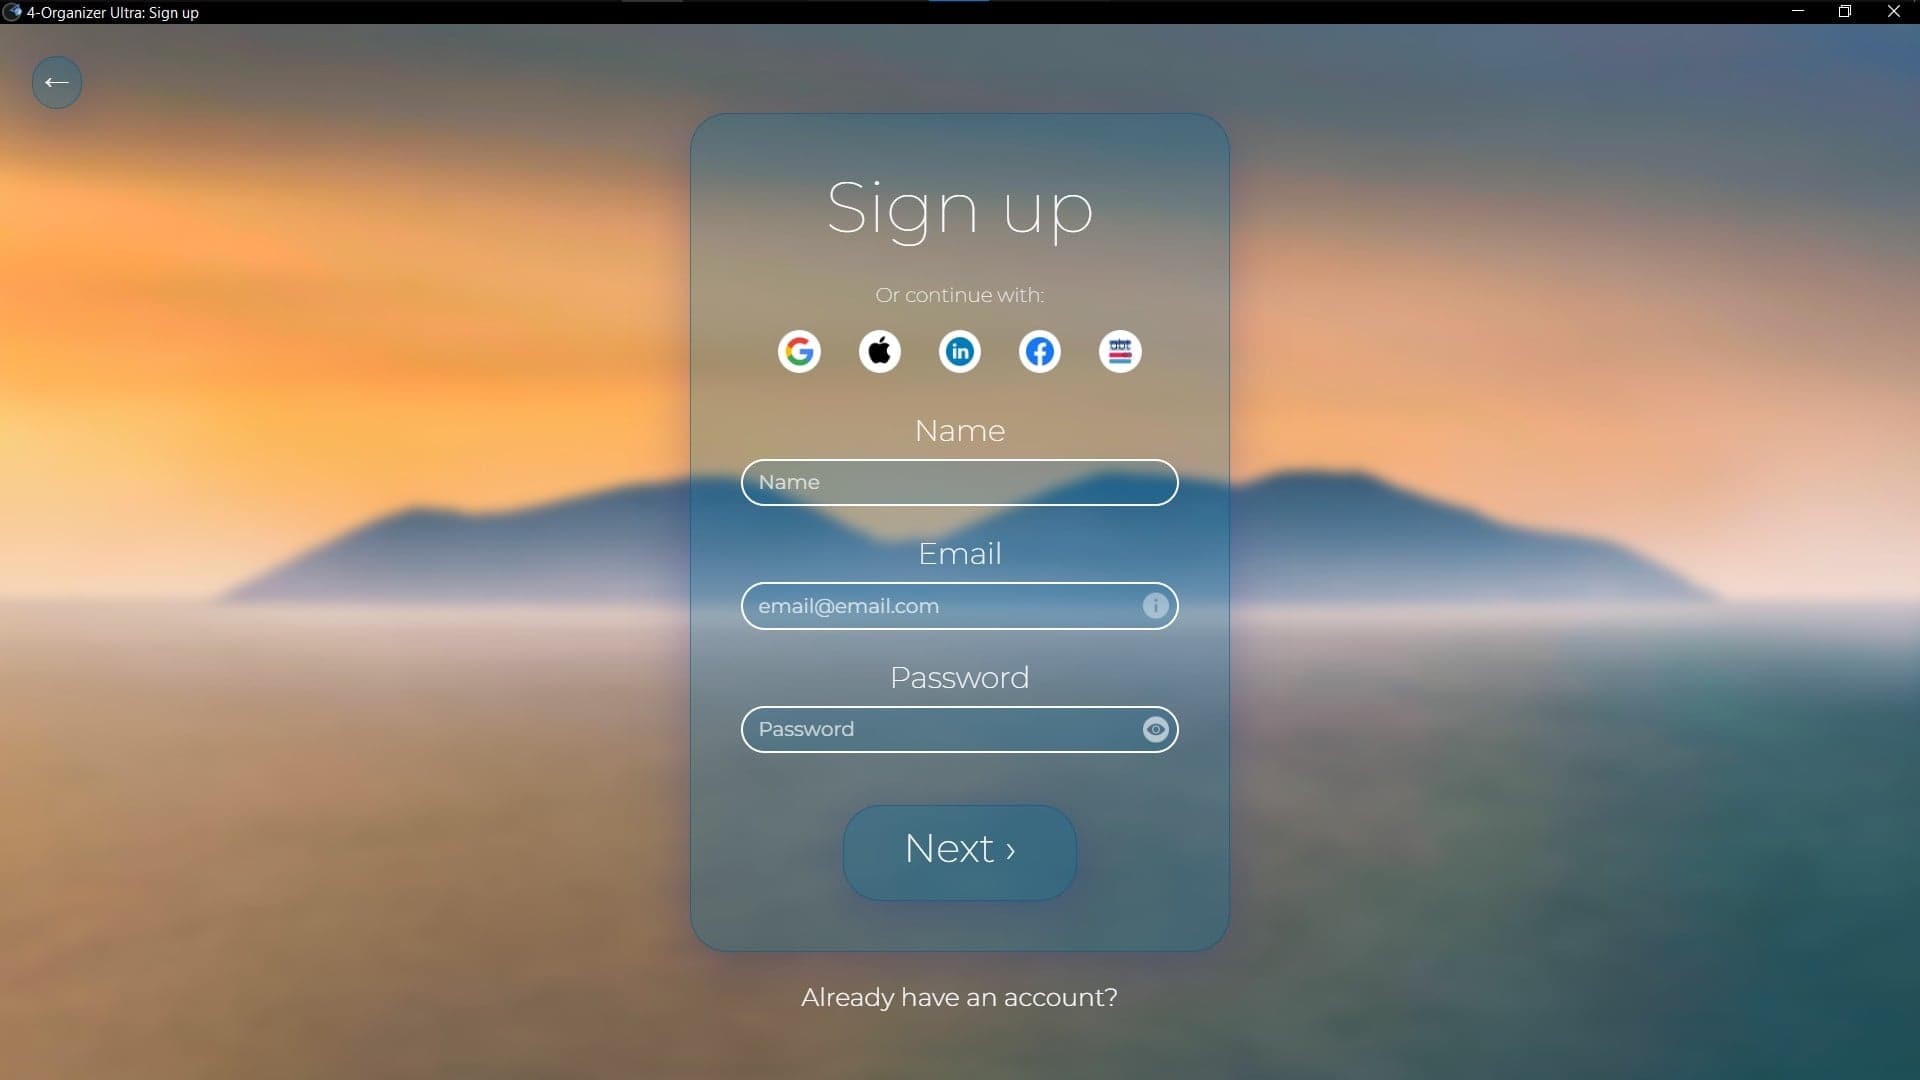
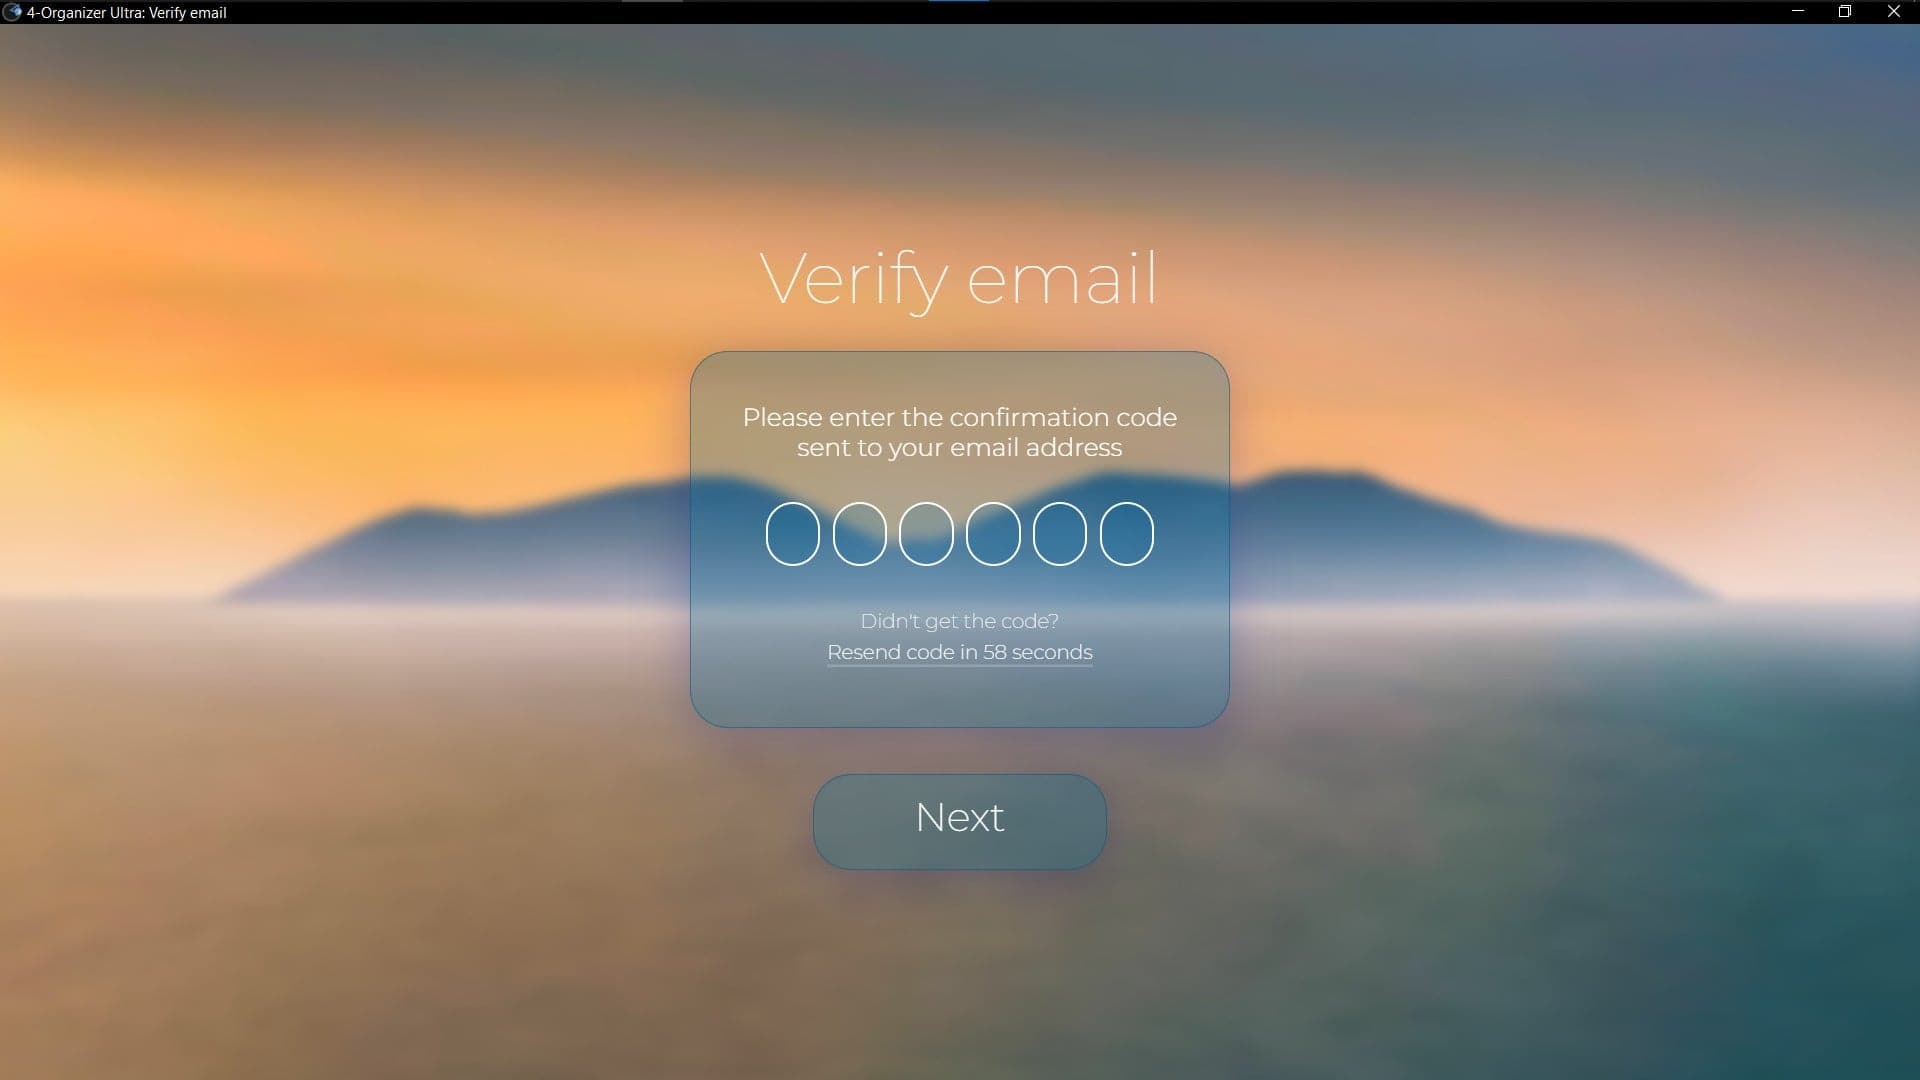
You can easily create an account - enter your name, email, and password to register. Next, we will send you a verification code to the email you entered to activate your account. After entering the verification code, your Ambeteco account will be activated, and you can start using it immediately.
Alternatively, you can quickly create an account via Social Media by clicking on respective buttons.
› Ambeteco Connect
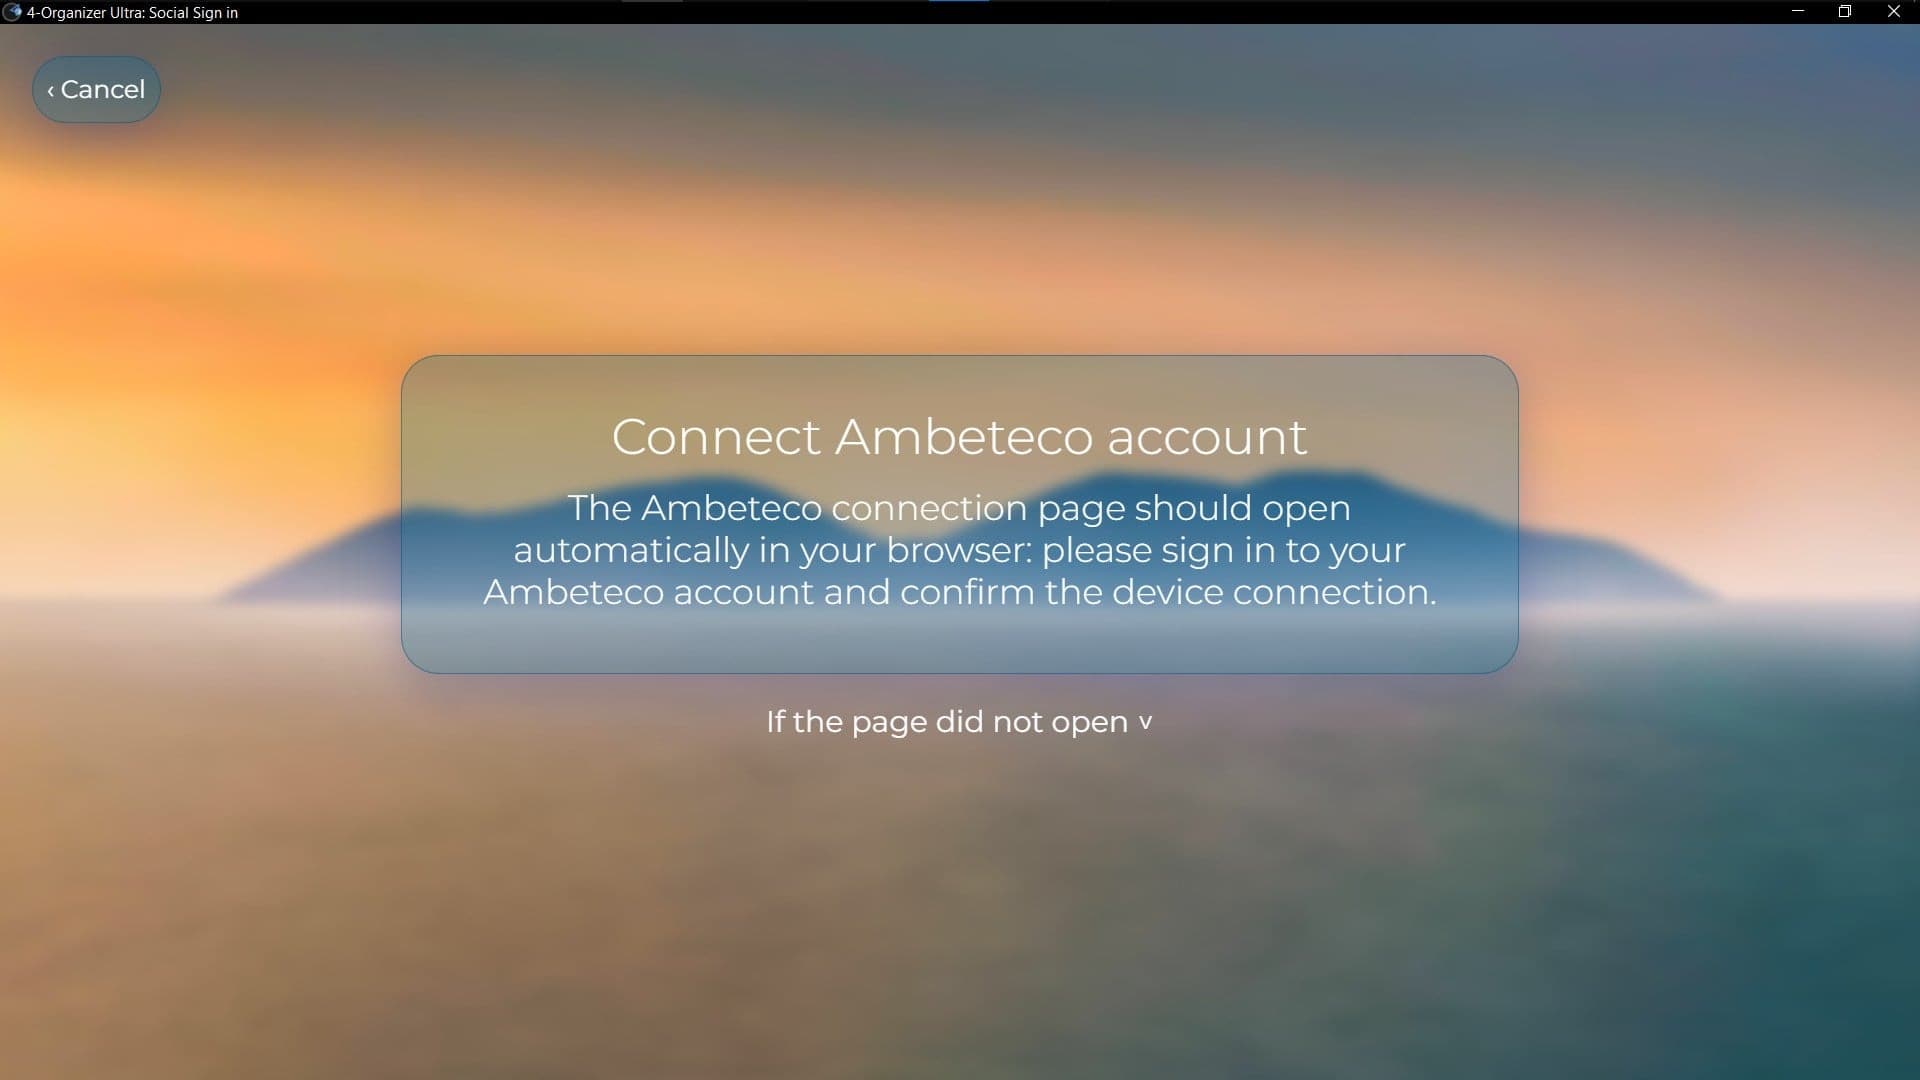
This window will appear after you press any social login button.
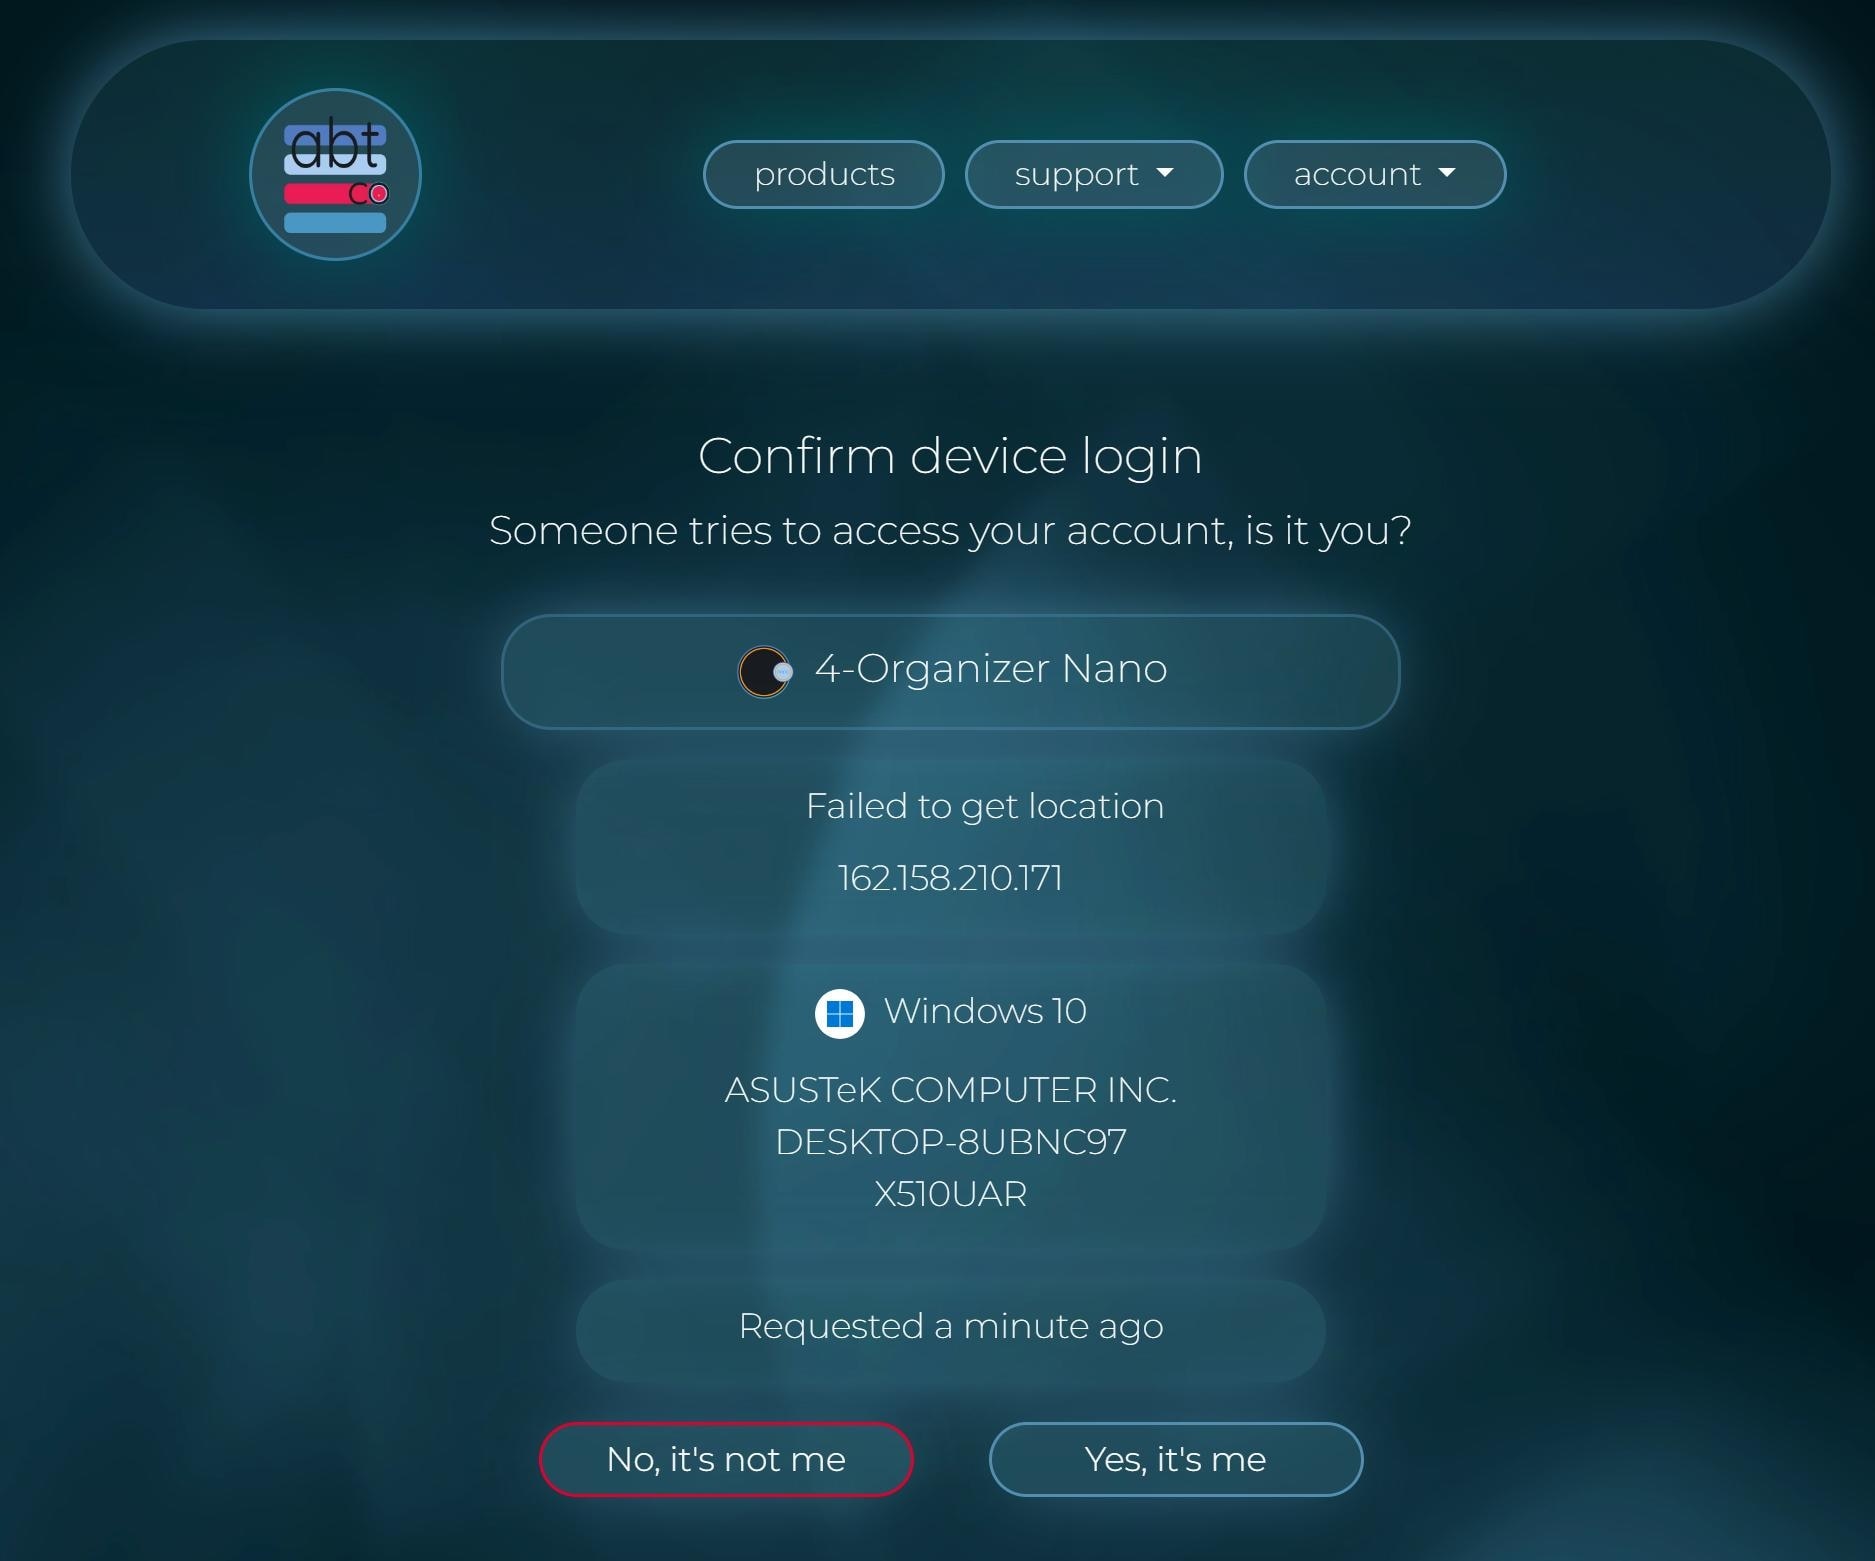
Ambeteco website will open, and you will be asked to confirm the authentication.
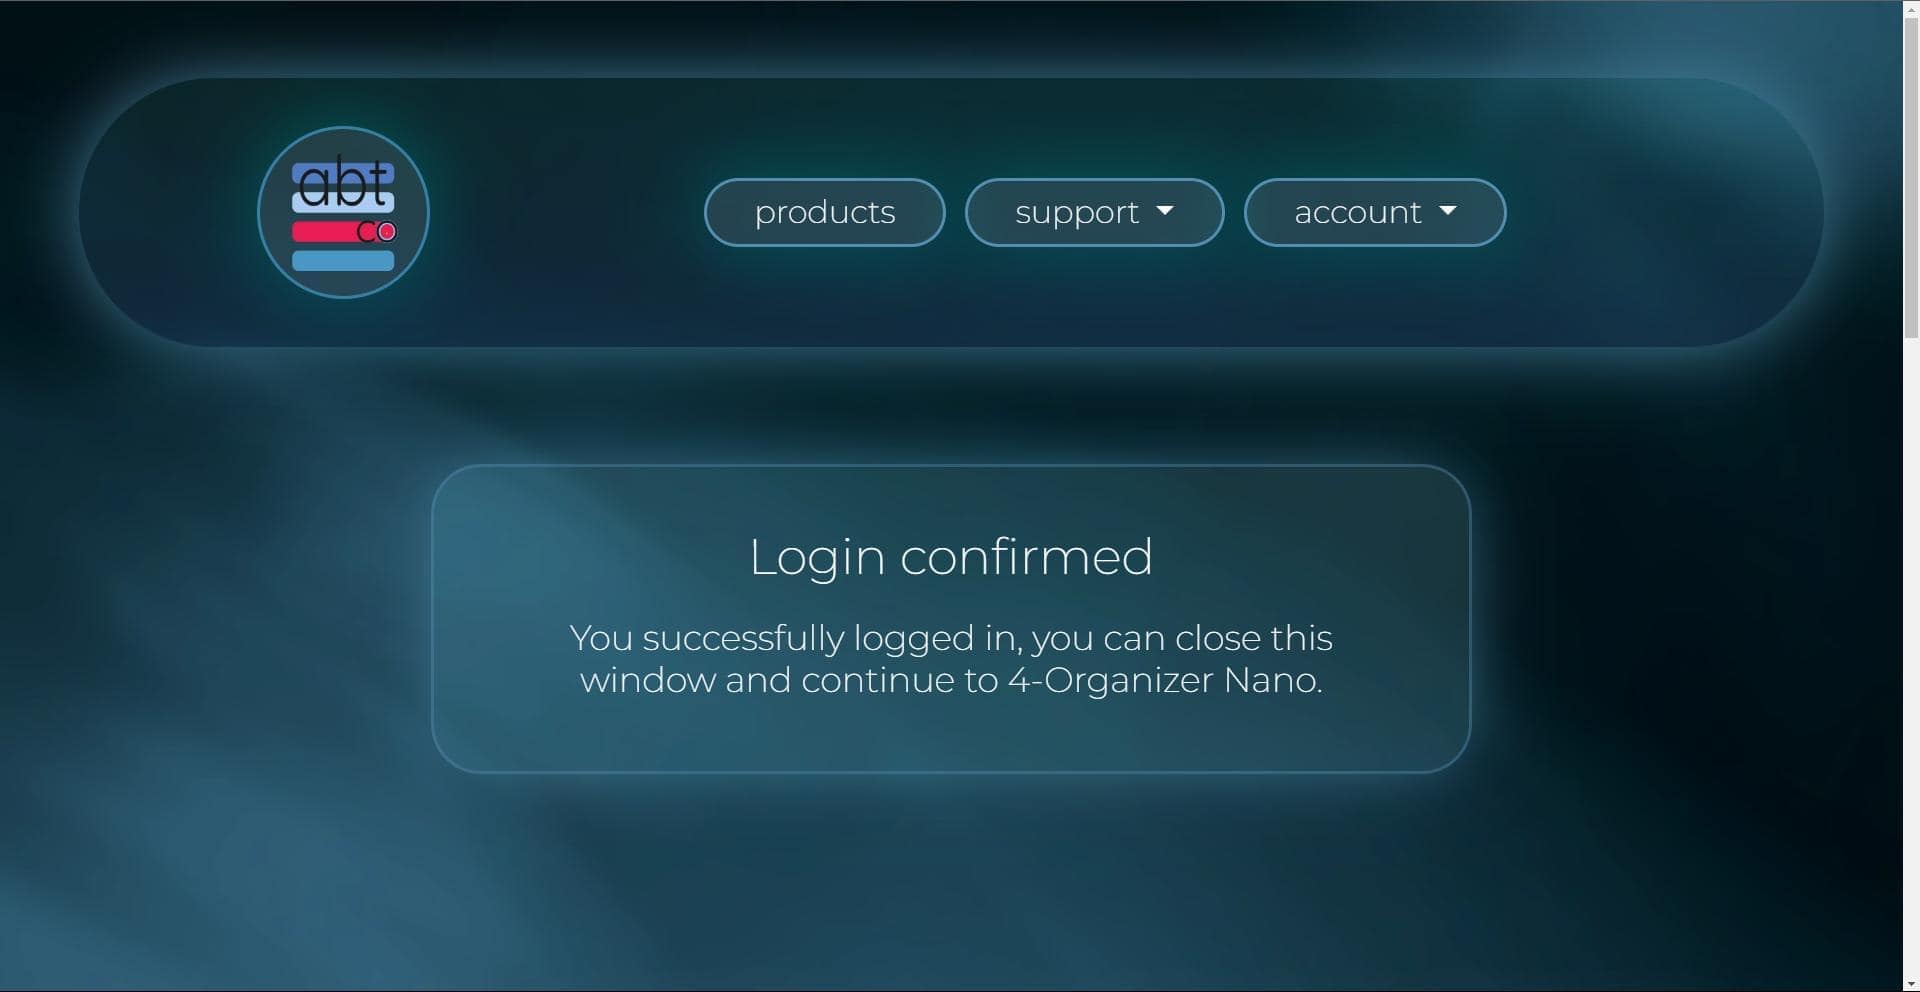
After this, you can simply close the page.
Ambeteco Connect is a quick and secure authentication method that allows you to easily authenticate your account with just one click. It allows you to synchronize your account from our website to any Ambeteco software. When you click on the Social Media login or signup buttons, Ambeteco Connect will automatically attempt to authorize your account, eliminating the need for manual login.
How can to use Ambeteco Connect:
• Press on any Social Media buttons from the "Sign up" or "Login" window.
• Your browser will be opened automatically, where the "Connect" page will appear.
• If you are not already logged into your Ambeteco account, or if you do not have it yet, you can register or login in the opened window.
• When authenticated, a new page will open that will prompt you to confirm the connection request. You will be able to view certain information about the request and confirm or deny it.
• After the request is confirmed, 4-Organizer Ultra will automatically sync your account.
› Select a license
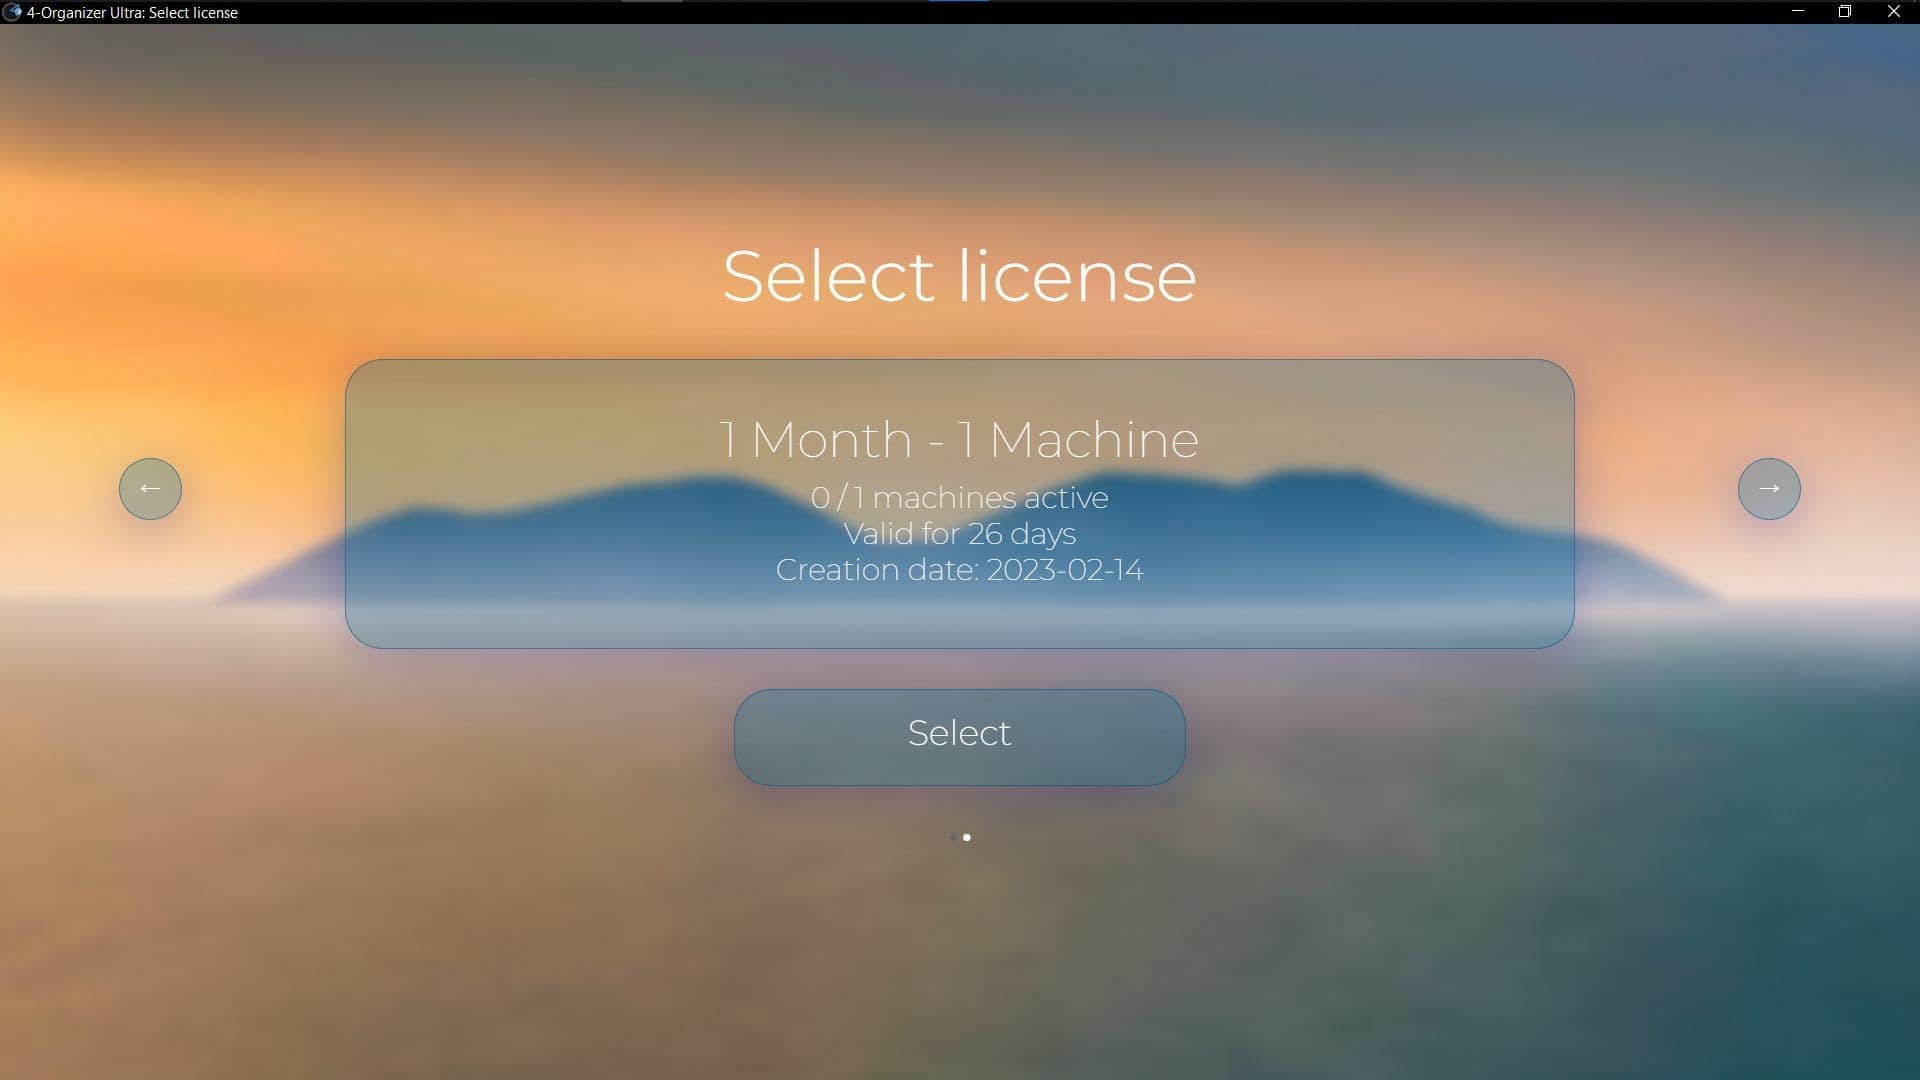
If your account has only one license for 4-Organizer Ultra, the main page will open automatically, and you can start using the program immediately. If you have more than one license for 4-Organizer Ultra, you will need to select the license you want to use by clicking on the arrows located on the left and right sides of the window and then clicking on the "Select license" button at the bottom.
› Pricing

If you don't have a license for 4-Organizer Ultra yet, the "Pricing" window will appear, where you can go to Ambeteco's website to purchase a license to use 4-Organizer Ultra. After purchasing a license, you can press the "I bought a license, update the data" button - 4-Organizer Ultra will update its data and open its main window.
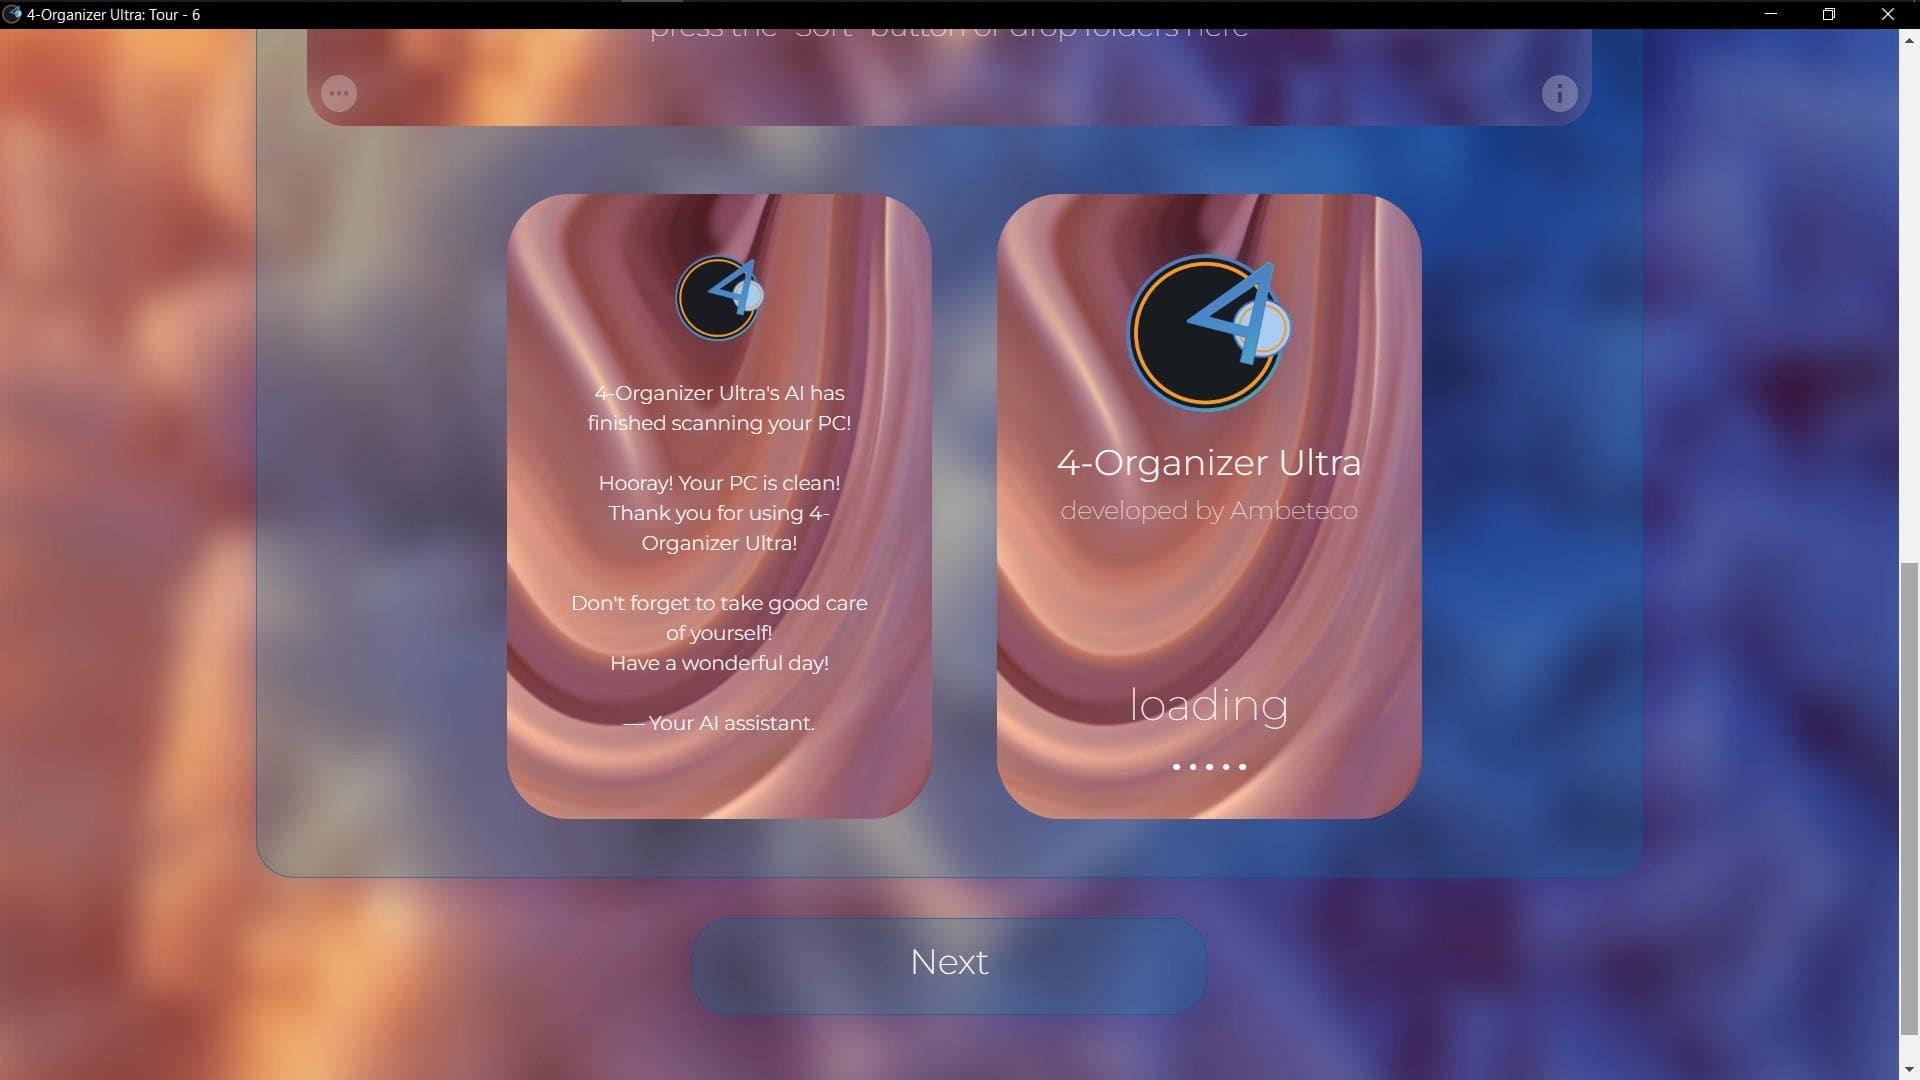
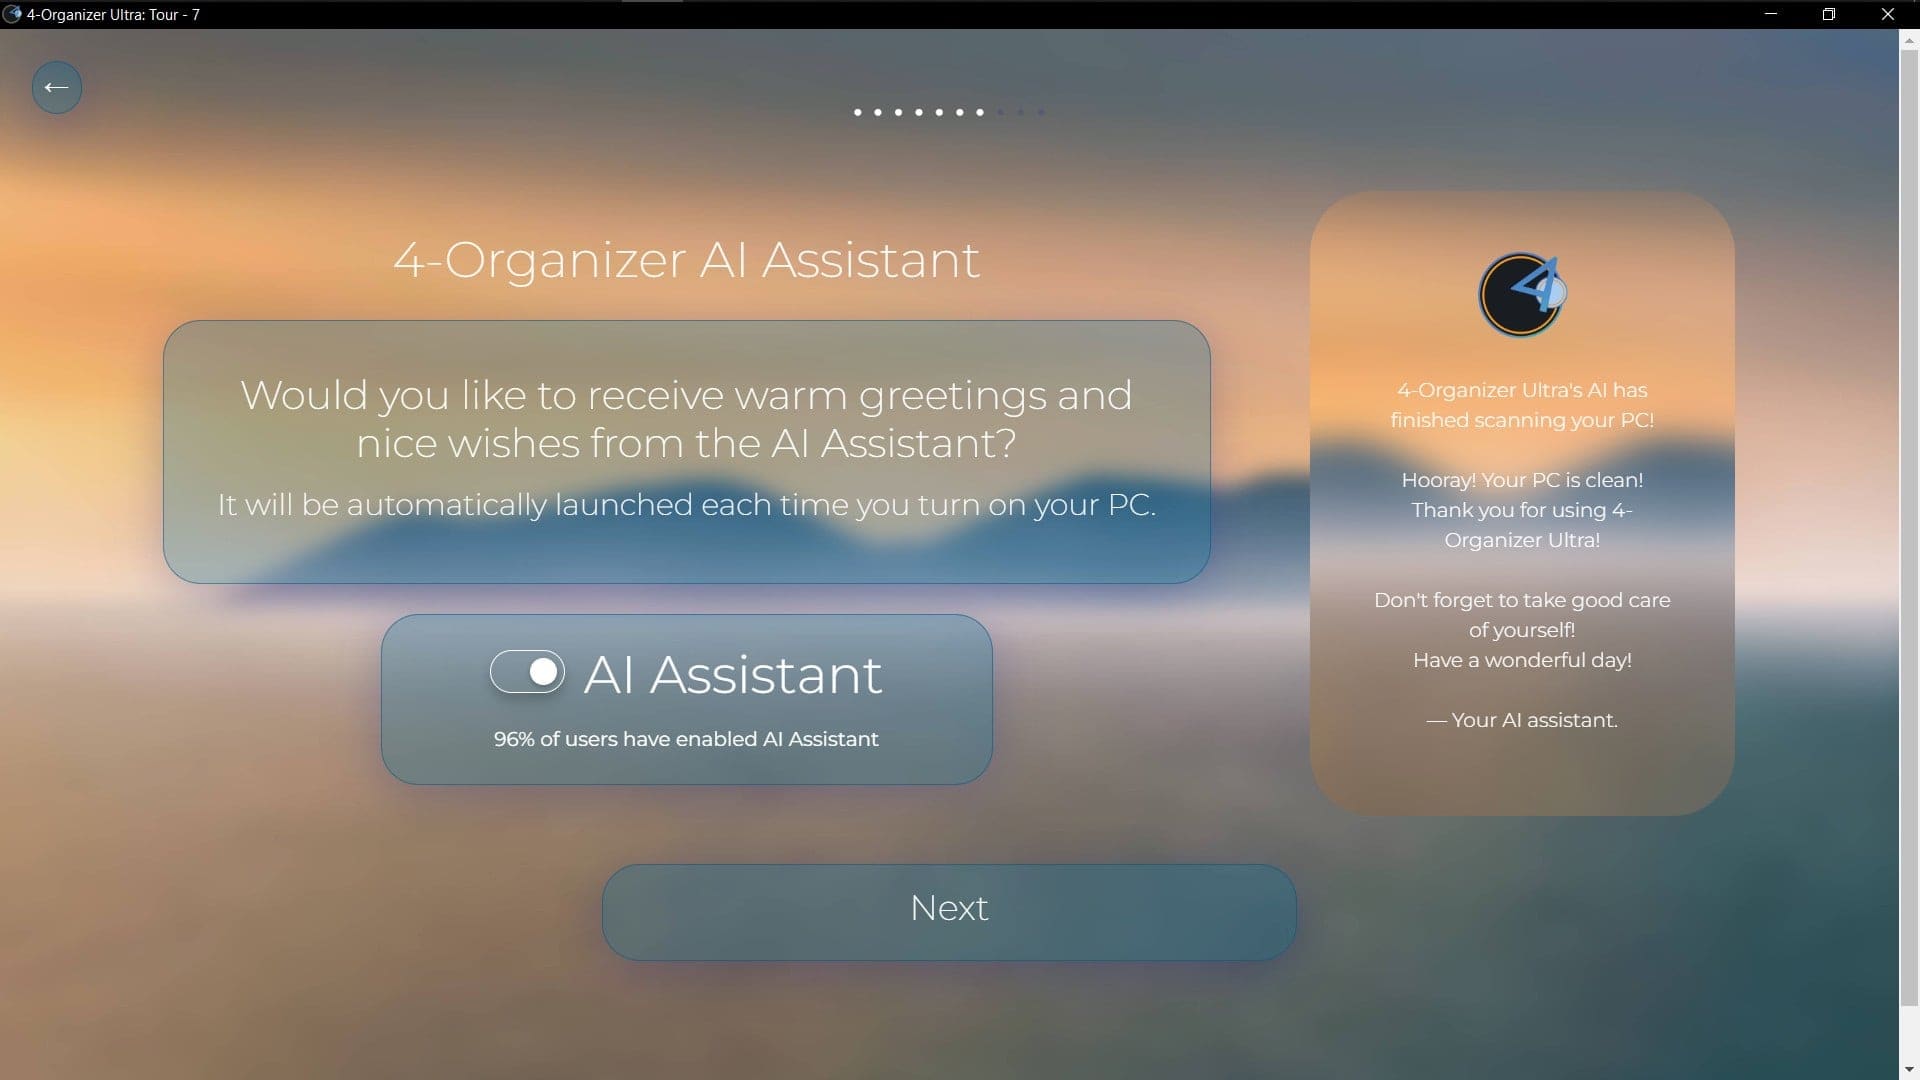
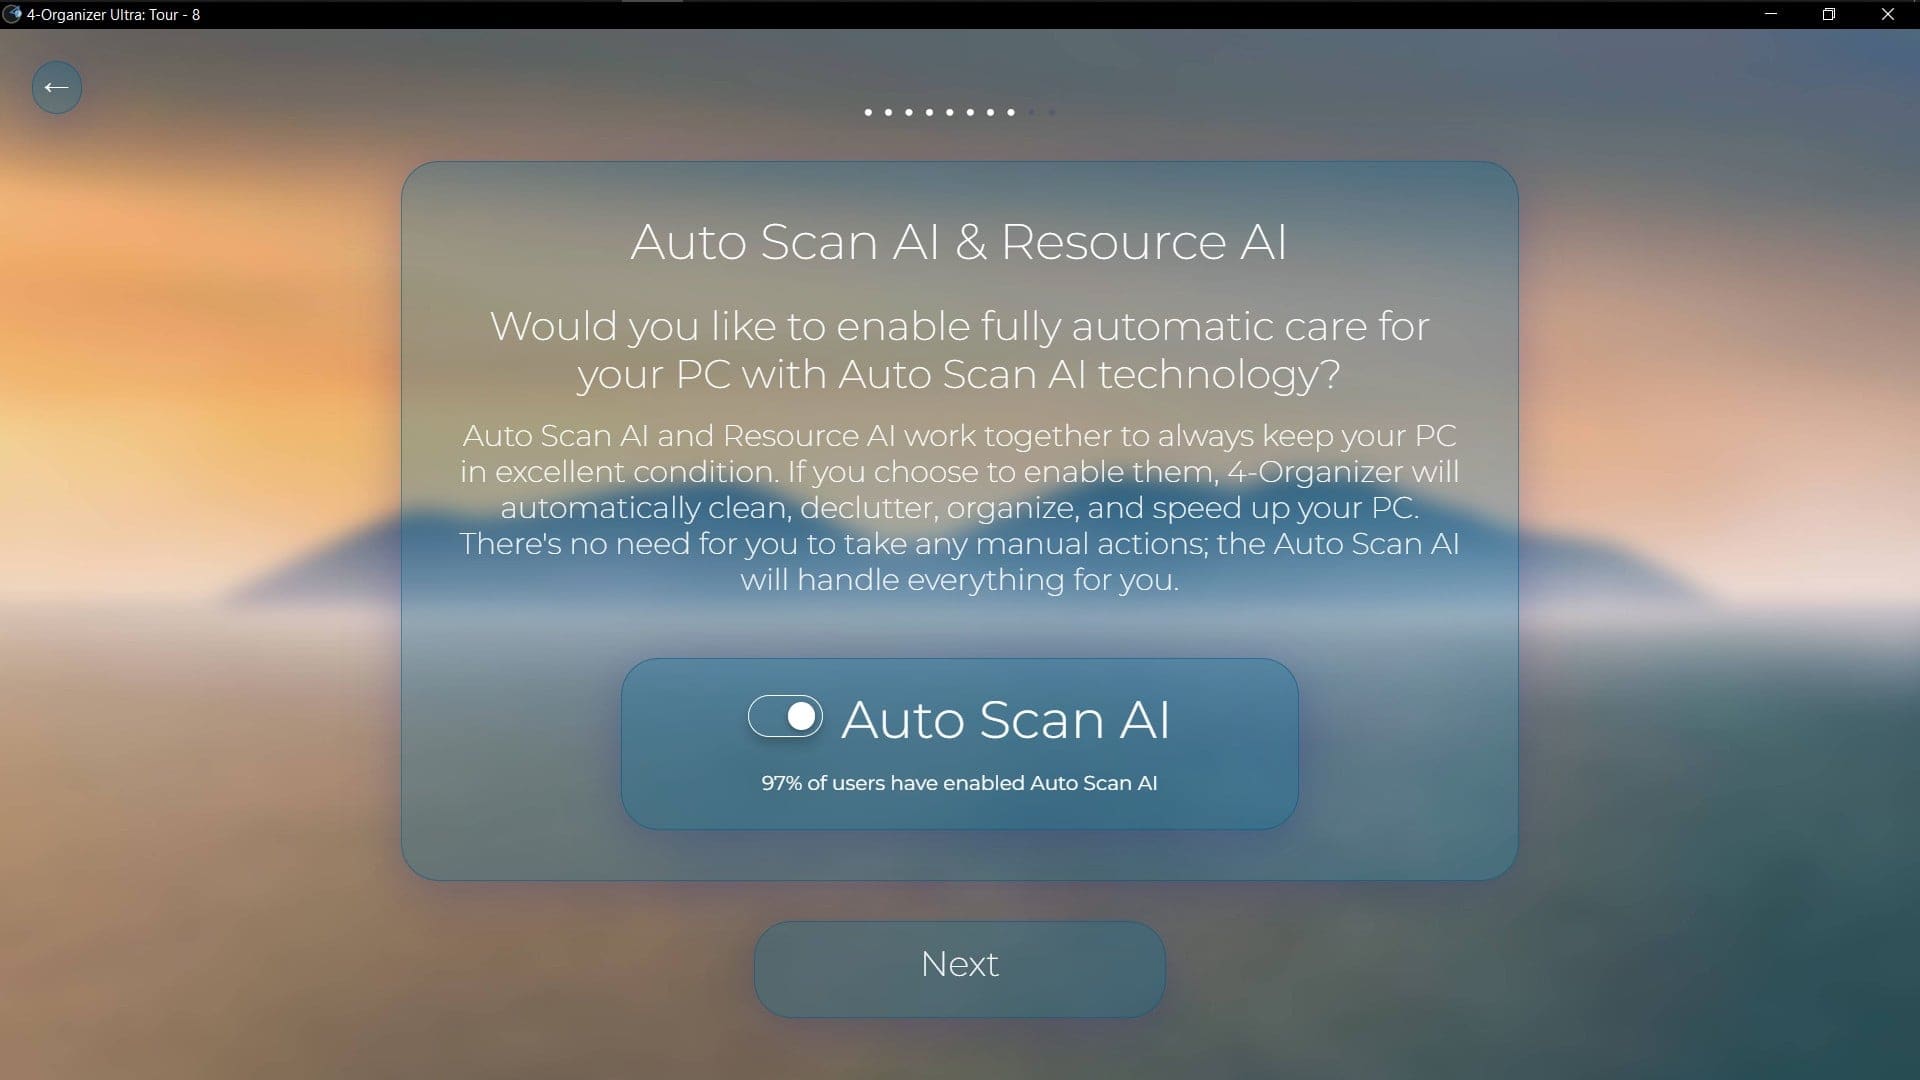
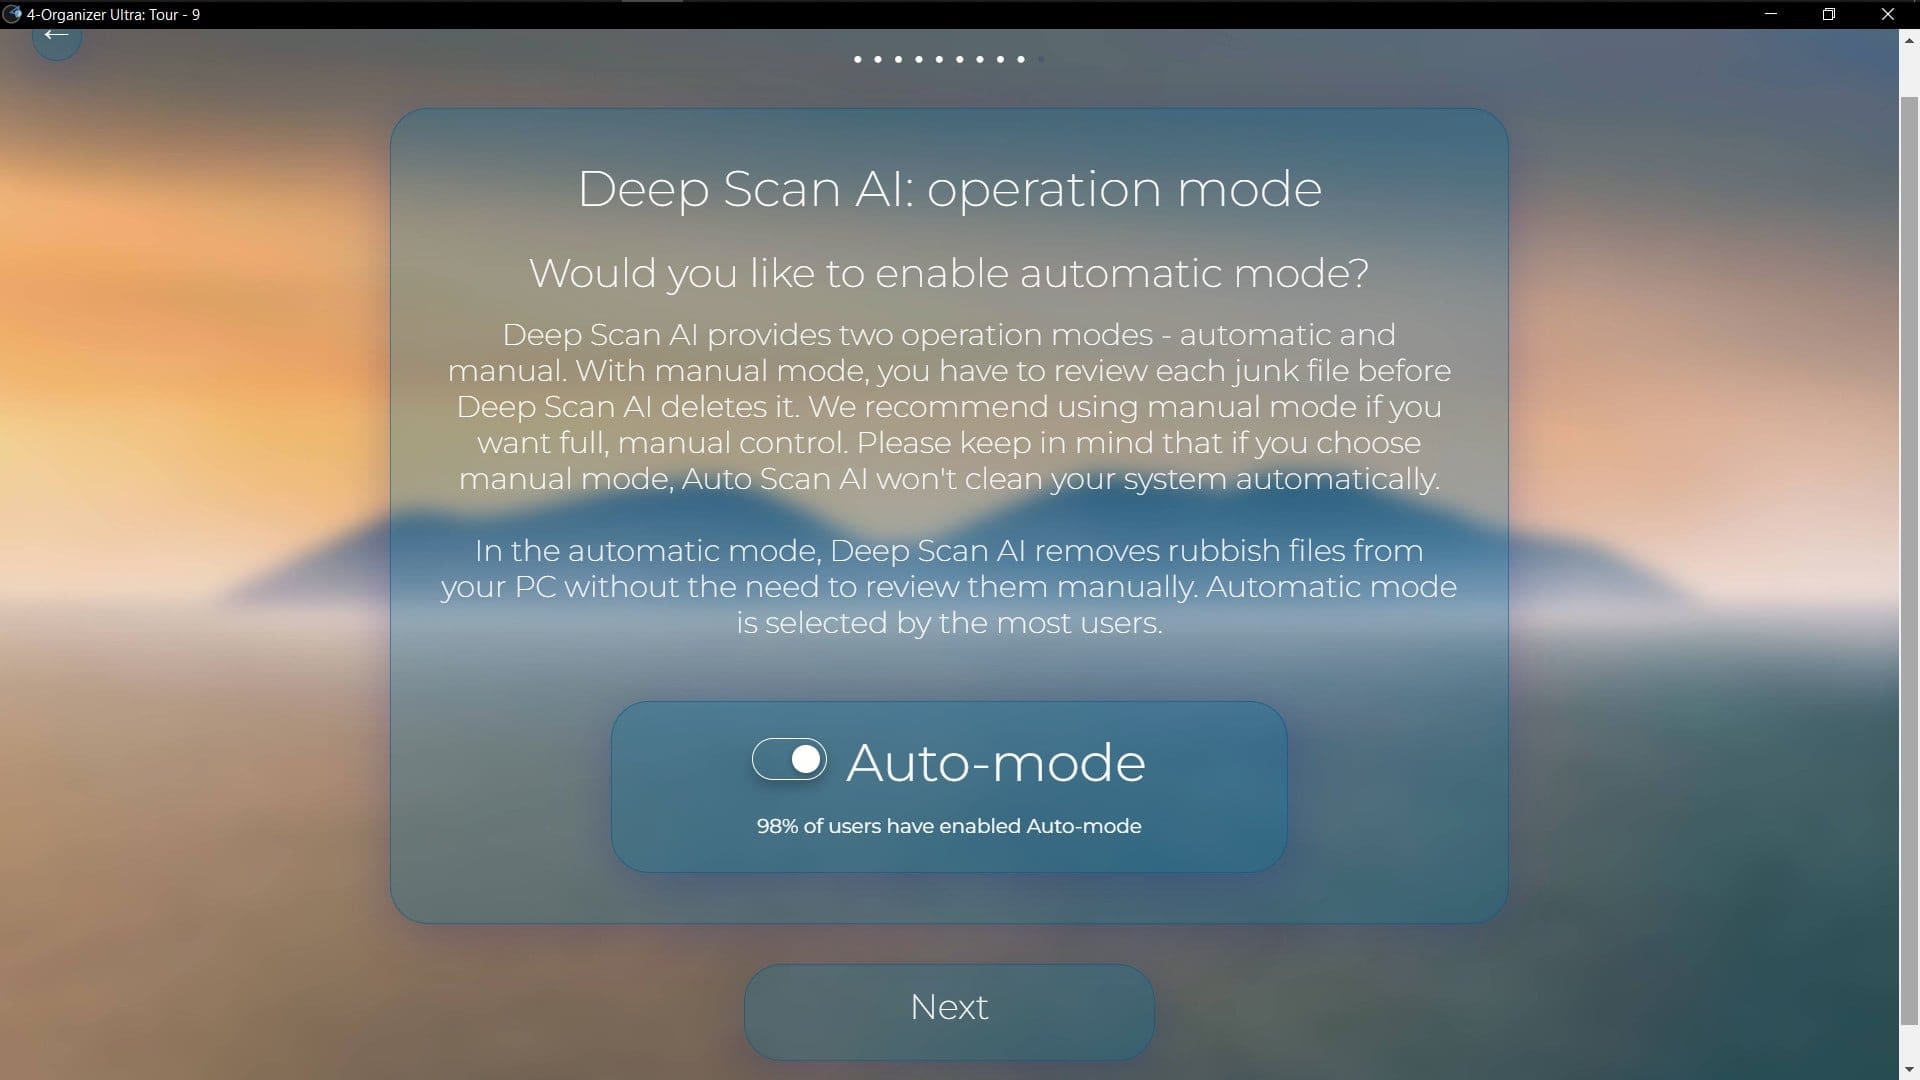
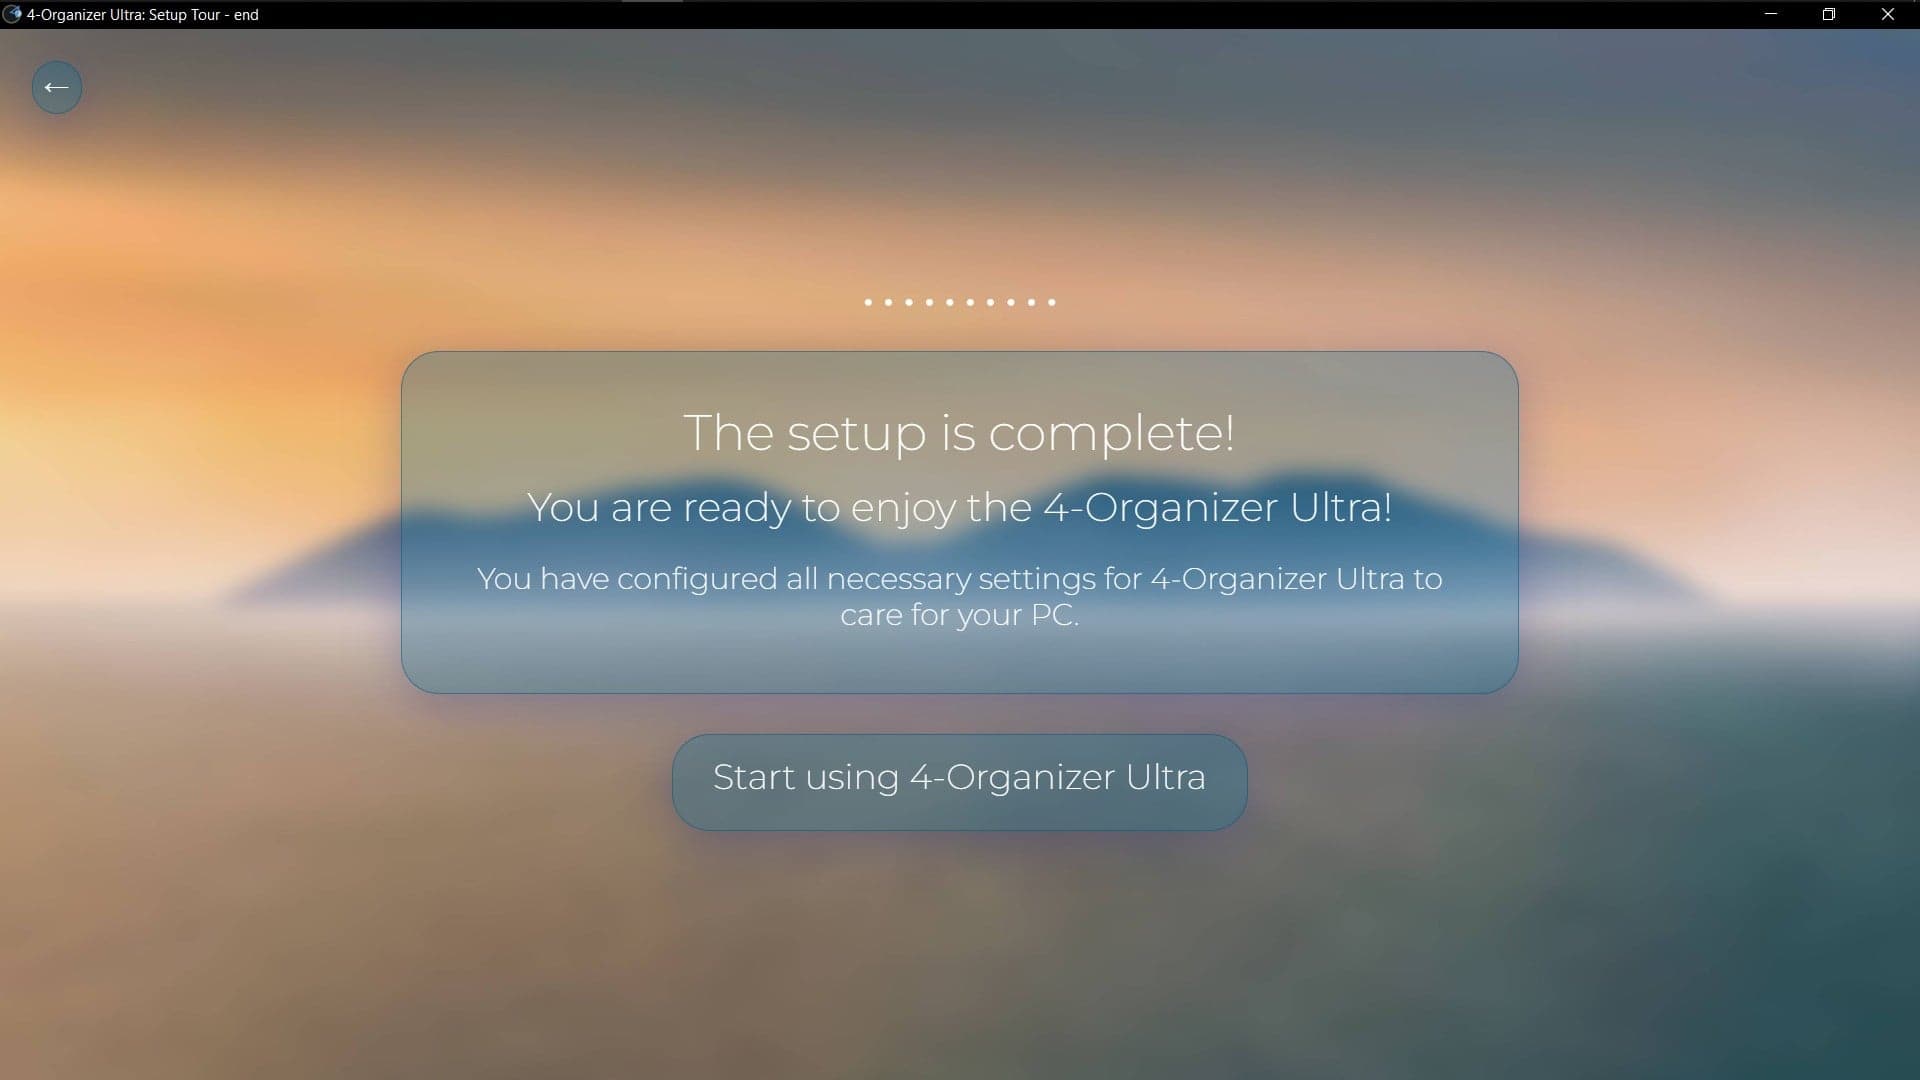
› Setup tour

If you have never used 4-Organizer Ultra before, a setup tour will appear where you will be able to personalize the program. During the setup, you can select your favorite theme and preview it, change the settings of 4-Organizer AI Assistant, toggle Auto Scan AI, and choose the operation of the Deep Scan AI.
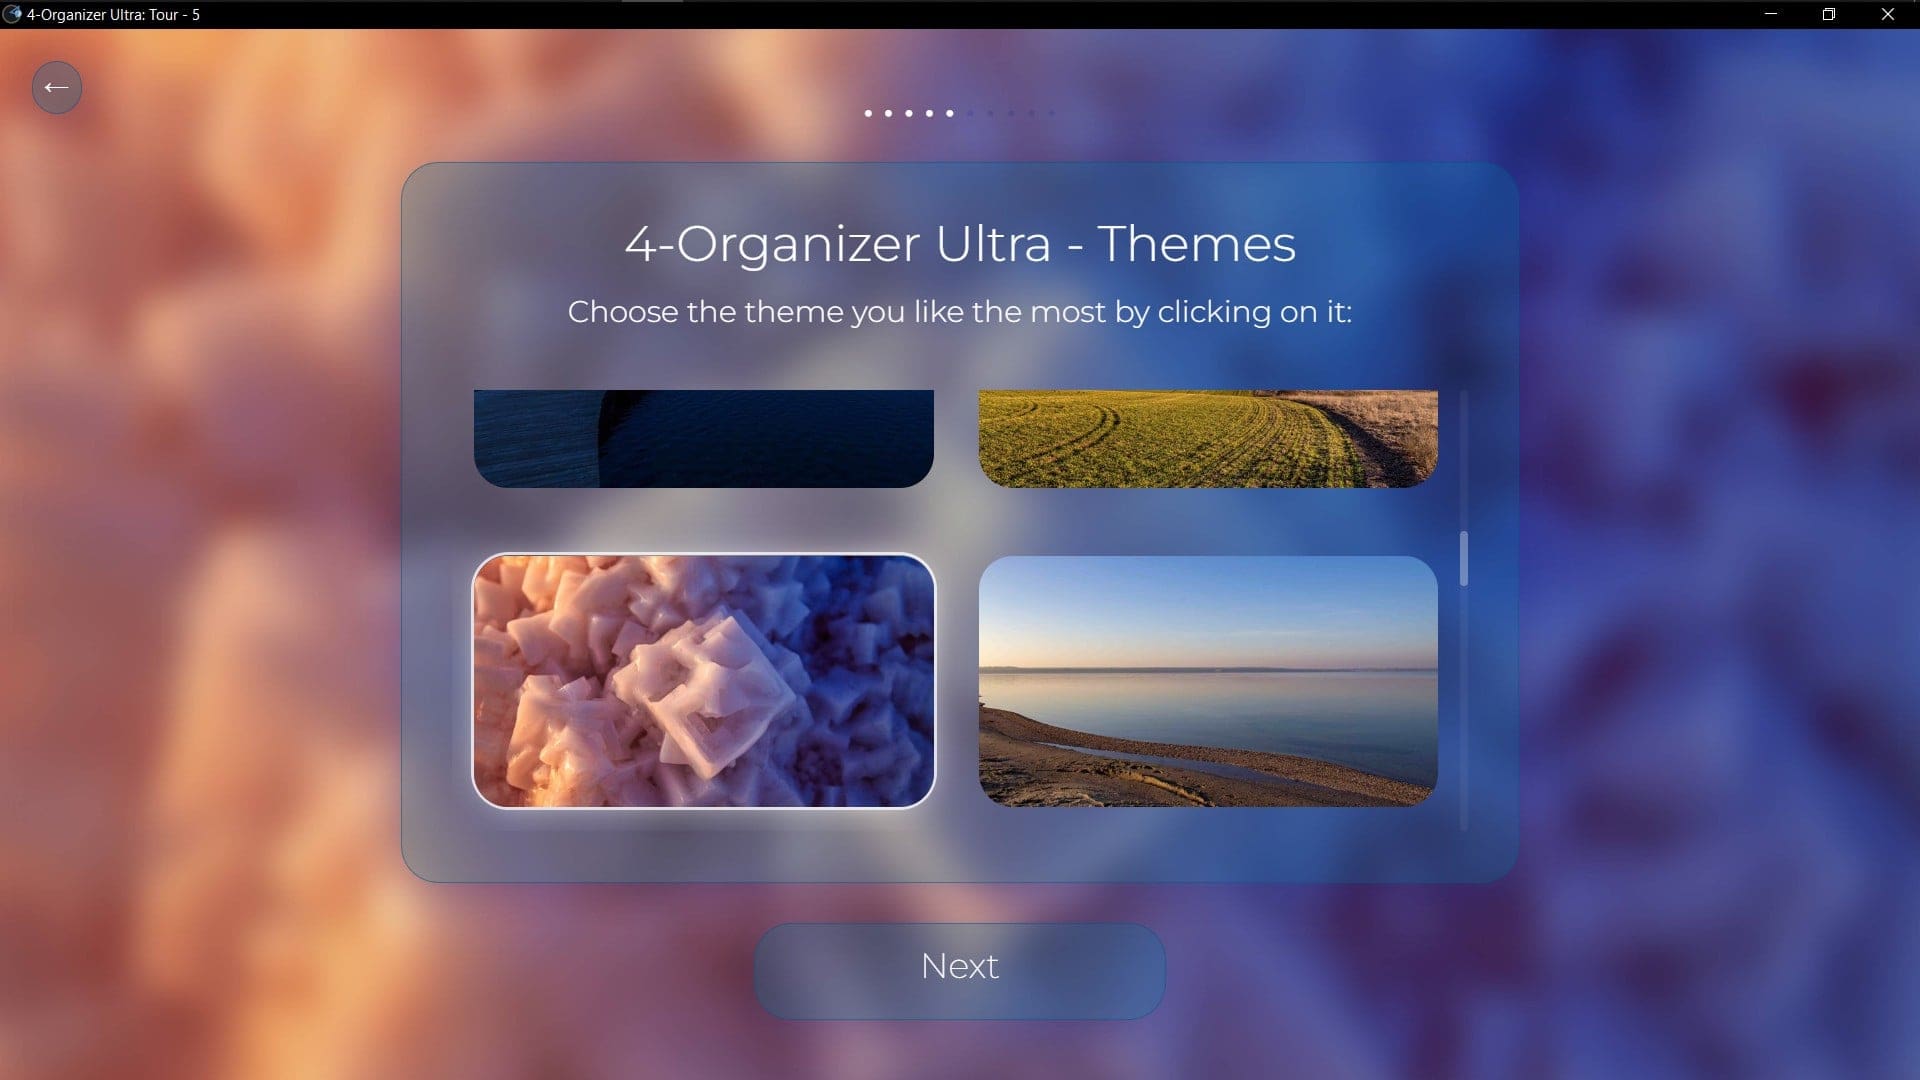
Selecting the theme. 17 themes are available.
Preview the selected theme to see how it looks in different modes
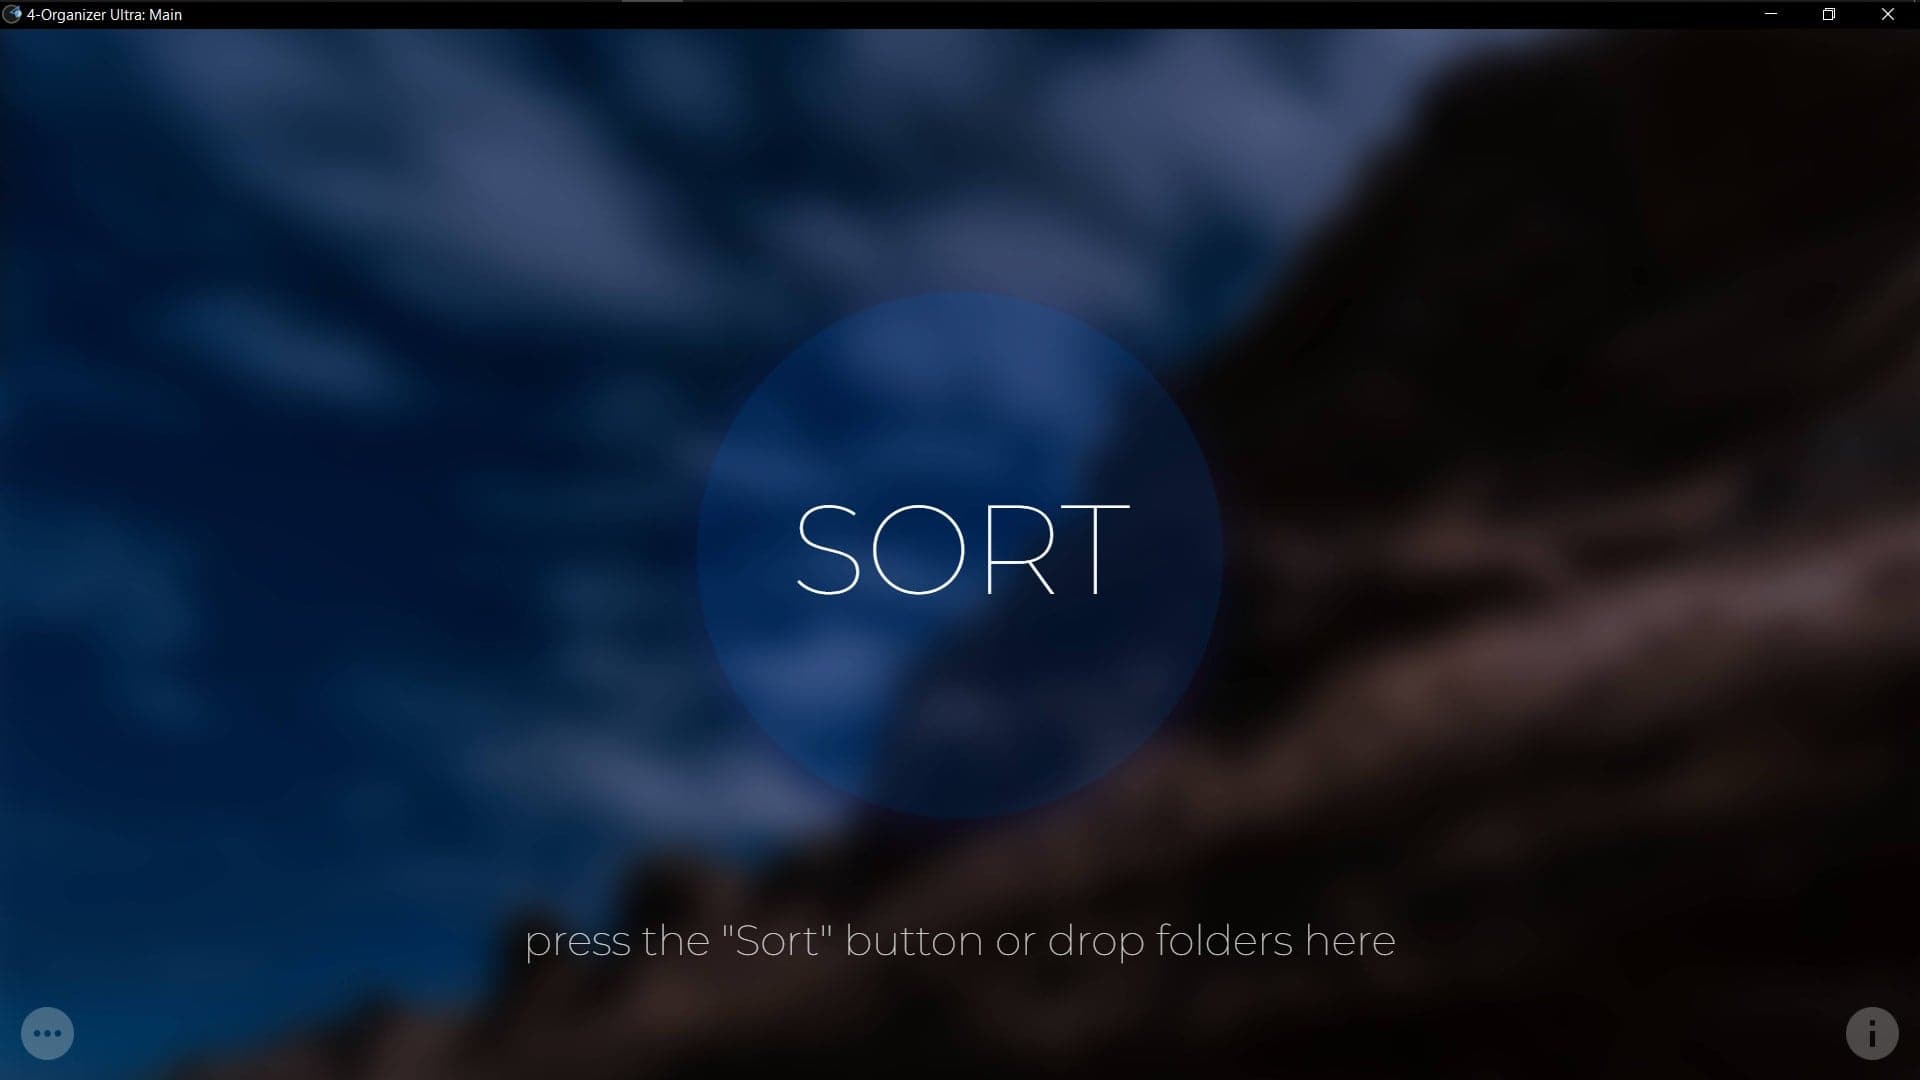
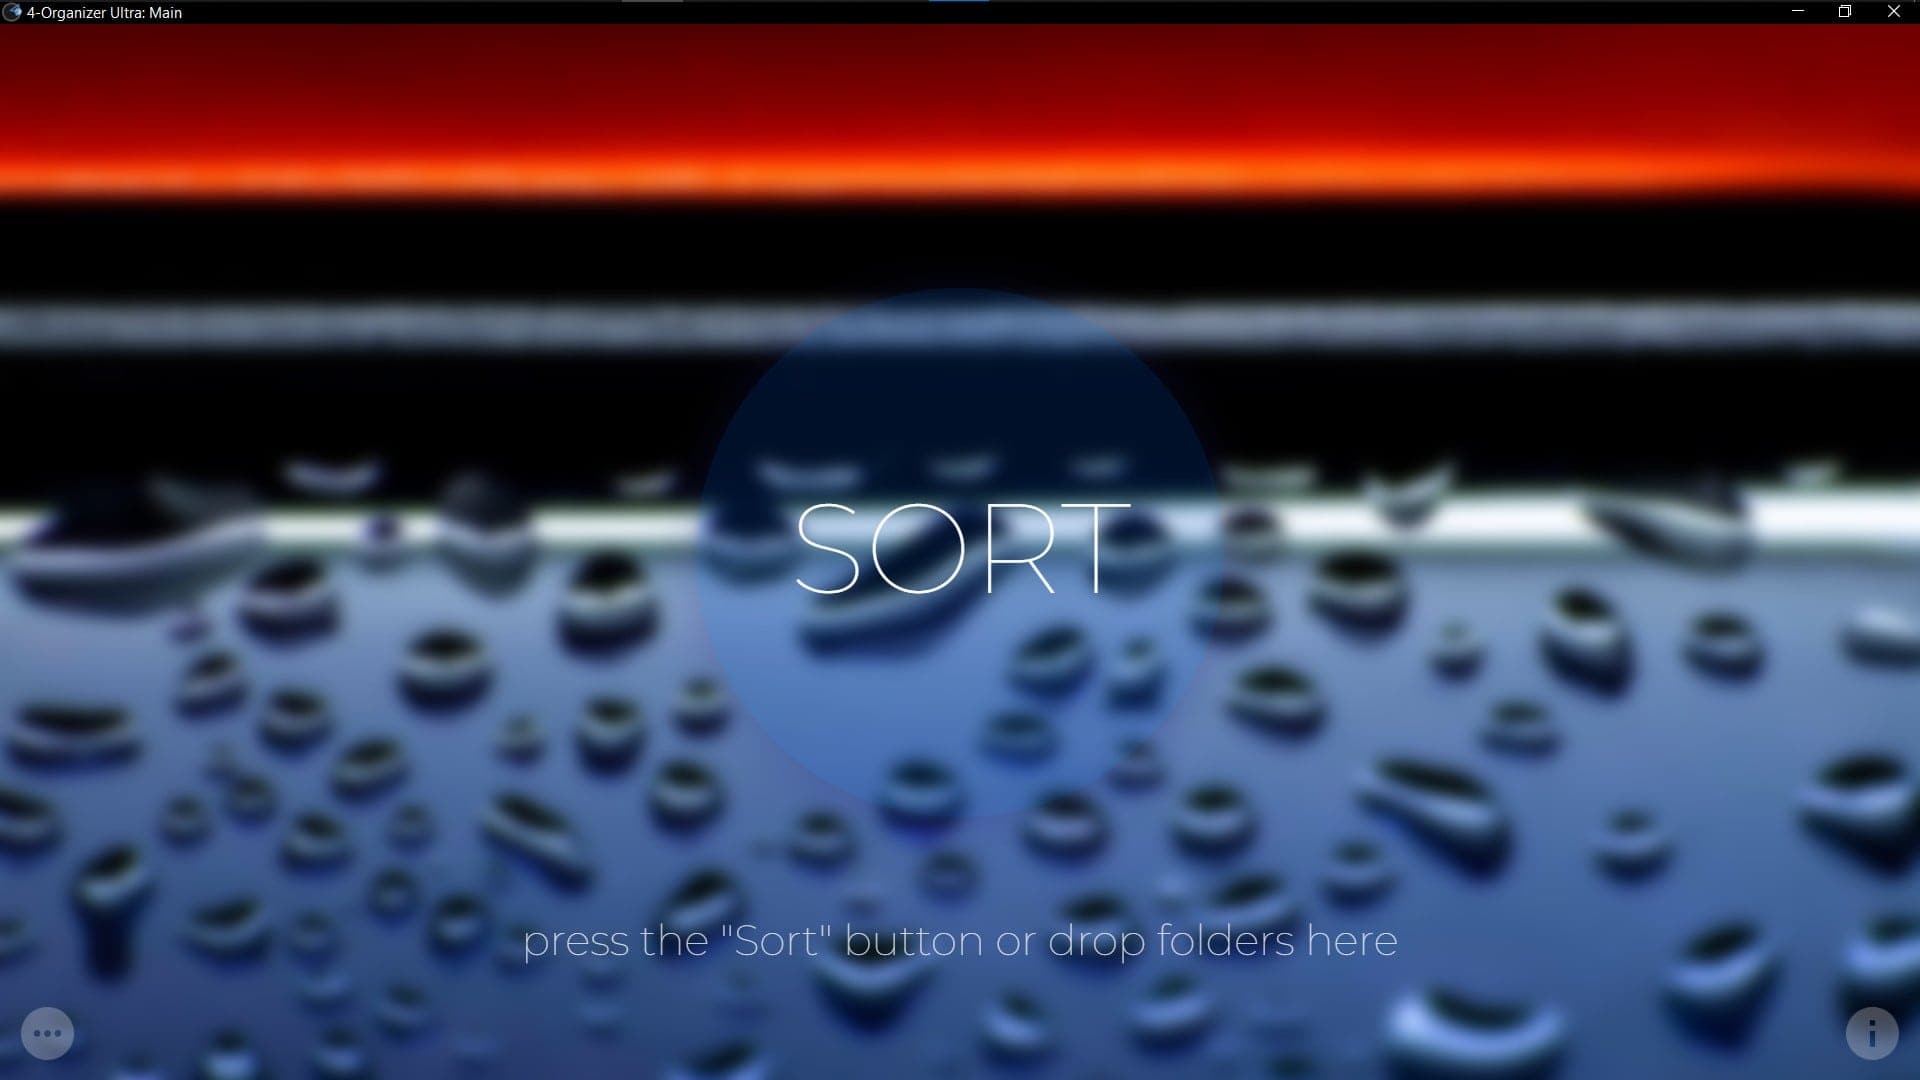
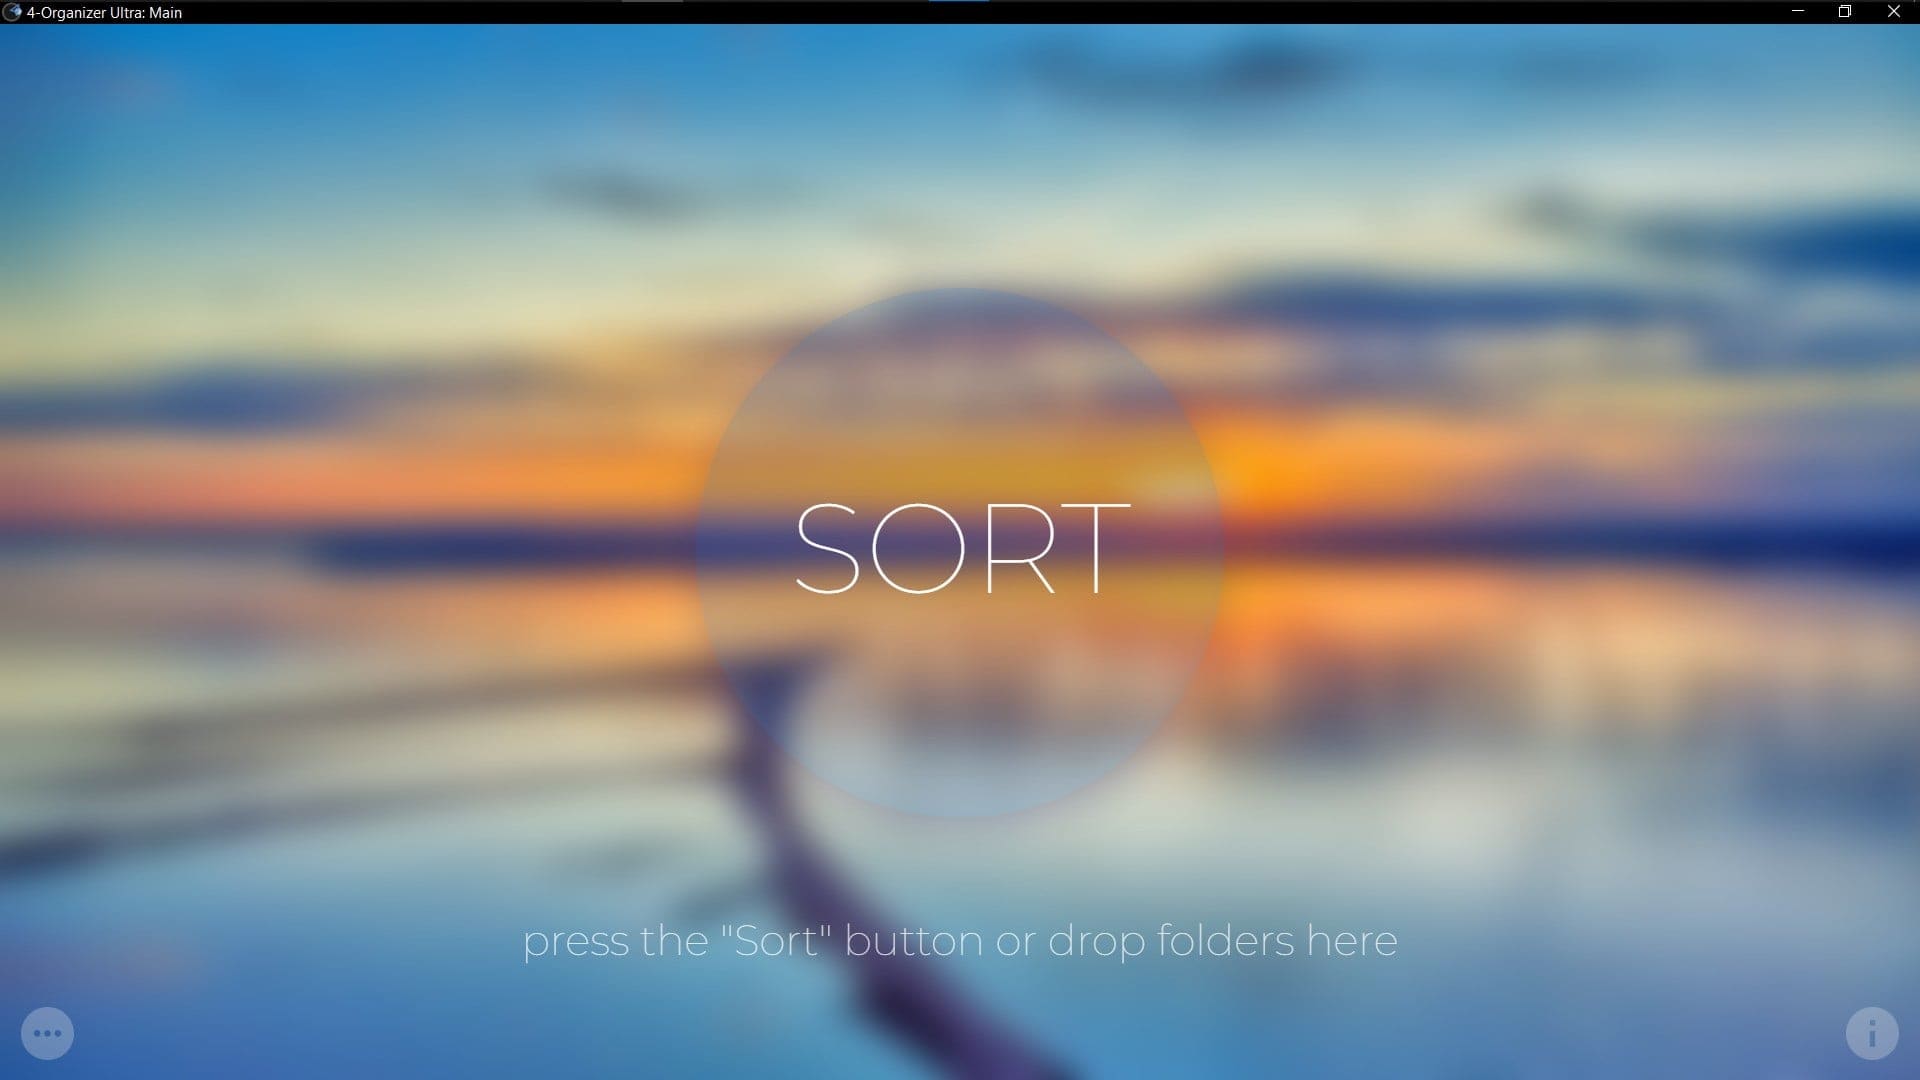
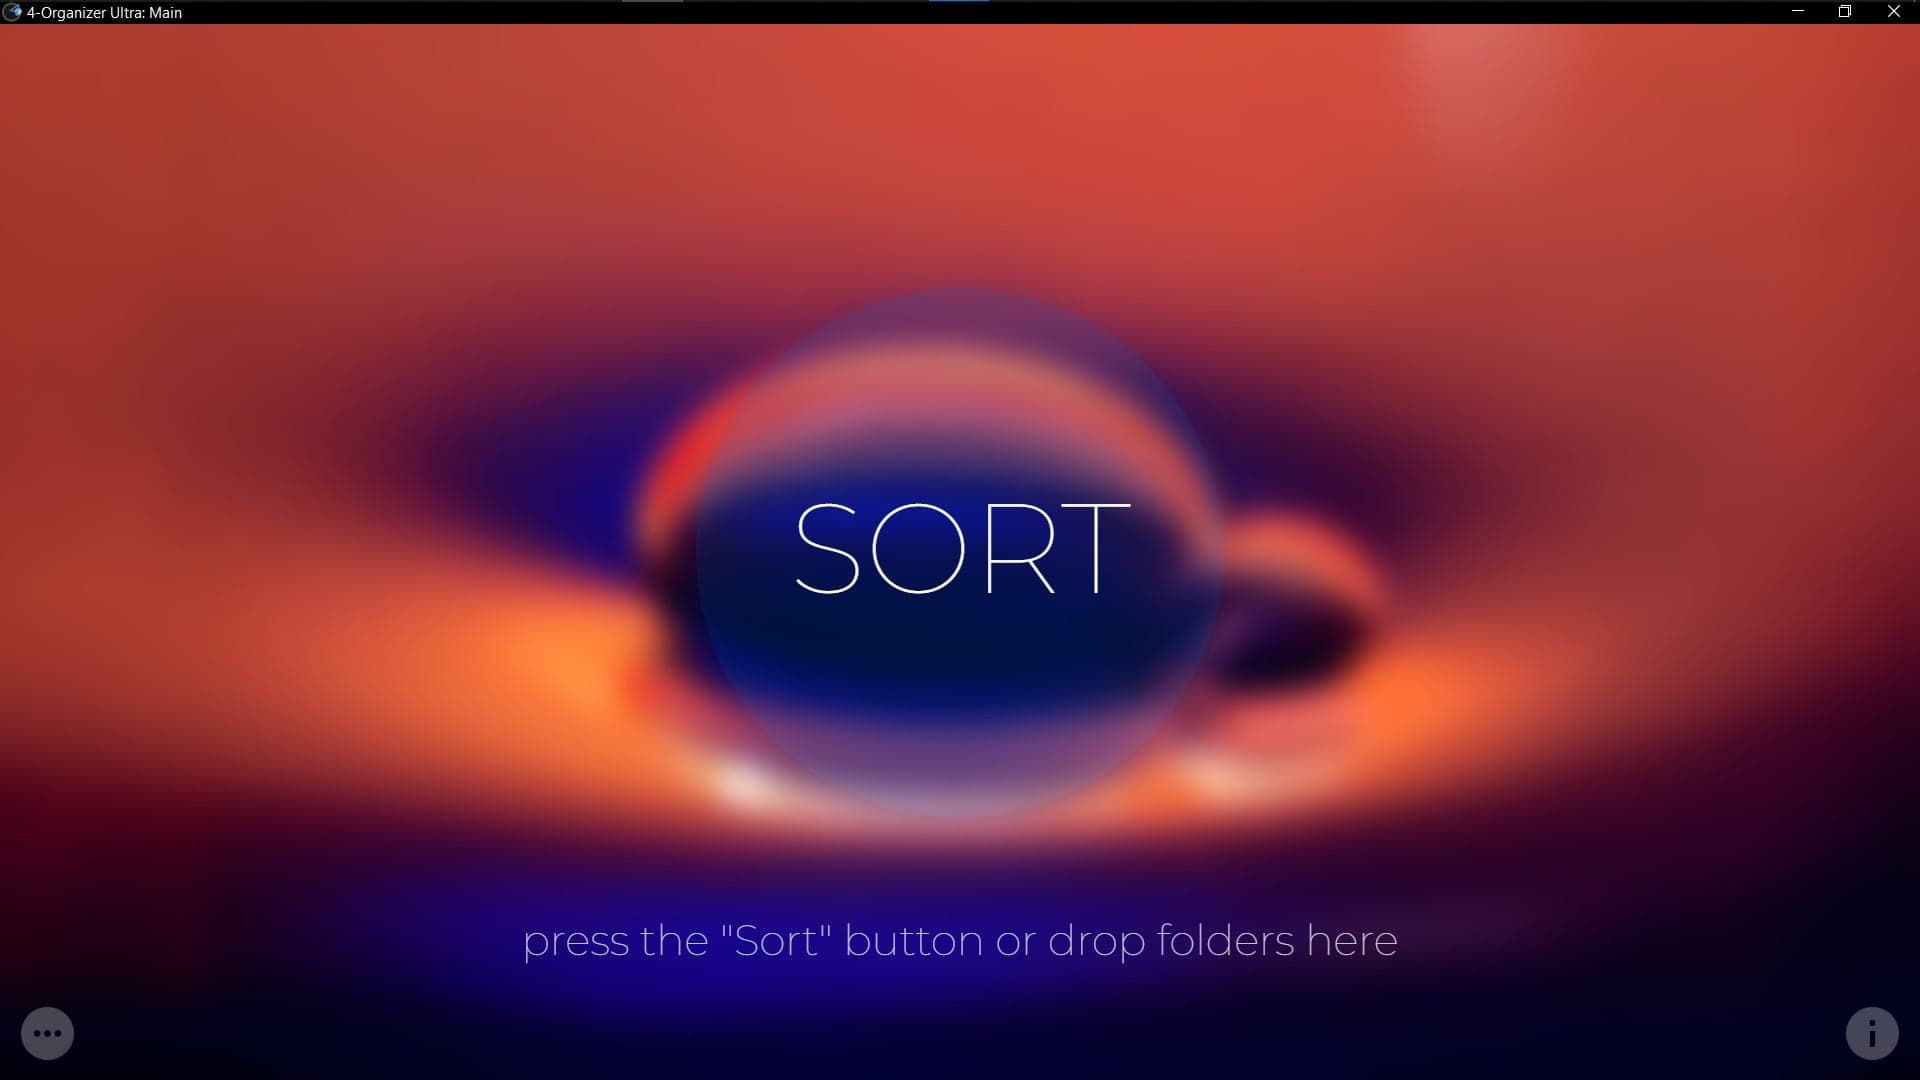
› Main window
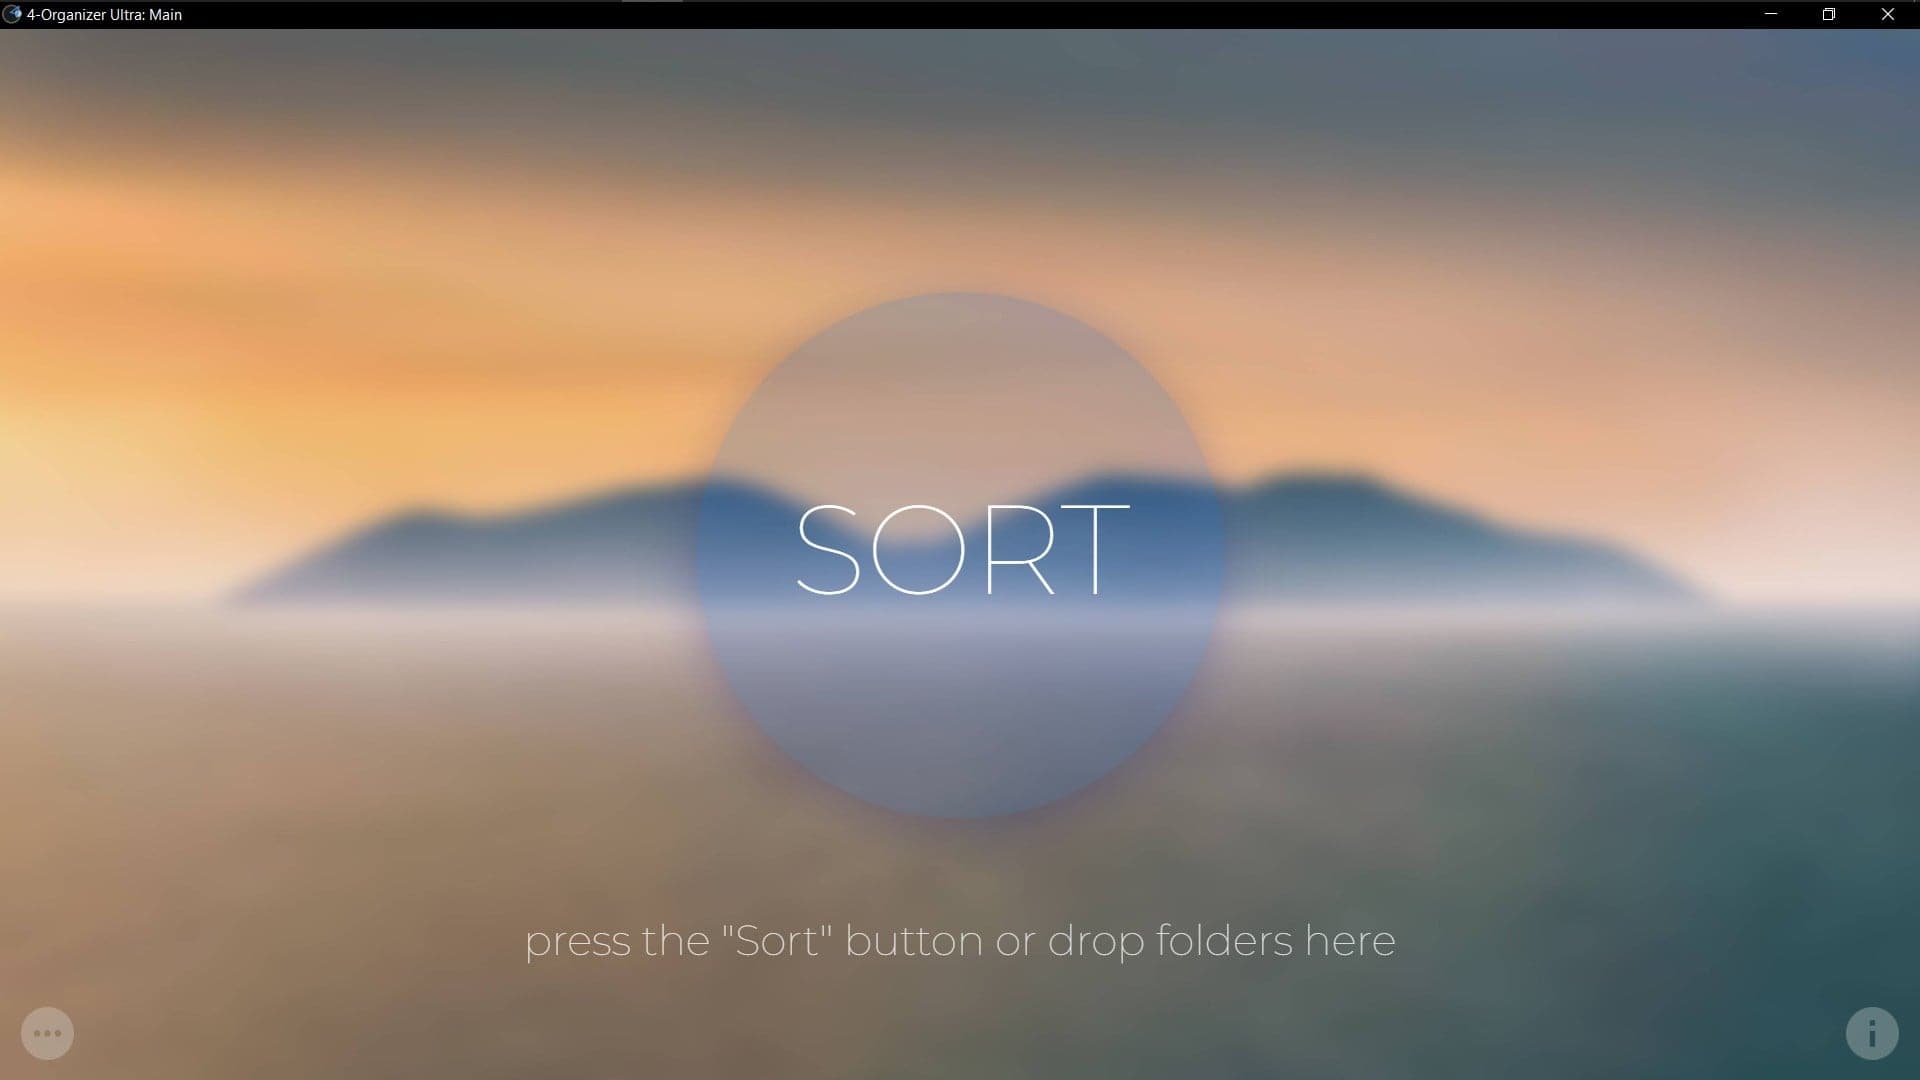
The main window of 4-Organizer Ultra is the window that you will always see when you open the program - it's the most important window of the program, from where you can access all the other functions and settings.
There are several buttons in this window:
• A large "SORT" button, located in the center of the screen.
- Use this button to run your unique scan that will clean, speed up, optimize, and tidy up your PC.
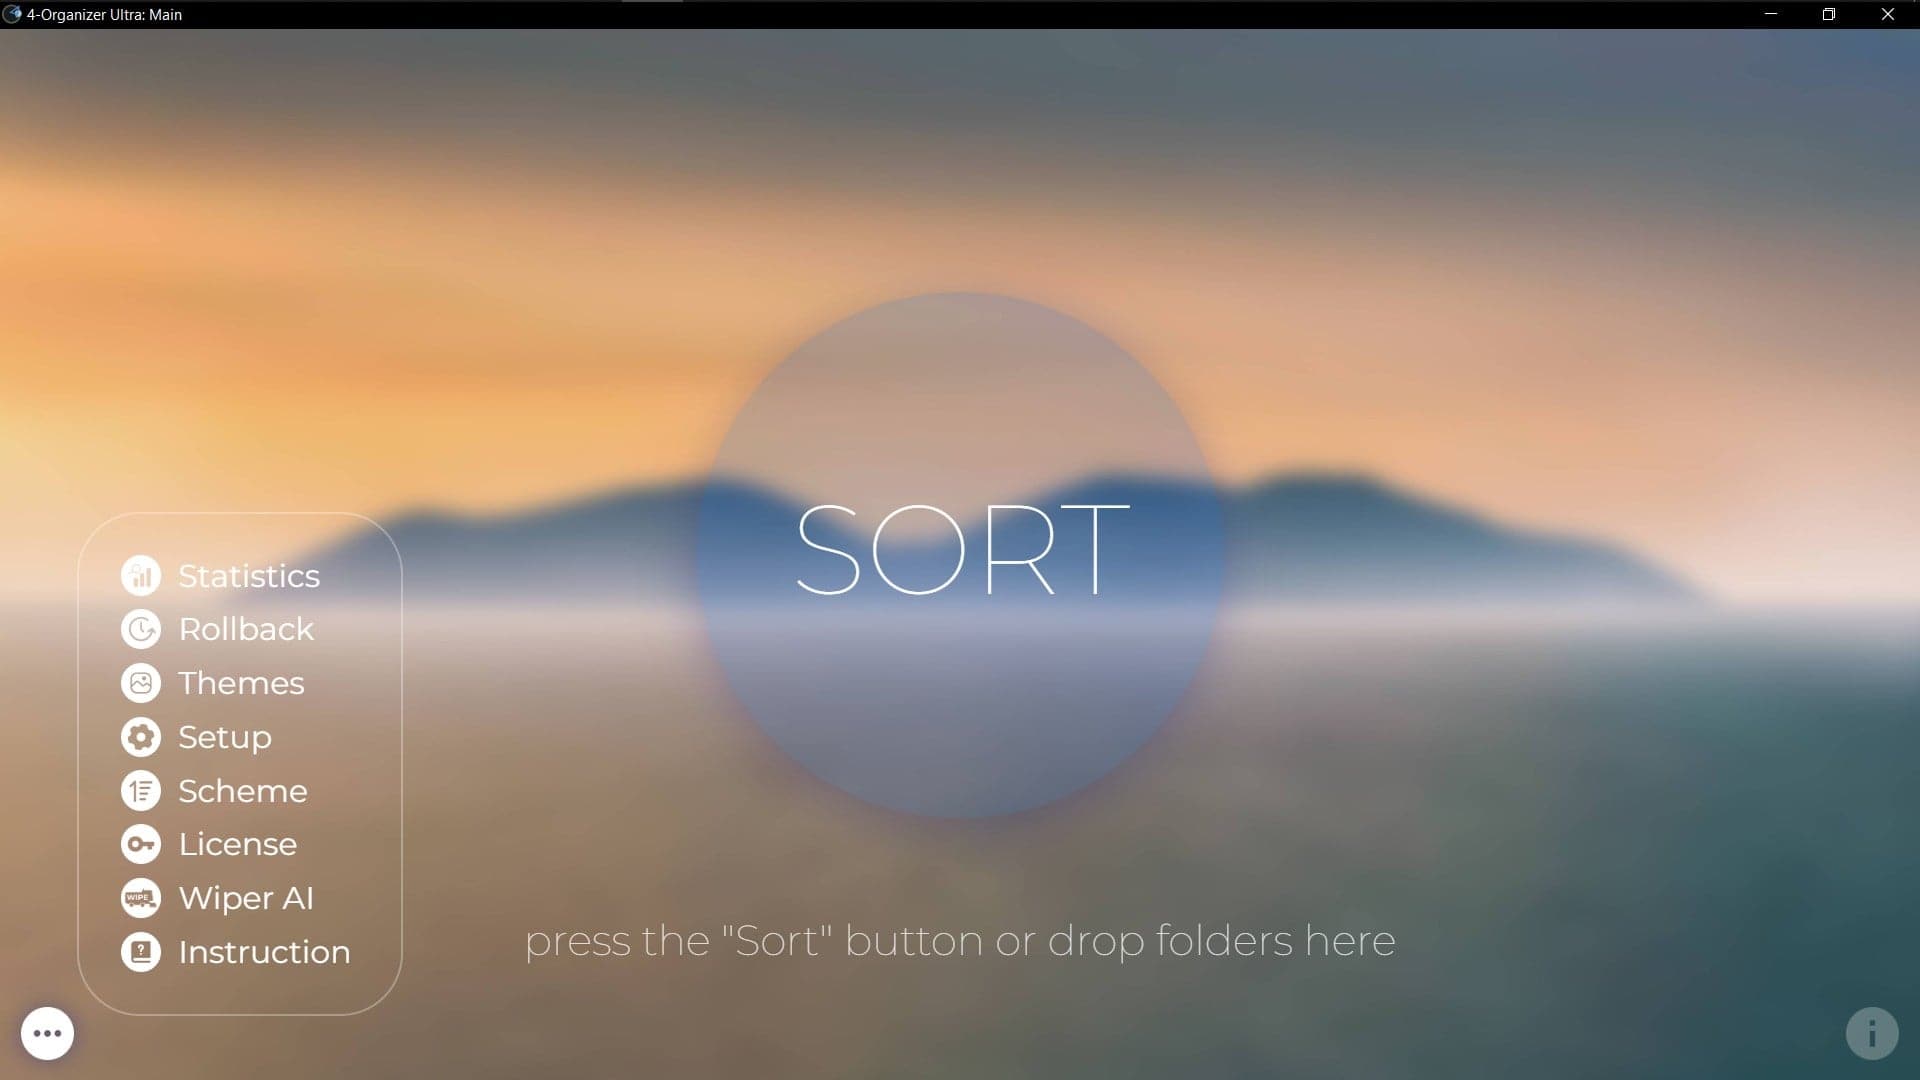
• The "Menu" icon, located in the lower-left corner of the window.
- This pop-up menu allows you to navigate to all other windows of 4-Organizer Ultra - configure the sorting scheme and interface theme, open the "Statistics" or "License Information" windows, or perform other settings.
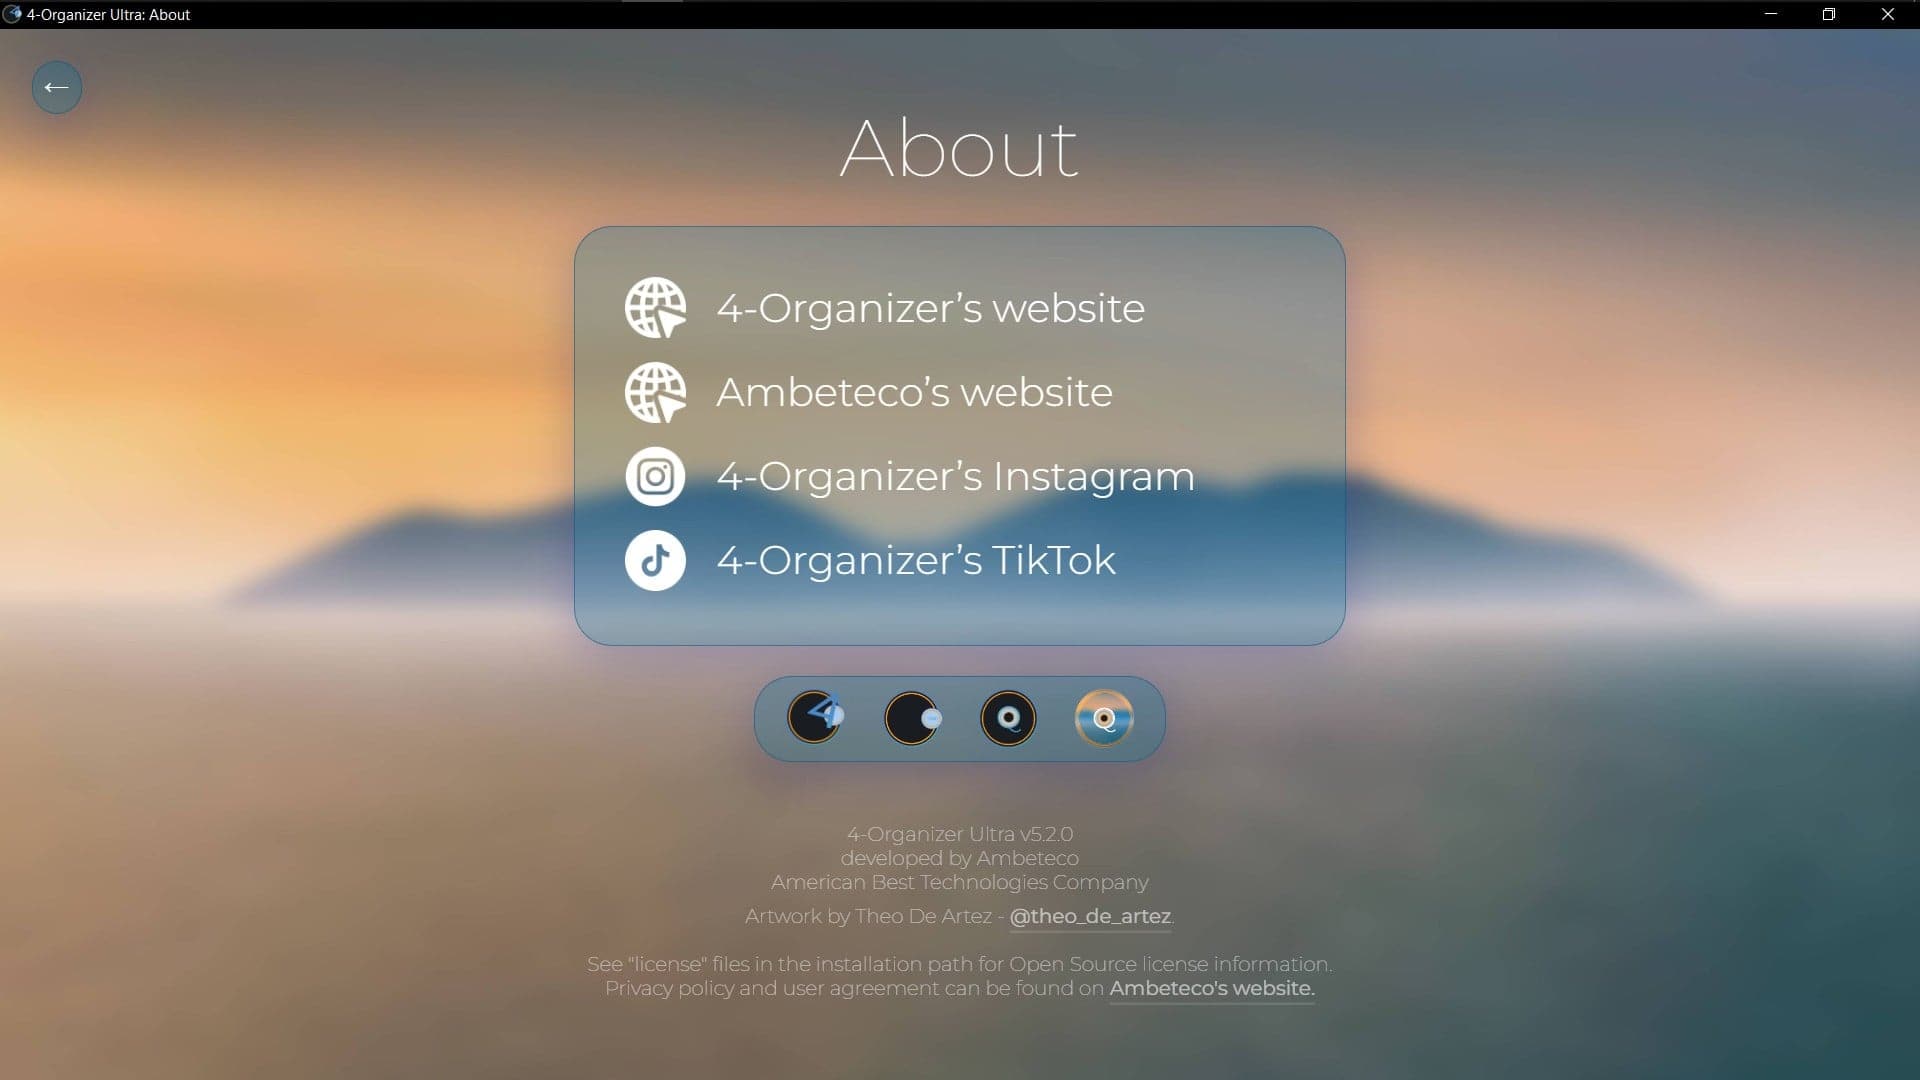
• The "About" icon, located in the lower right corner.
- Navigates to the "About" window.
› Starting Unique Scan
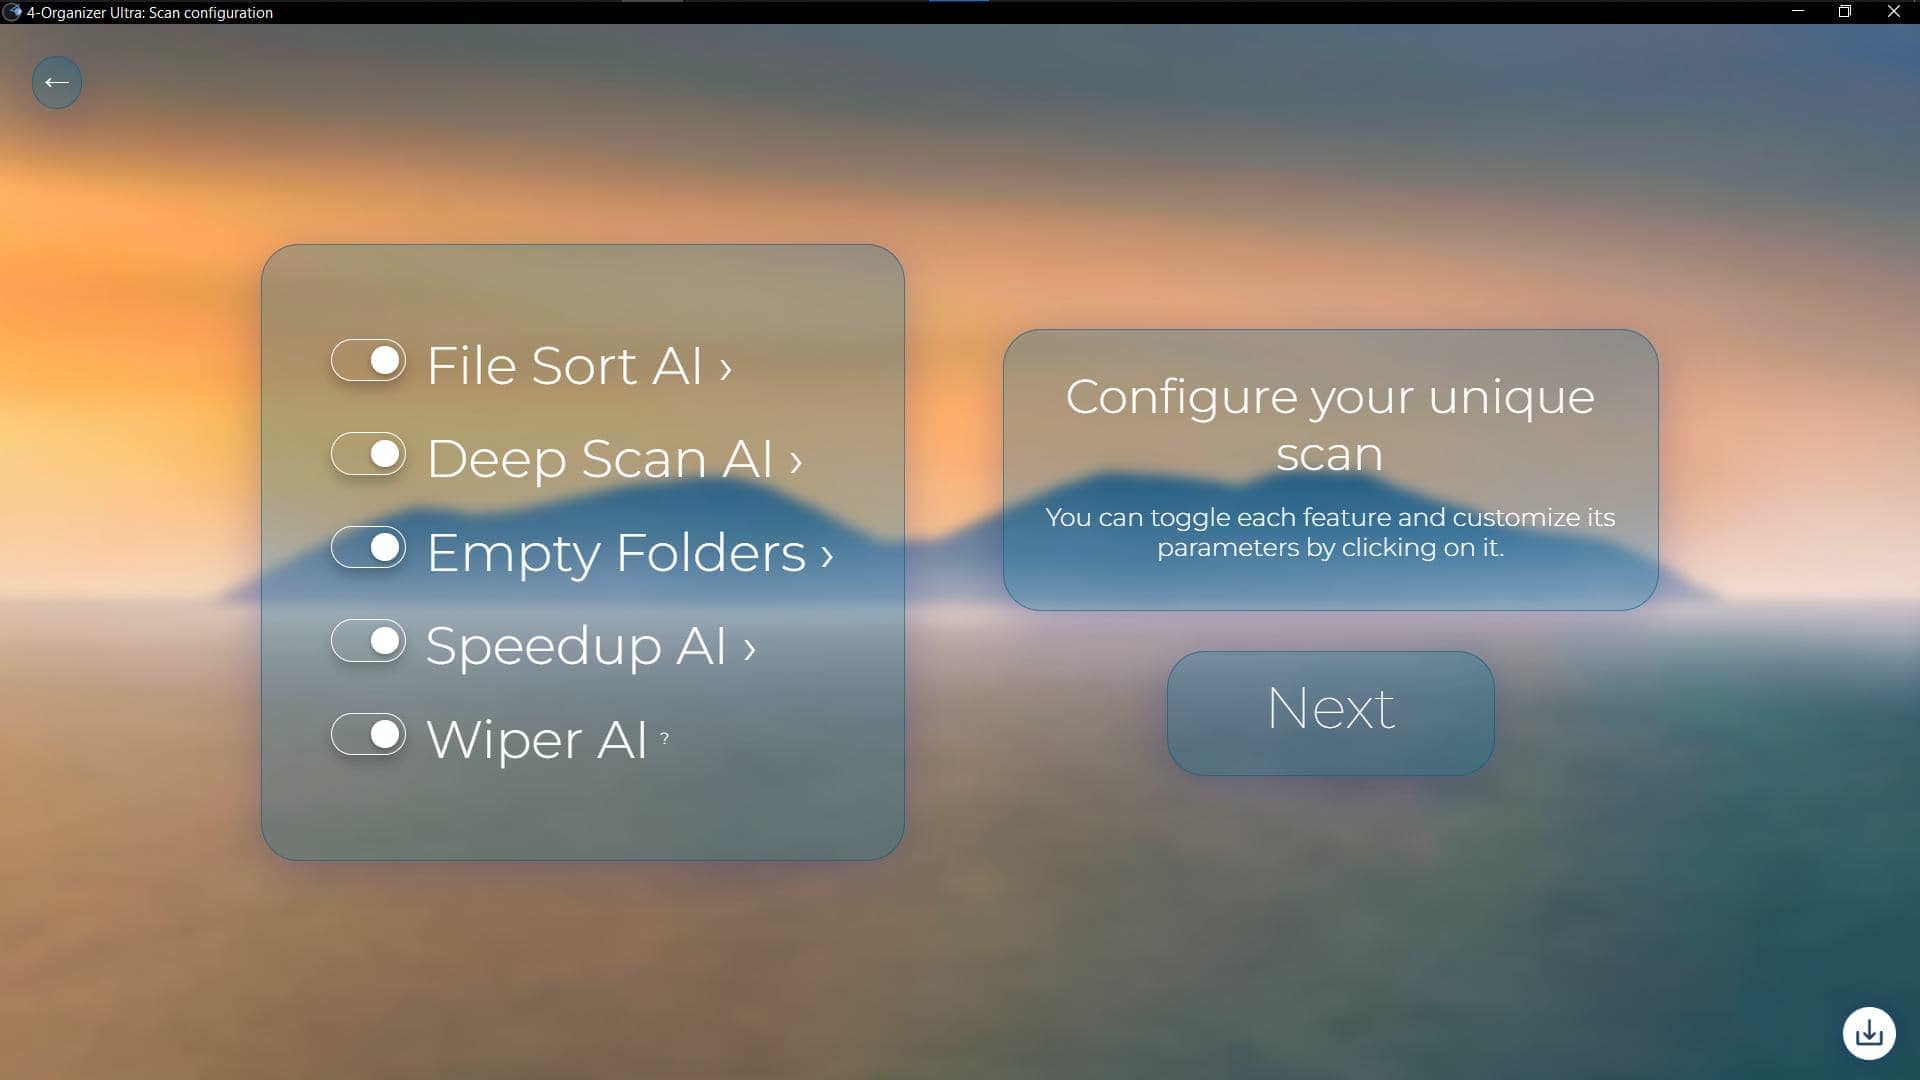
To start a scan, simply press the SORT button in the main window, then configure the scan using the toggle buttons - you can enable or disable all technologies. For example, if you want to disable file sorting, just click the toggle button to turn it off.
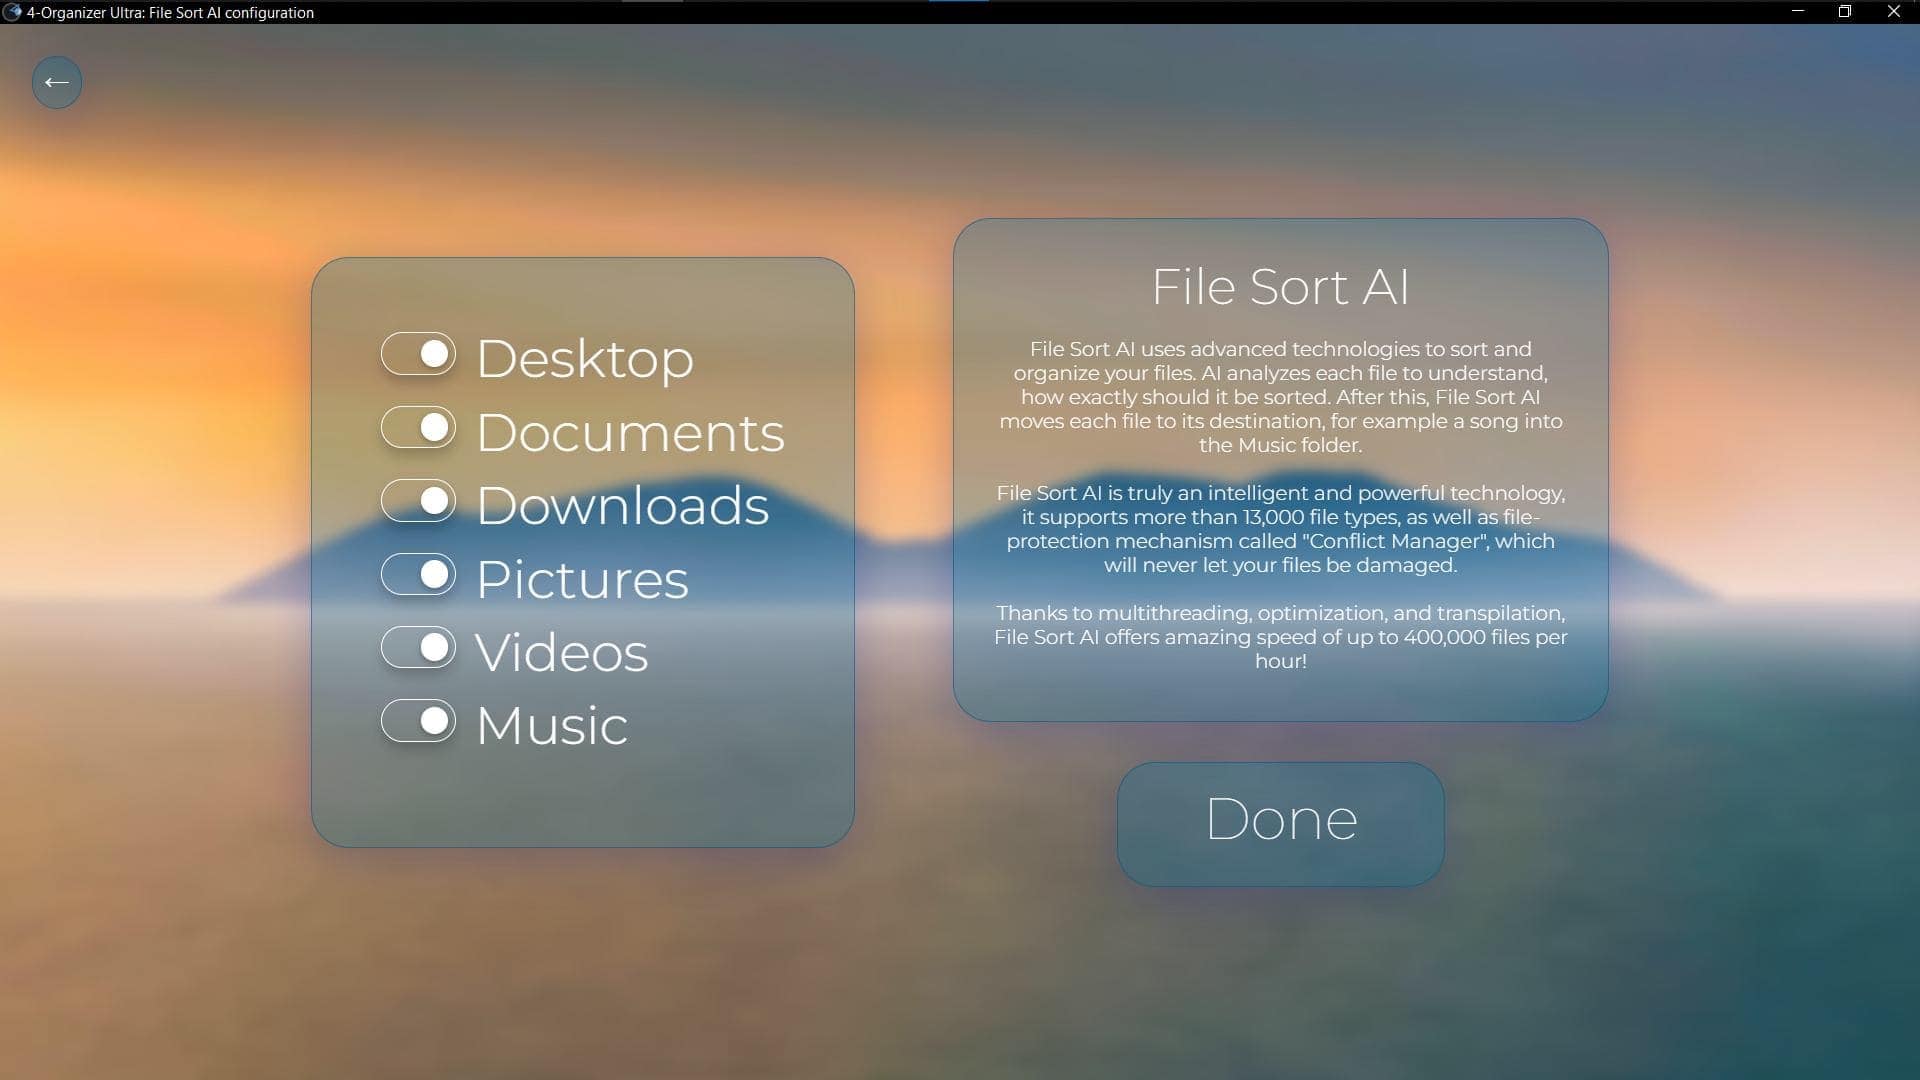
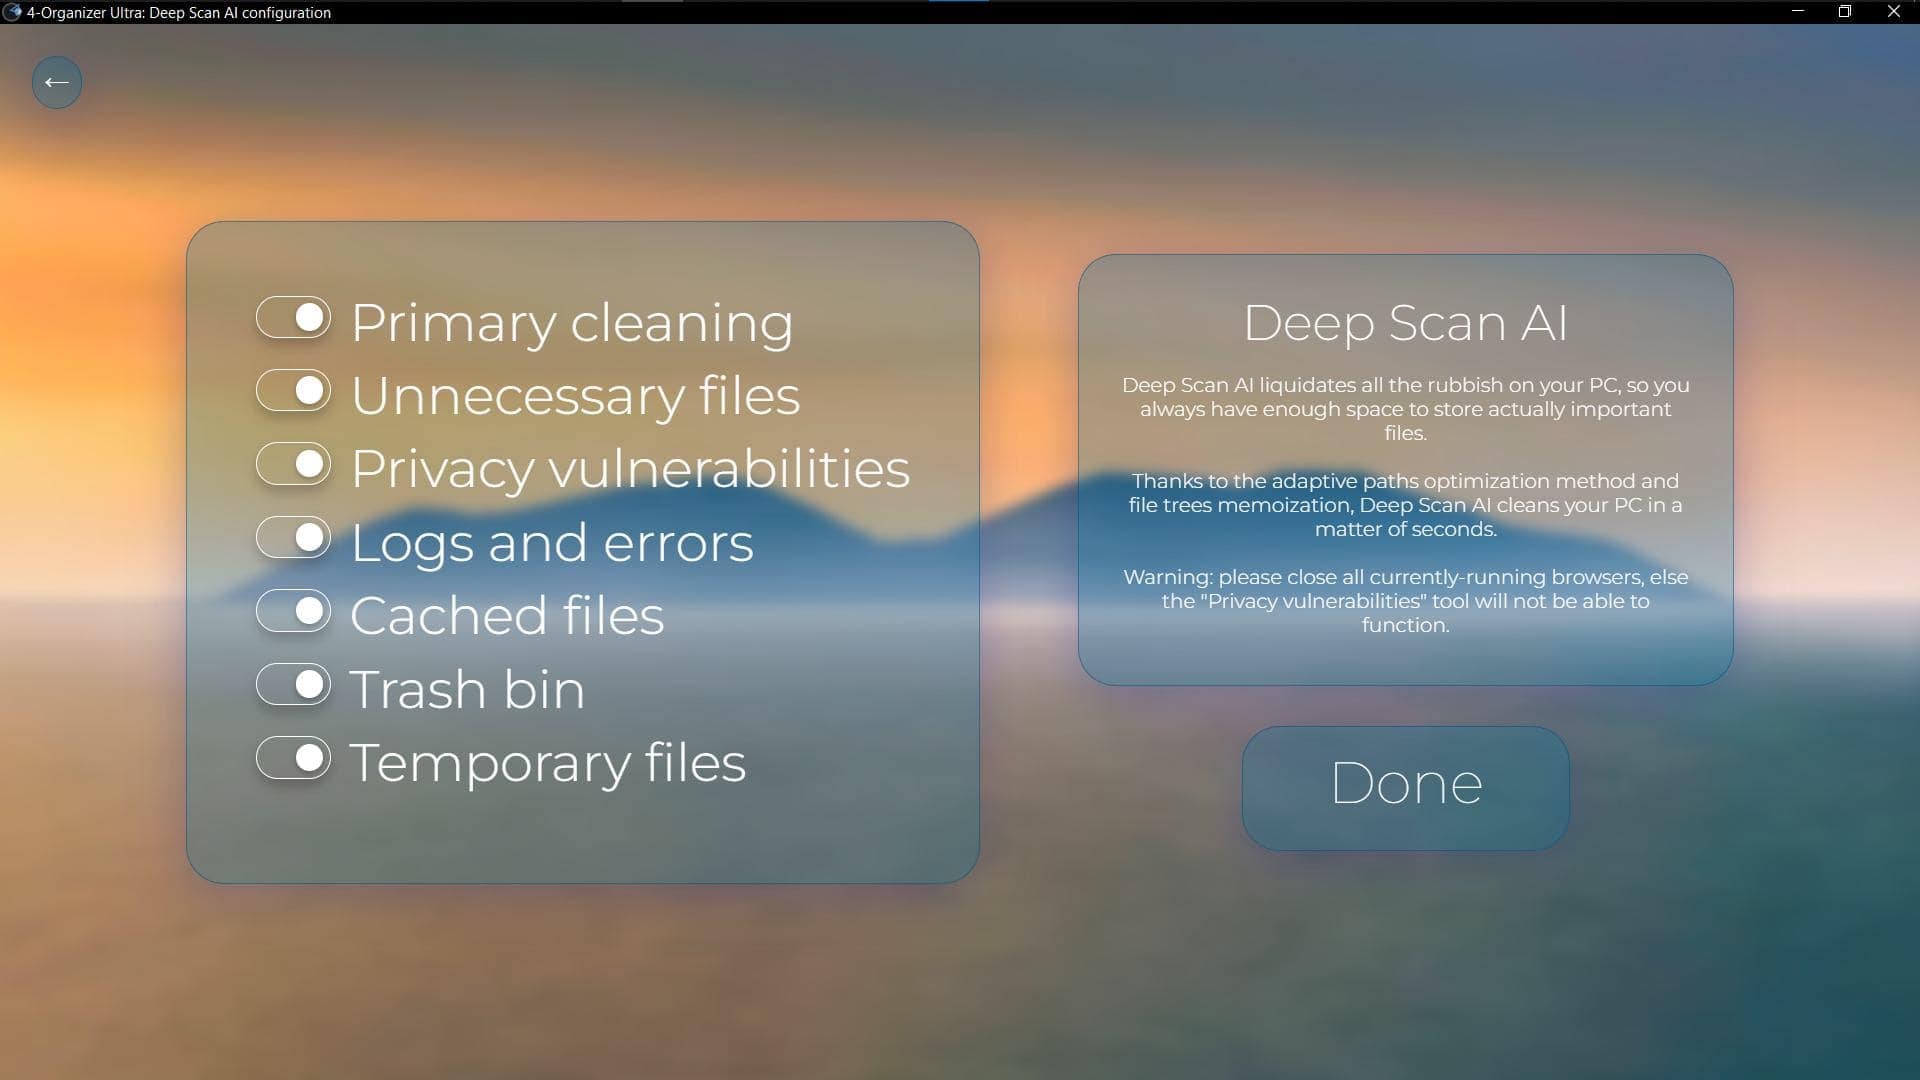
You can configure all Ambeteco technologies where you can see a small arrow icon next to it - click on this arrow and configure the particular aspect of the scan. For example, you can disable the cleaning of the Recycle Bin or the sorting of files in your Desktop folder.
When you are ready to start the scan, just press the "Next" button to run it.
› Auto Scan AI
-› Read our guide to learn more about this feature:
what is Auto Scan AI and how to configure it
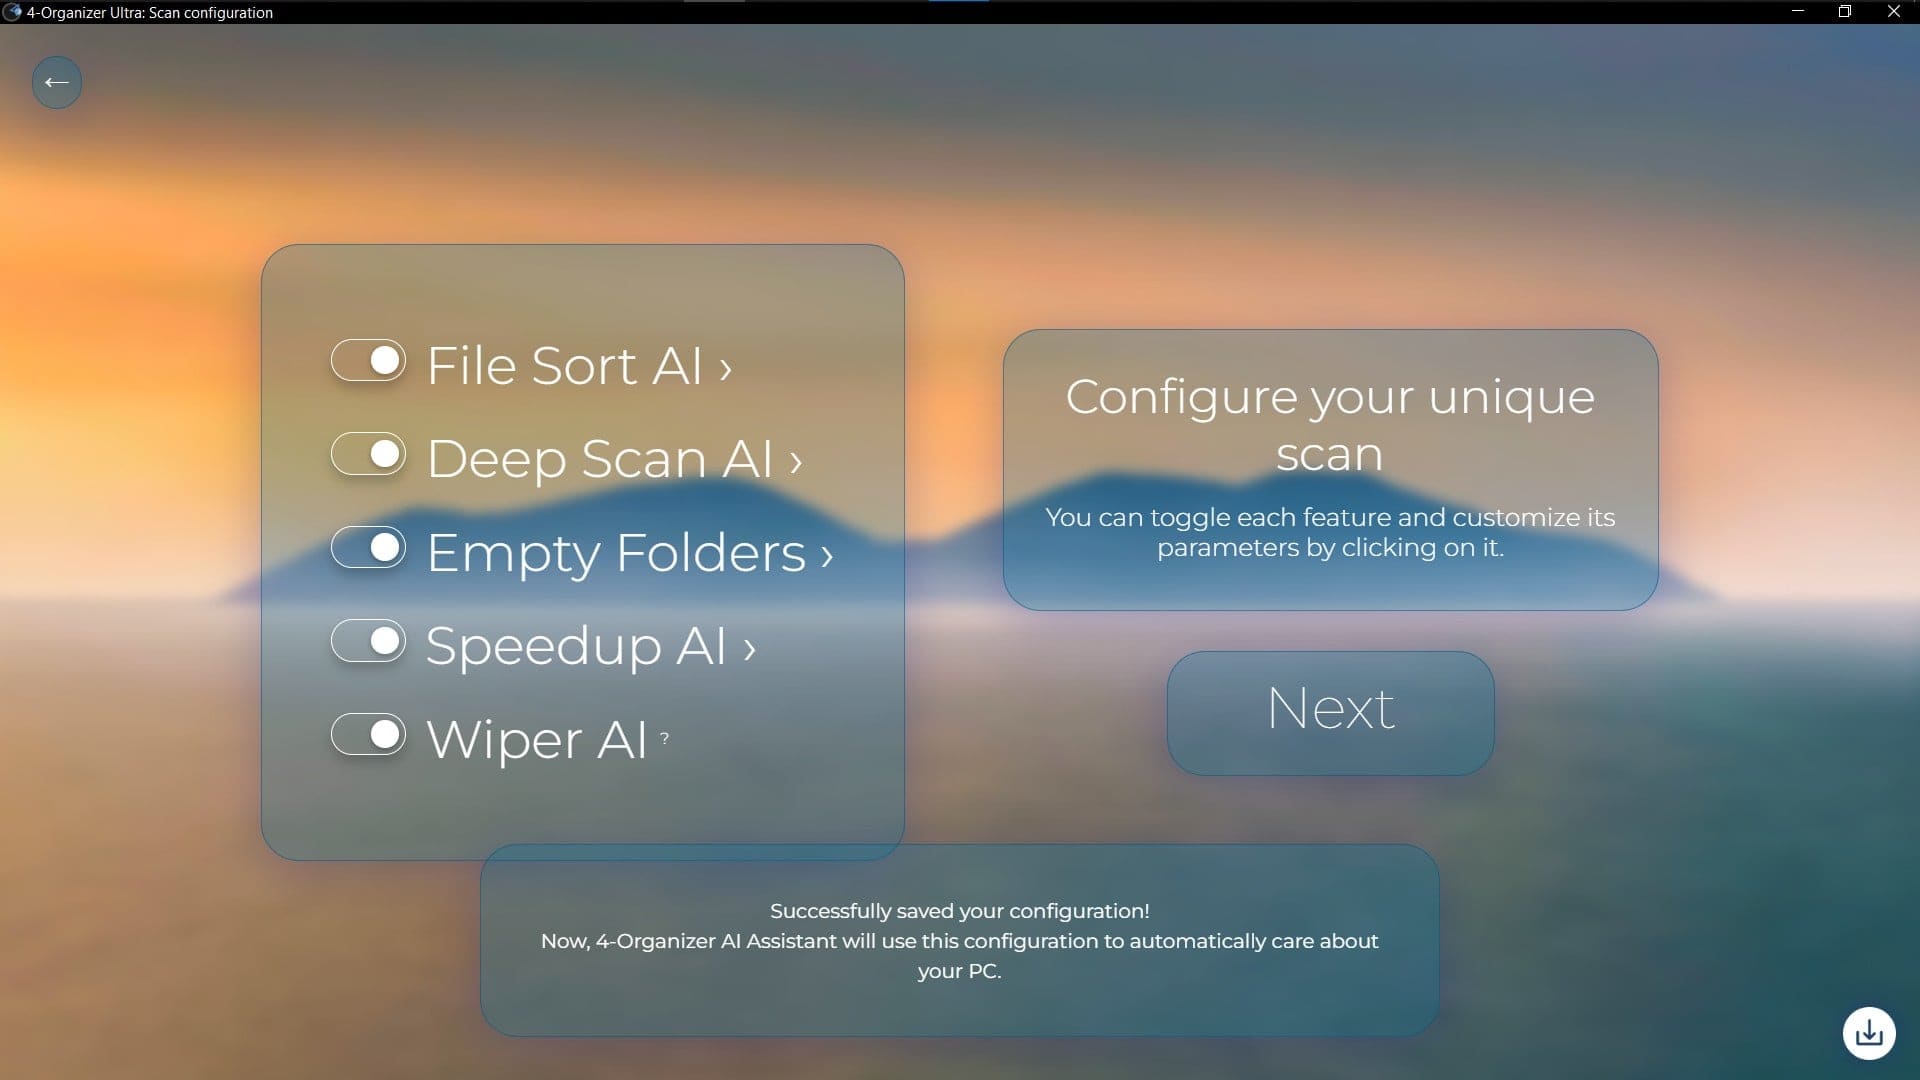
You can save your configured Unique Scan as an Auto Scan AI preset using the "Save as preset" button in the bottom right corner: 4-Organizer AI Assistant and Auto Scan AI will use this saved preset to run fully automatic scans to make sure your PC is always in amazing shape.
› During the scan
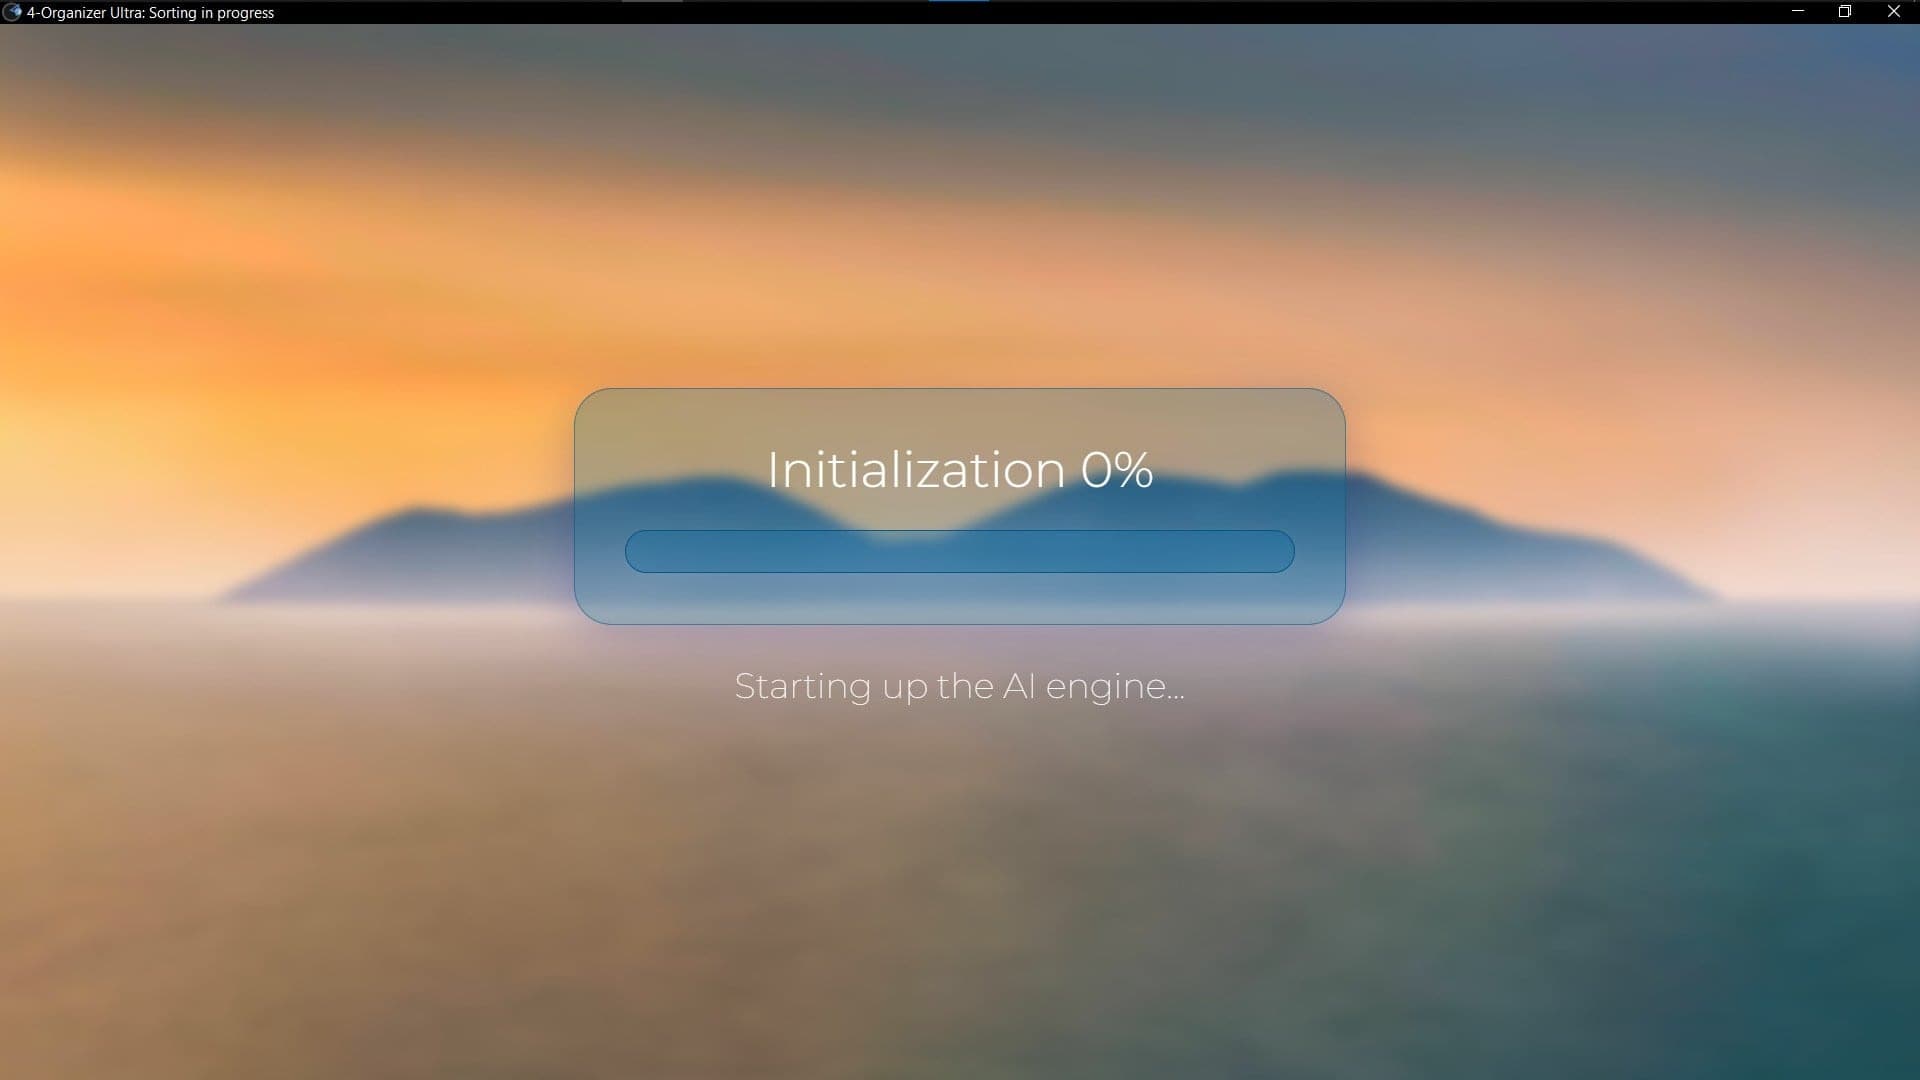
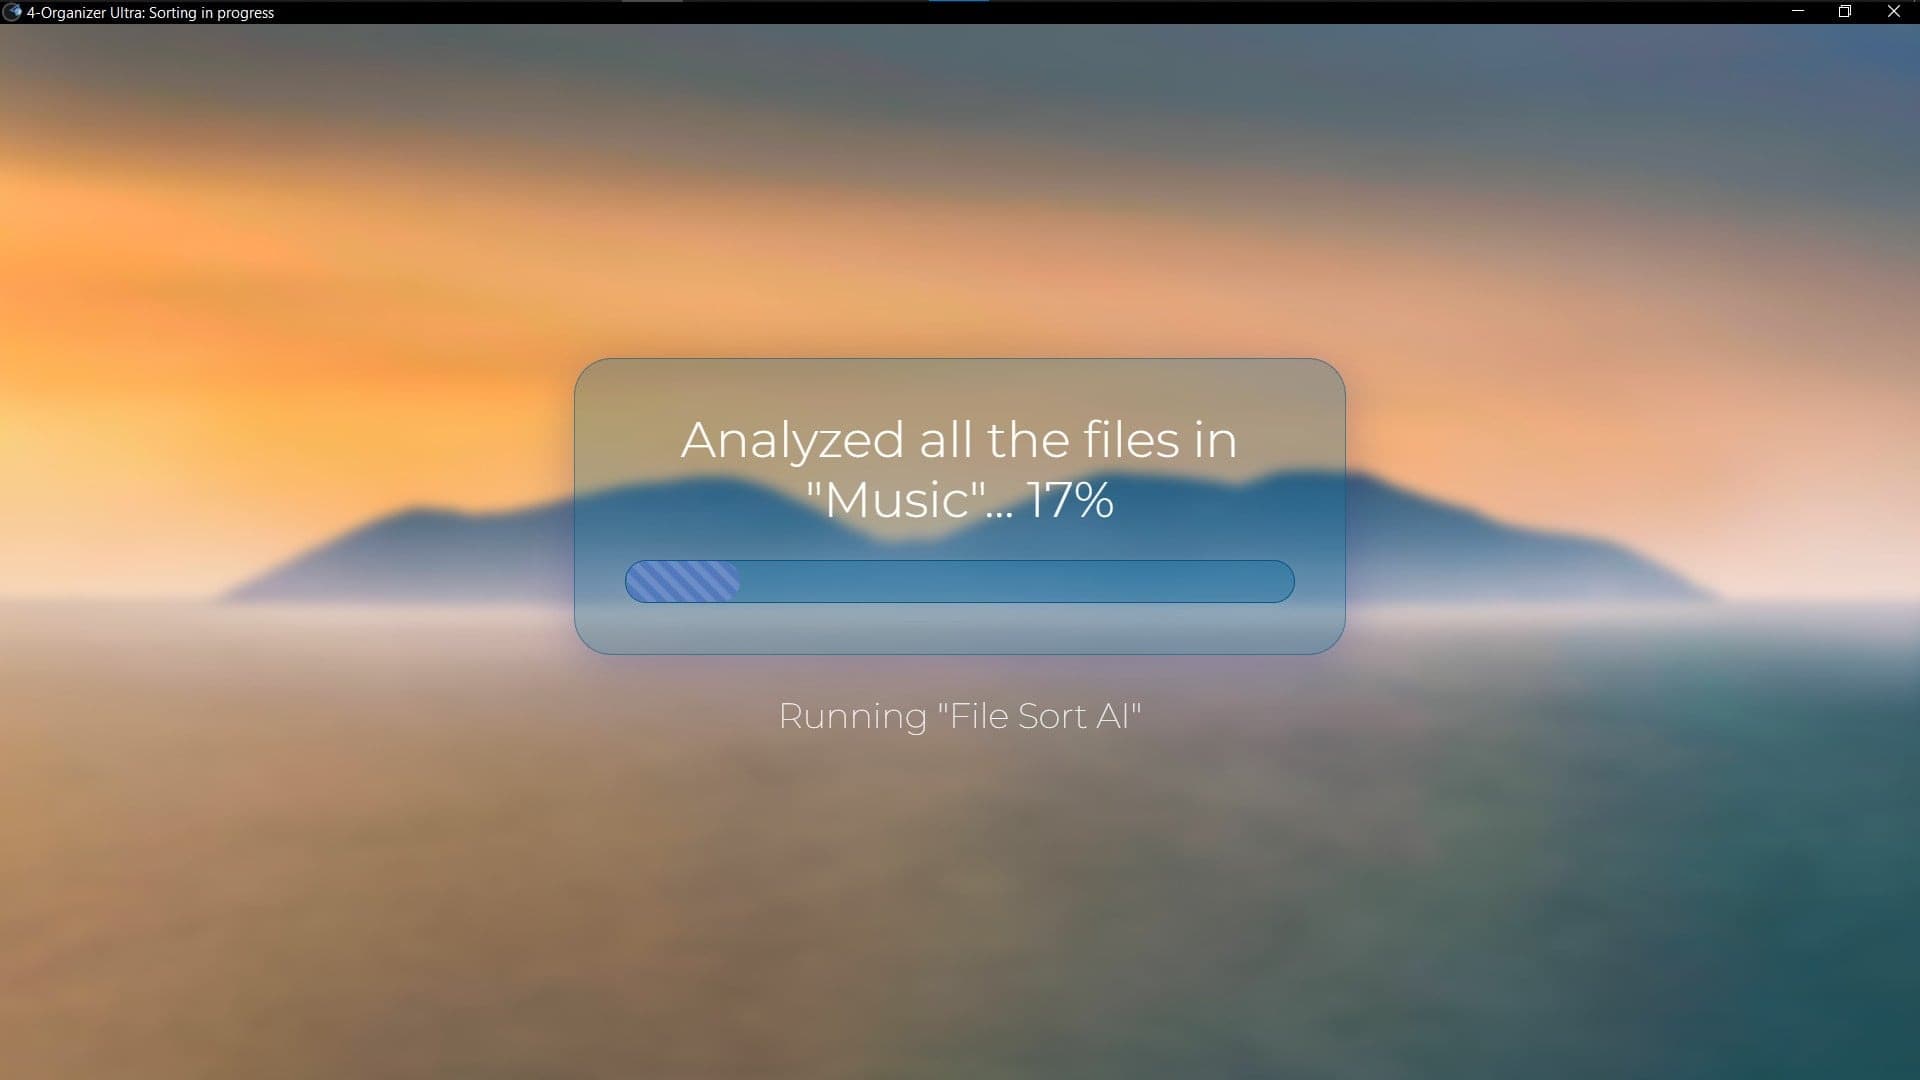
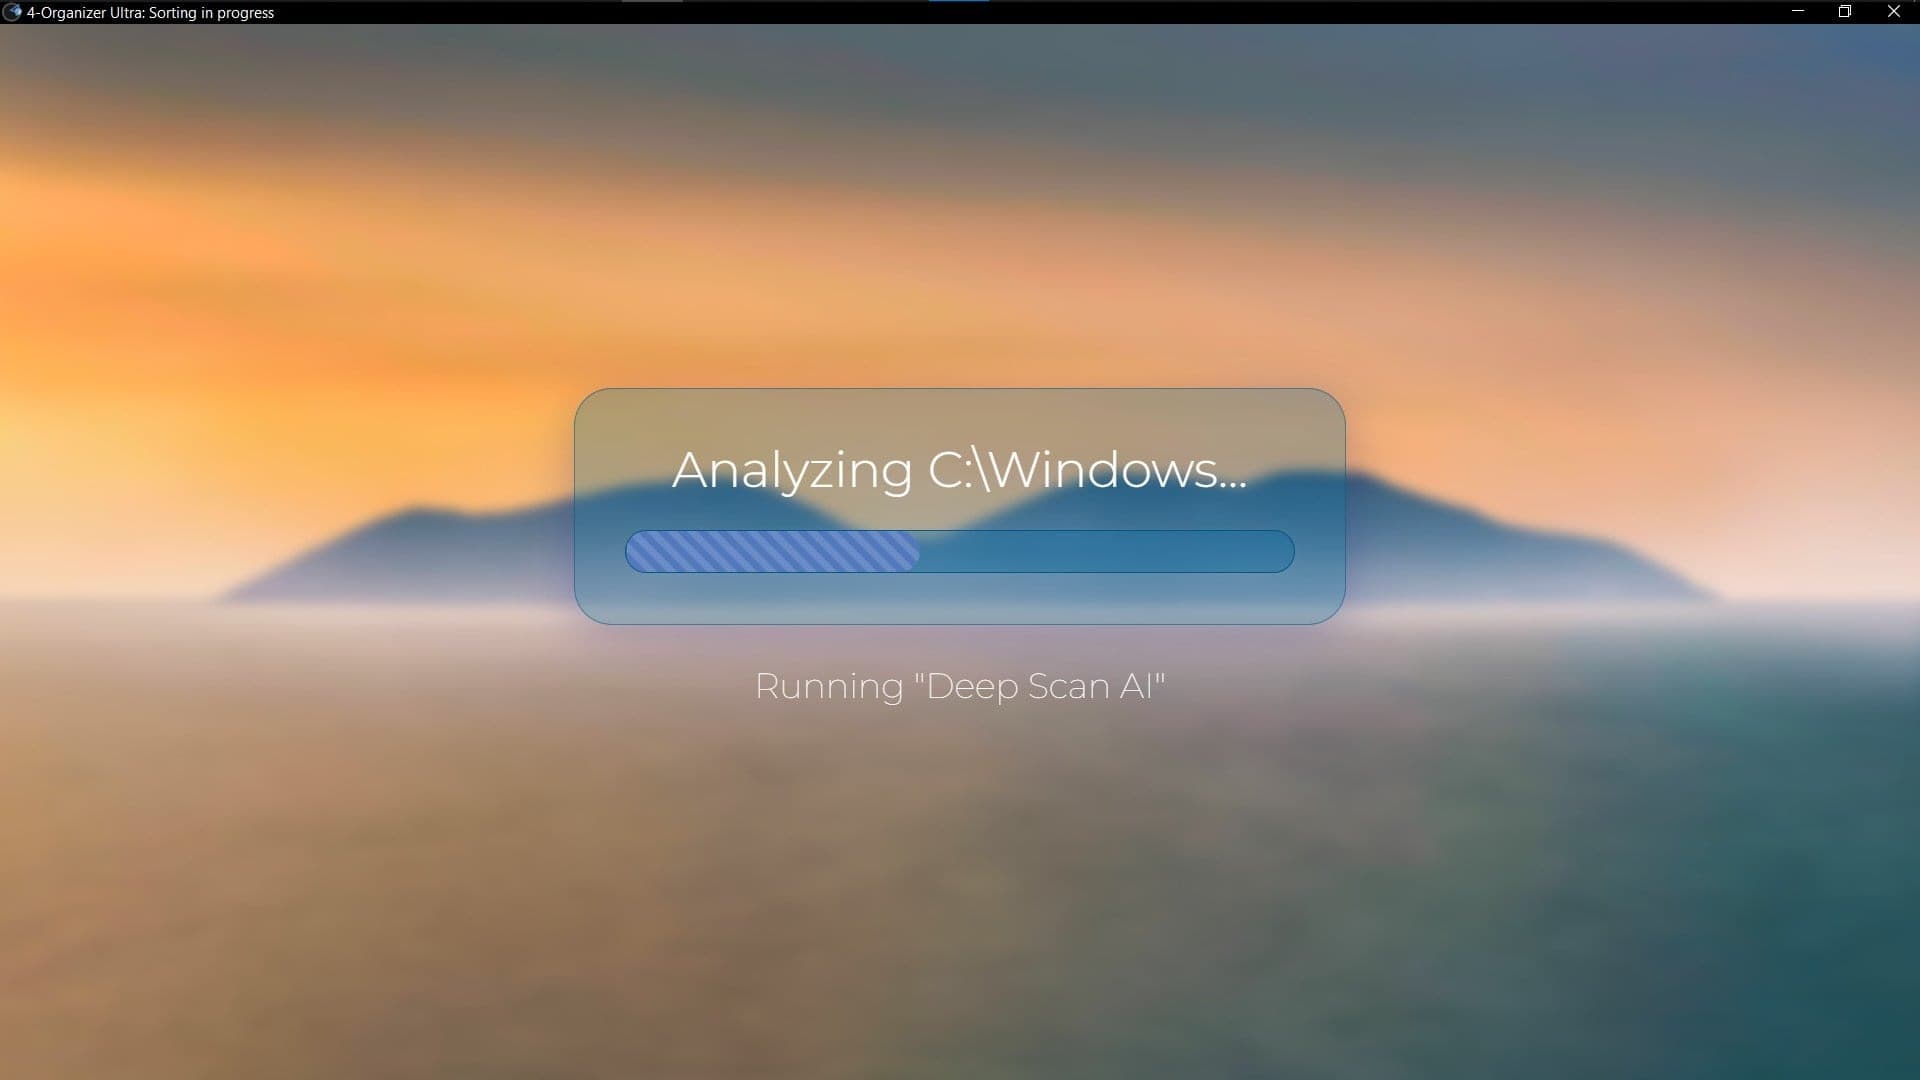
While the scan is running, you can monitor its status and progress, as well as some detailed messages with the current status of the scan and the specific Ambeteco technology that is working at the moment.
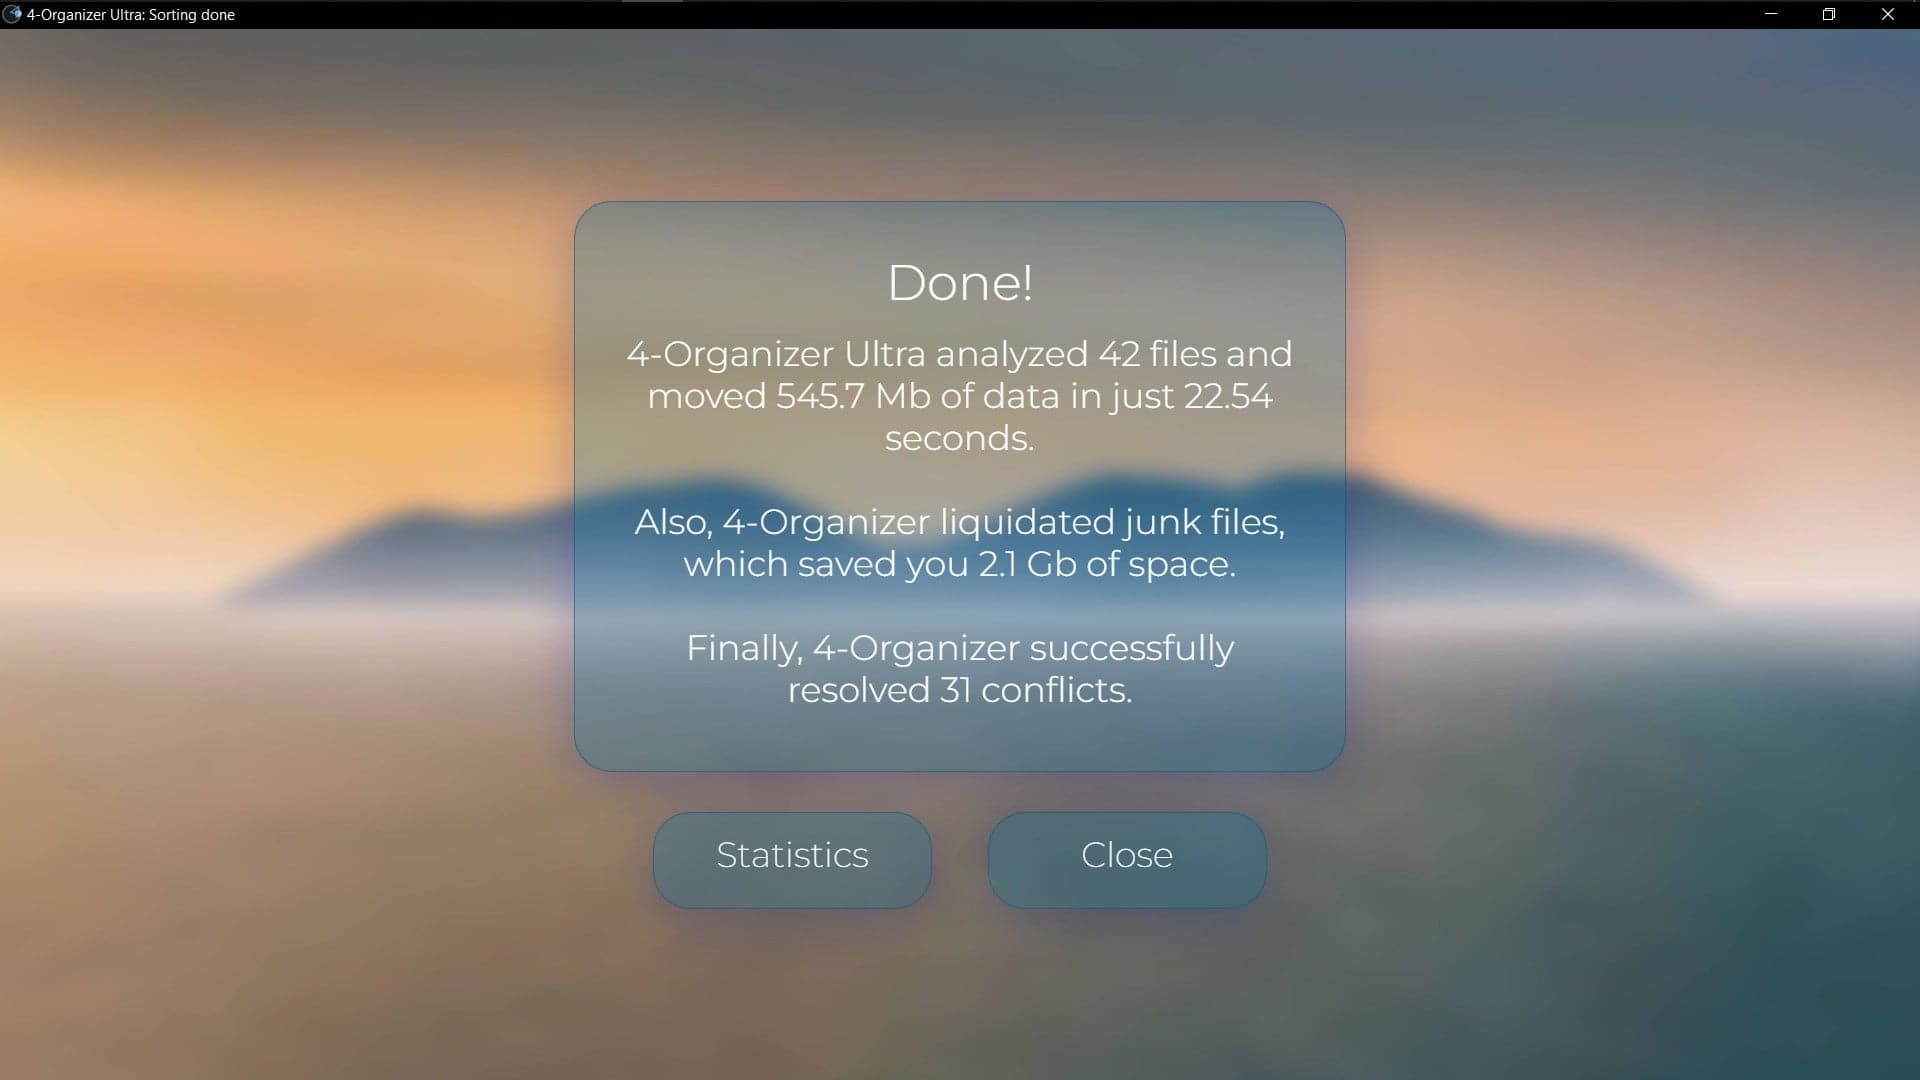
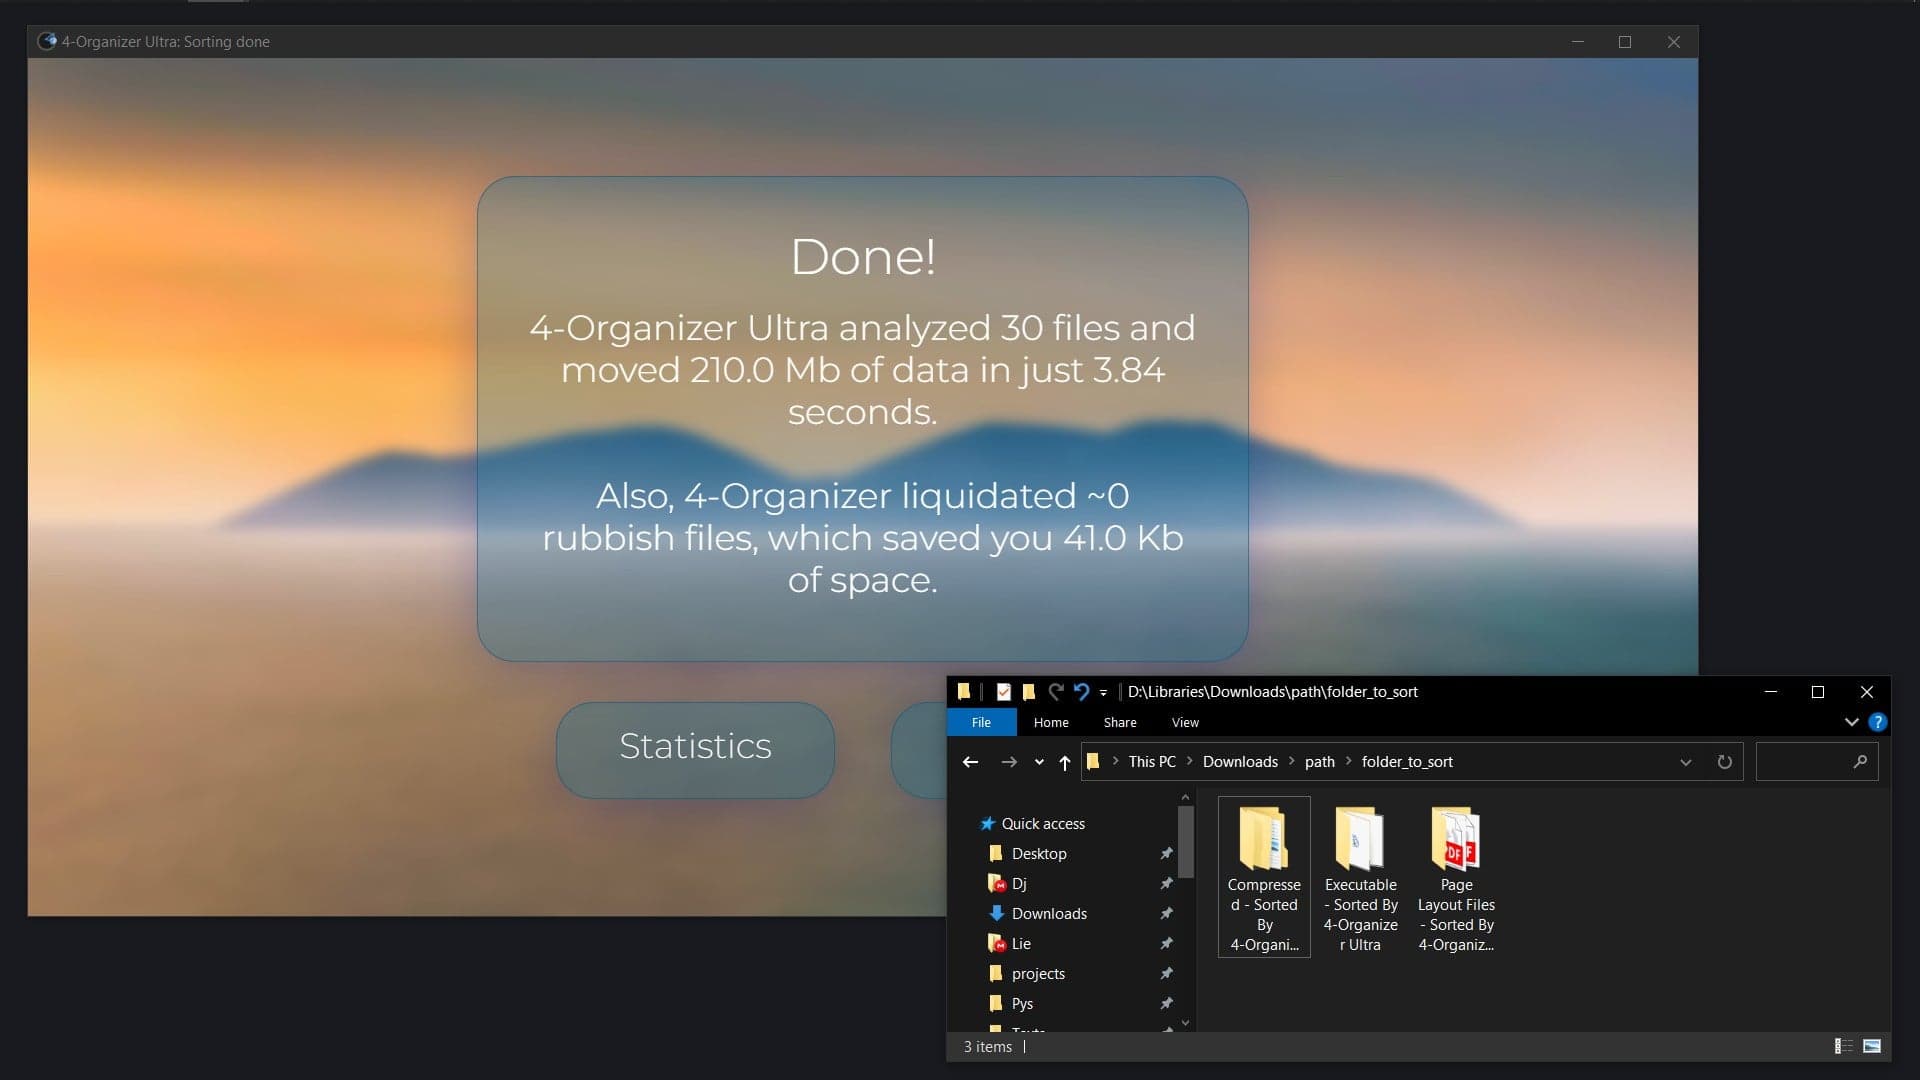
When the scan is finished, you will see another window showing the results of the scan - the amount of garbage cleaned, the number of files sorted, and the time spent on the scan.
› Custom Scan
-› Read our guide to learn more about this feature:
how to use Custom Scan to sort any files
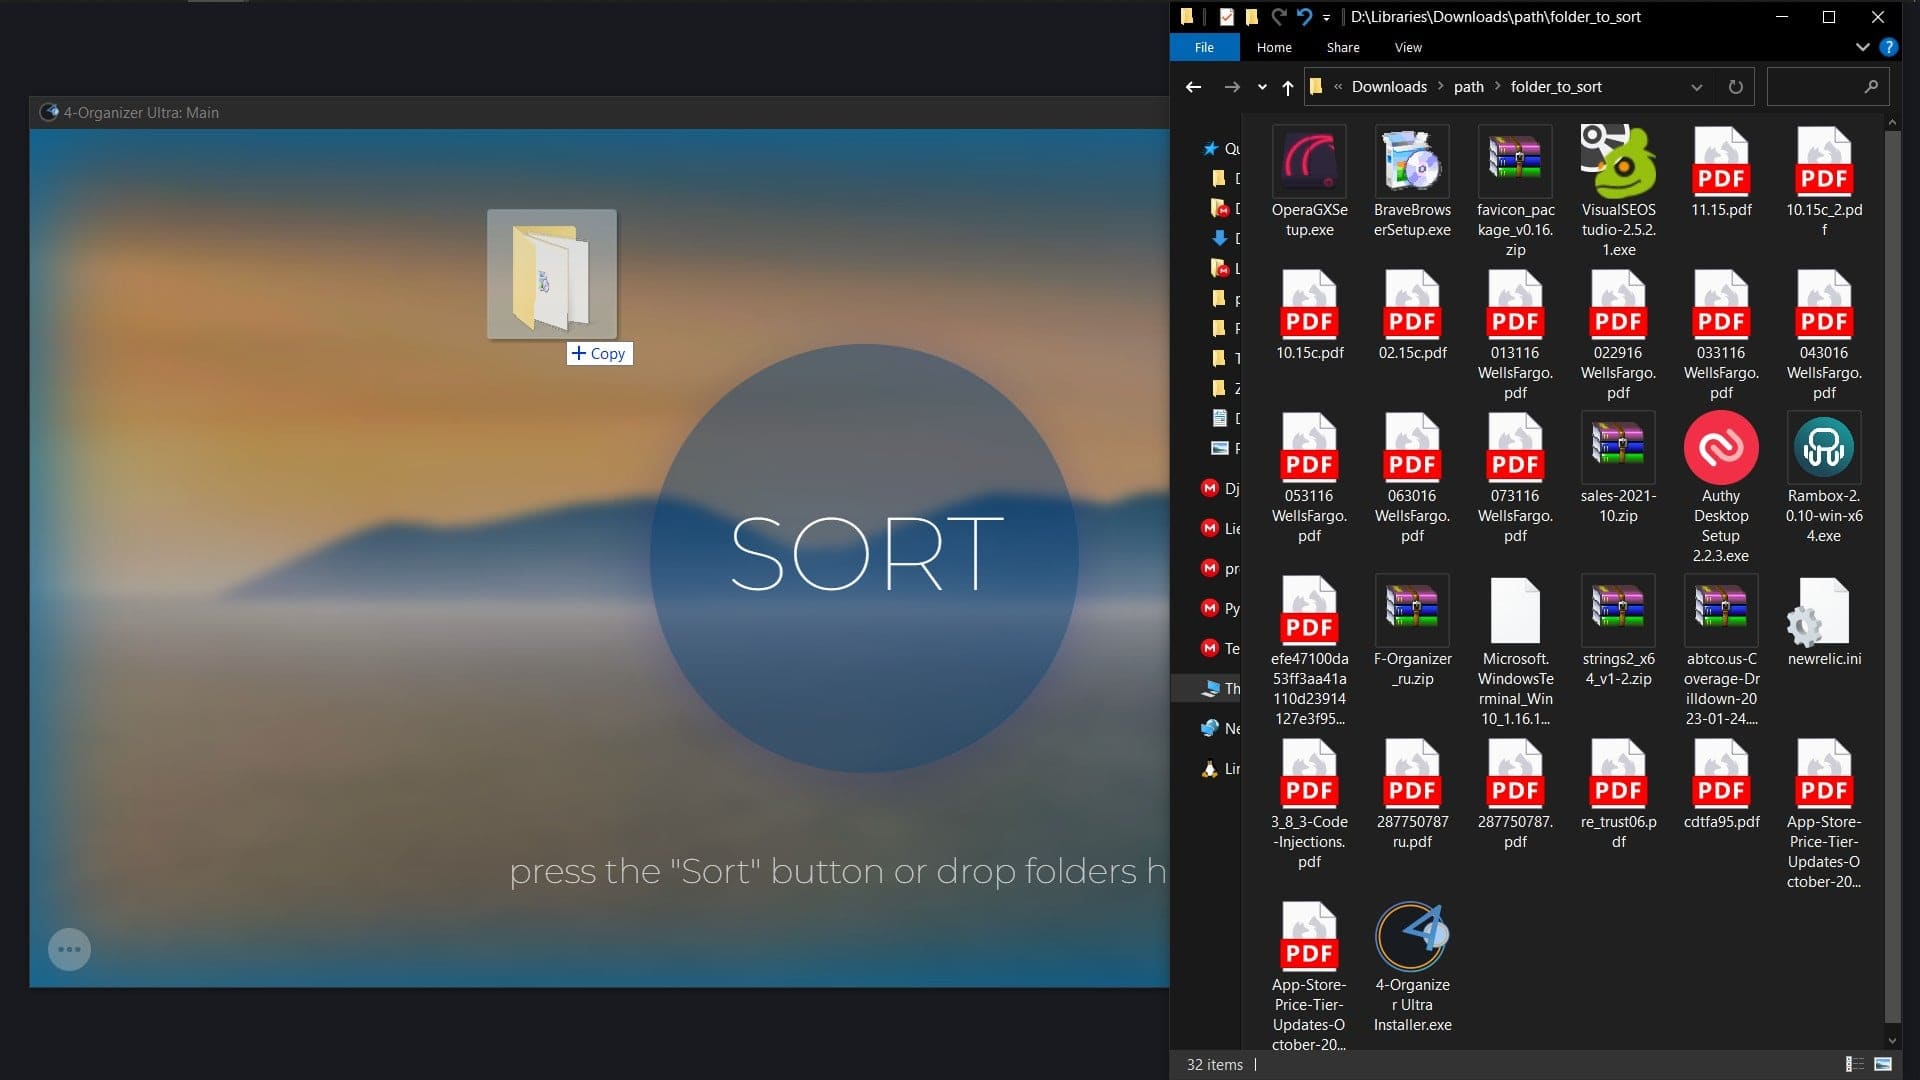
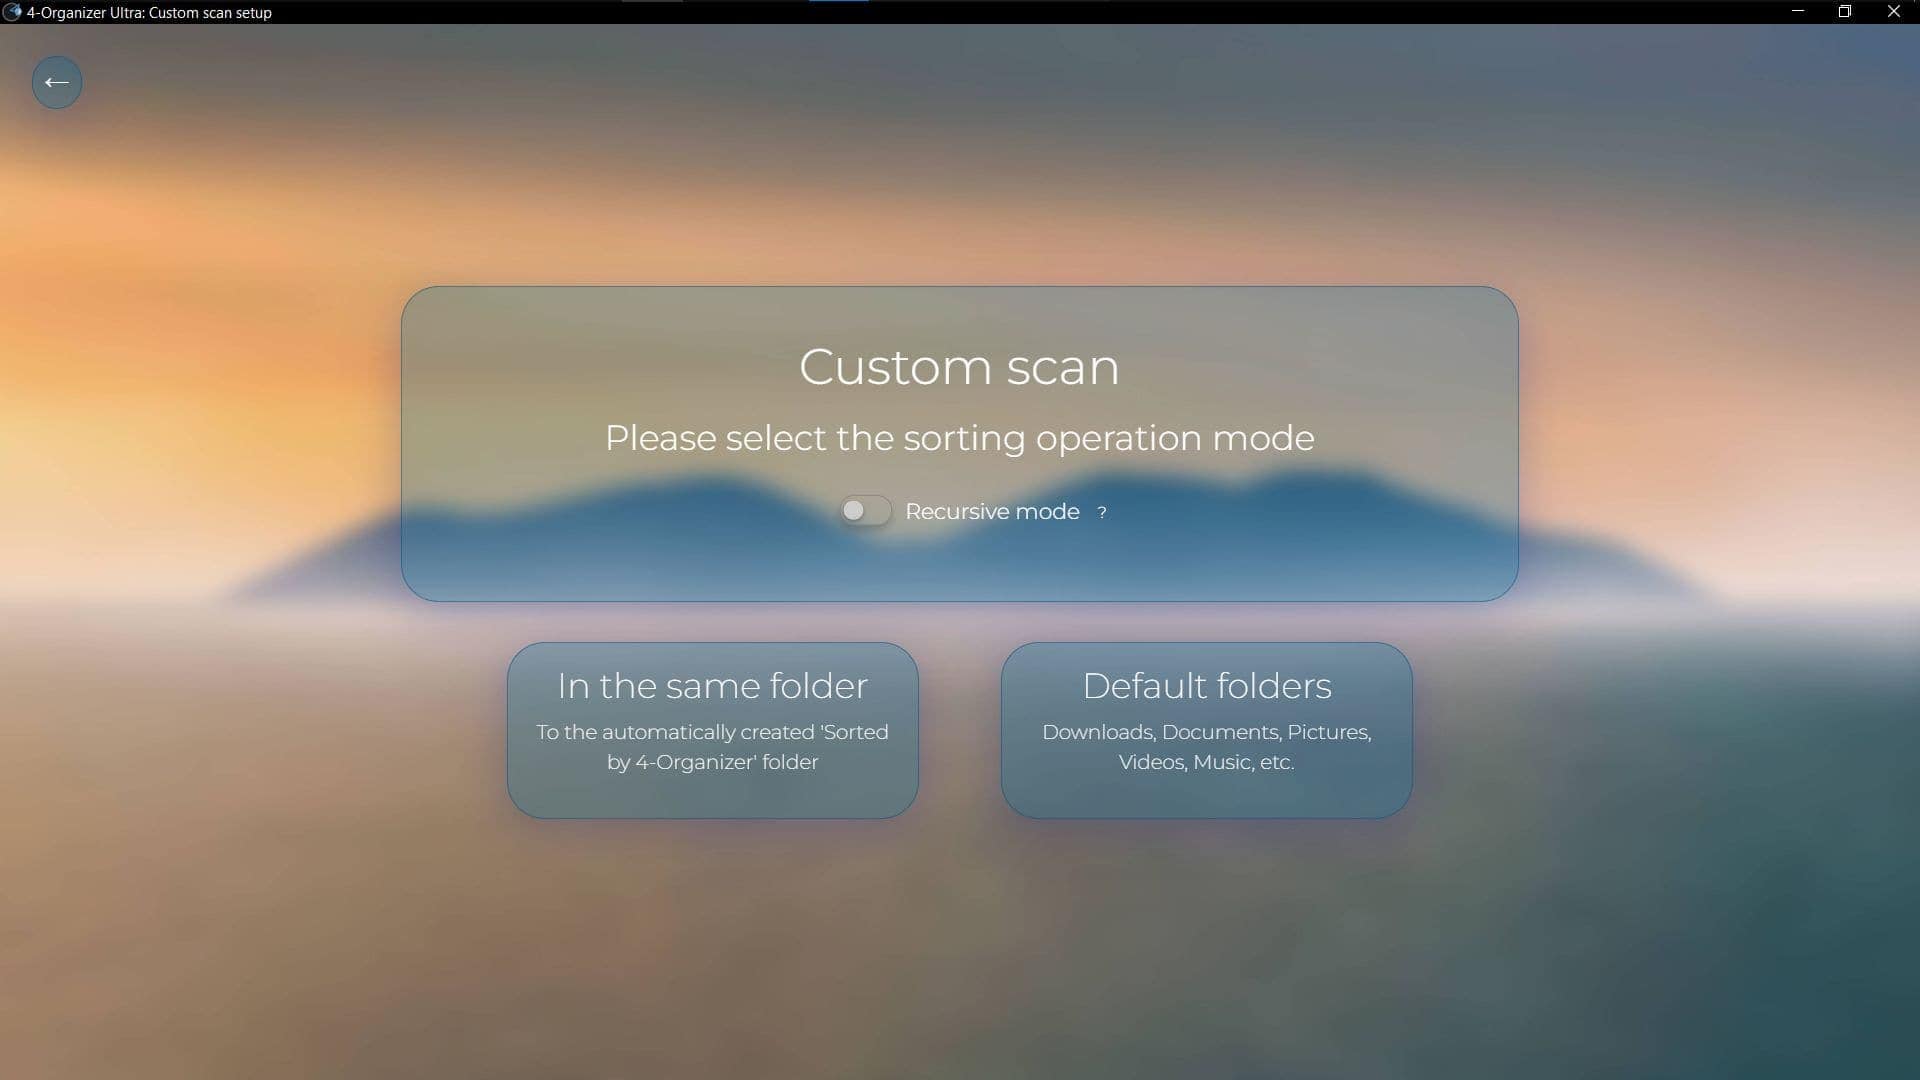
When the main window is open, you can drag any folder onto it to start a "Custom Scan", where you will be able to sort files in place or in their usual sort order, configured in the "Sorting Scheme" window.
Using the "In the same folder" option, files will be sorted inside the specified folder - this mode is especially useful for organizing external hard disks or flash drives.
The second option "Default folders" will sort and move files to the user's main folders - "Downloads", "Documents", "Pictures", etc. This mode is useful for quickly organizing cluttered folders stuffed with hundreds of files that all need to be moved to the main folders.
Let's consider the following folder:
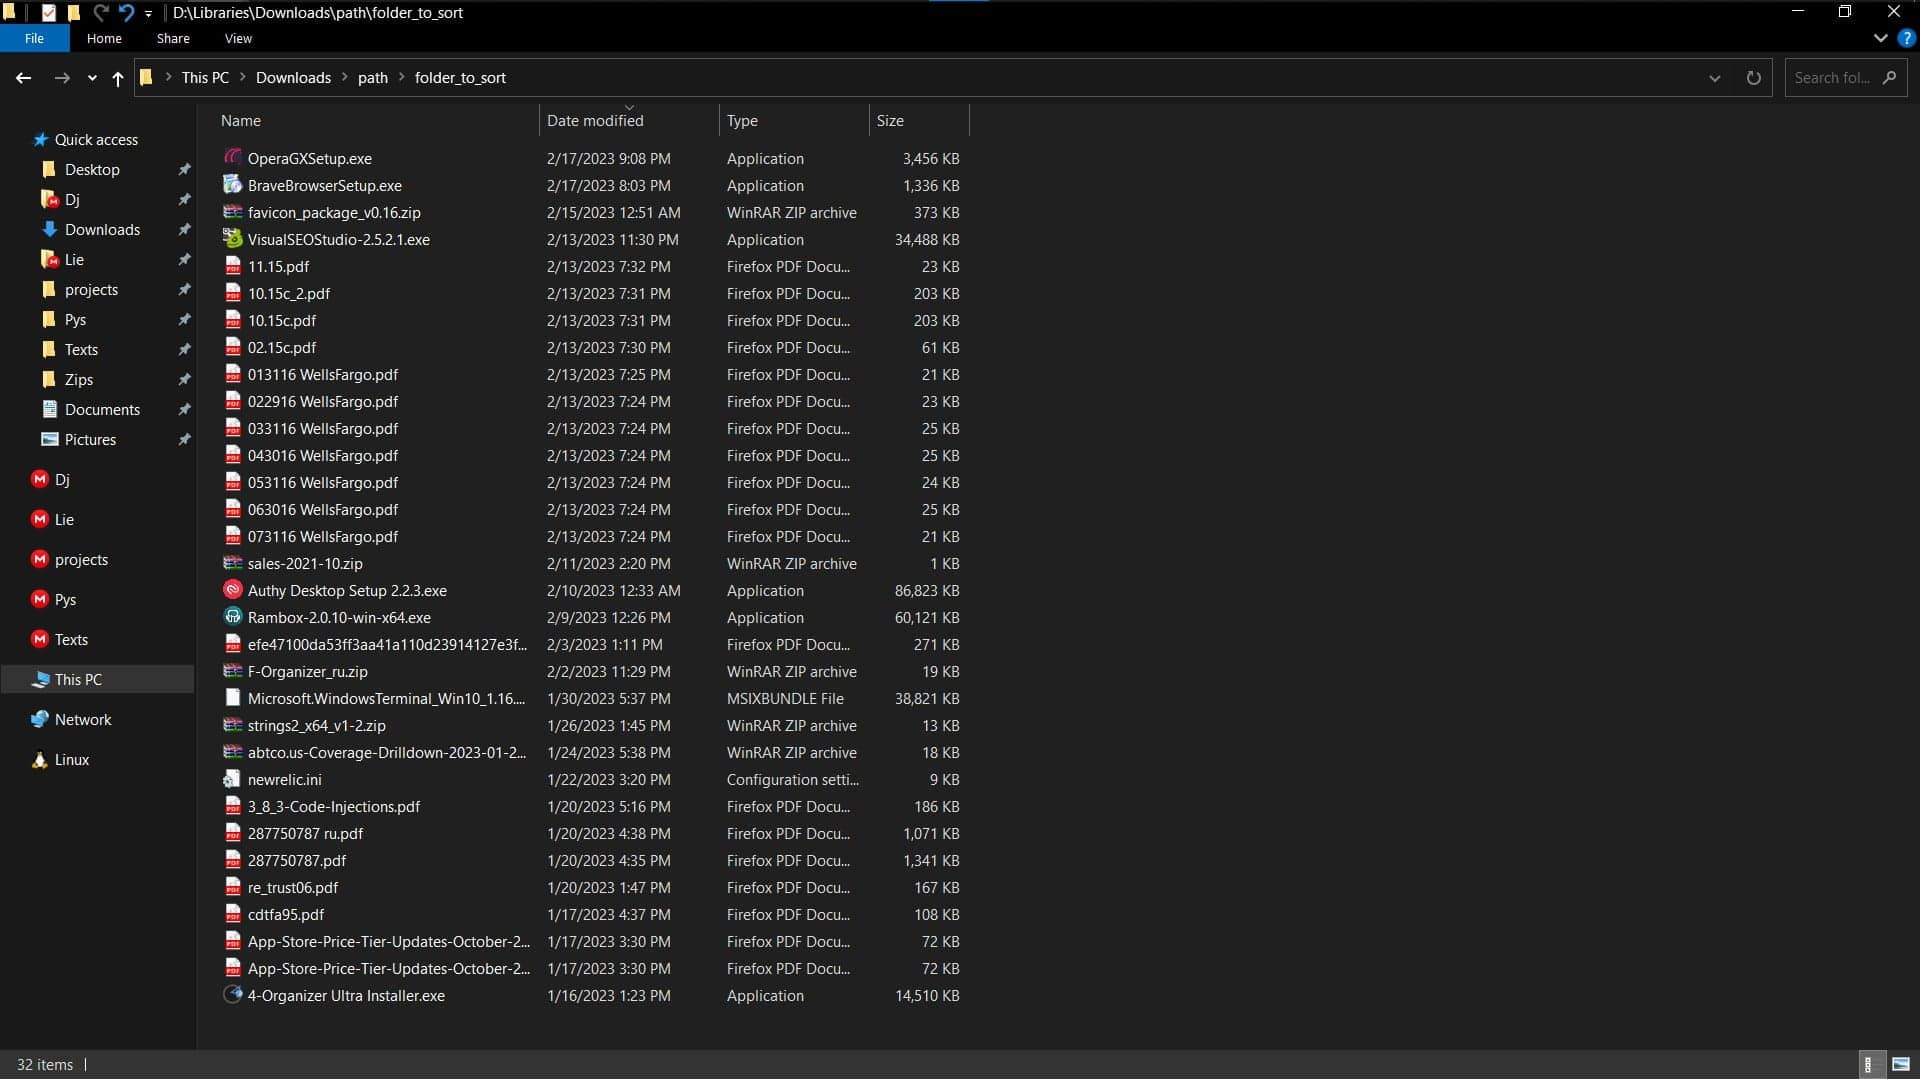
Drag-and-drop this folder to the 4-Organizer's main window:
Next, the sorting mode - we will select "In the same folder" mode for this example.
Shortly, 4-Organizer will sort these files and the folder will look like this:
› Rollback: undo sorting
-› Read our guide to learn more about this feature:
non-destructive file sorting - how to use Rollback
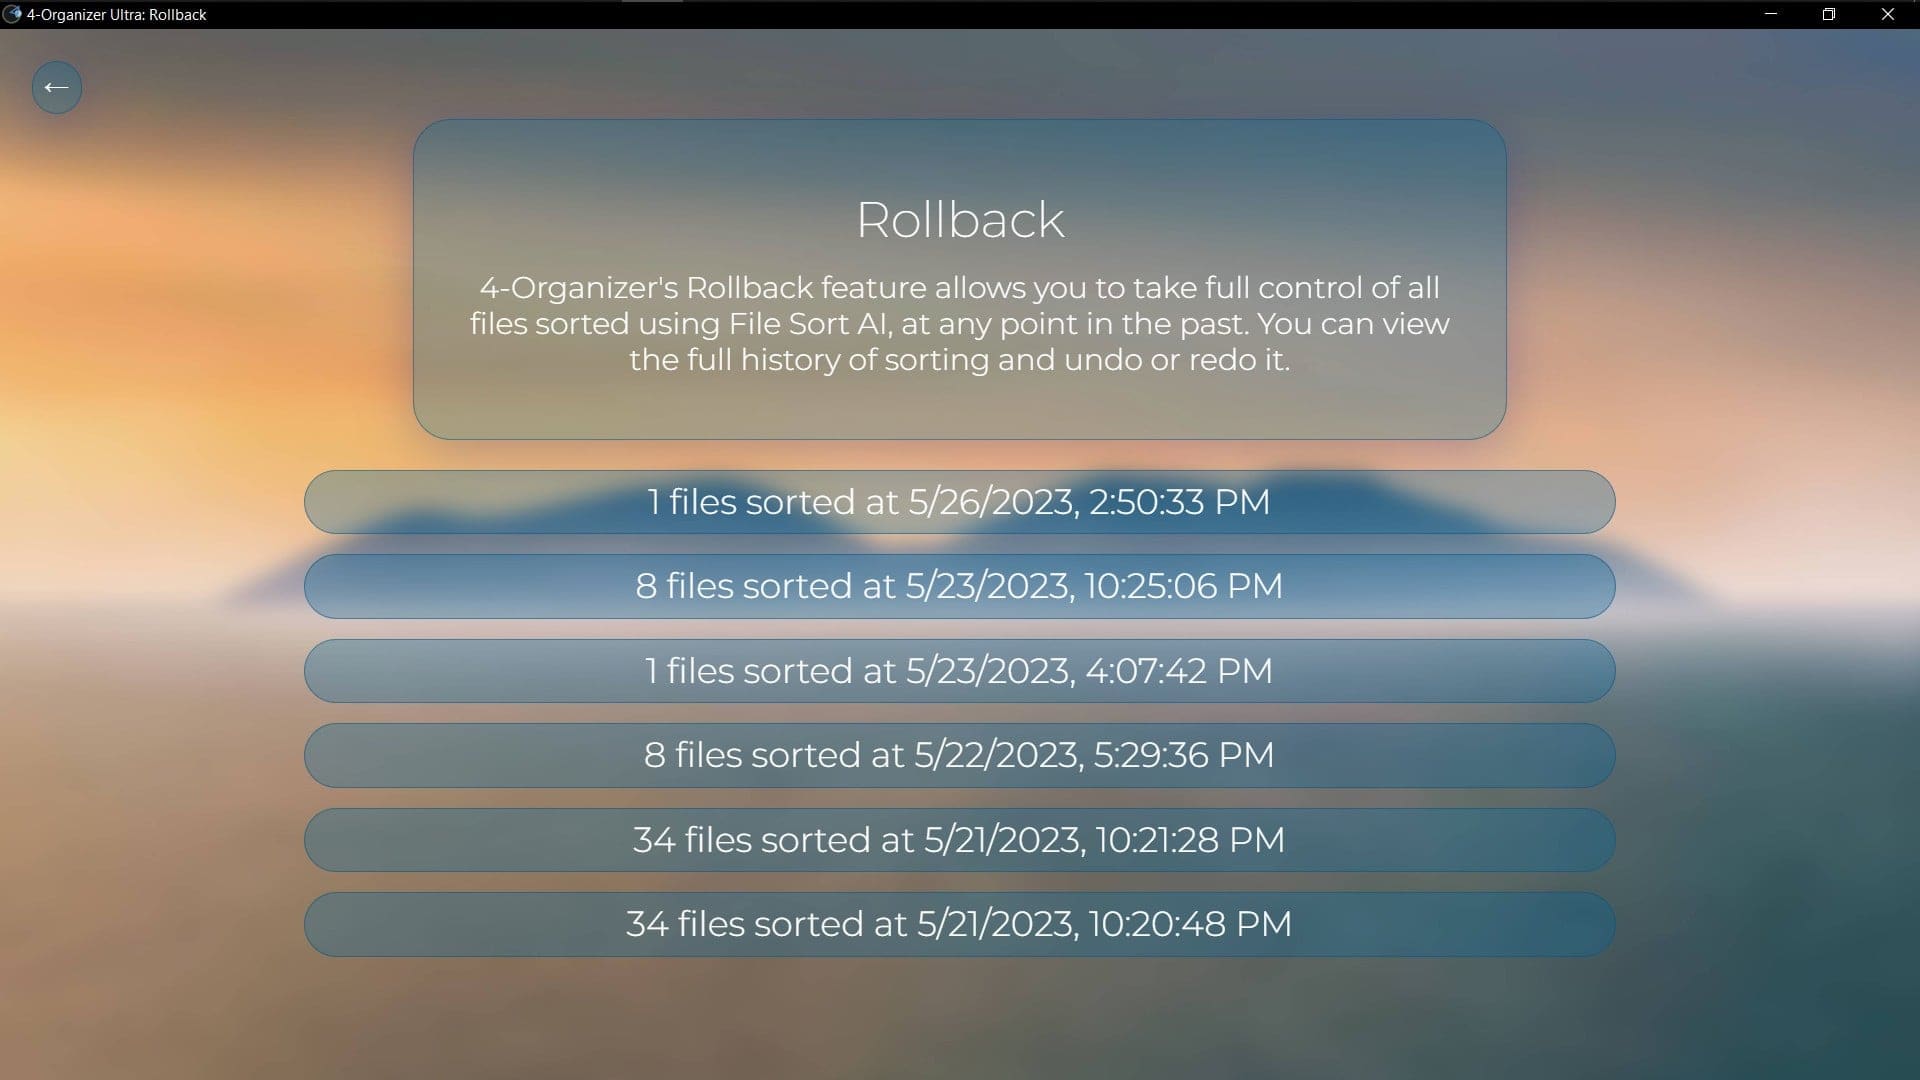
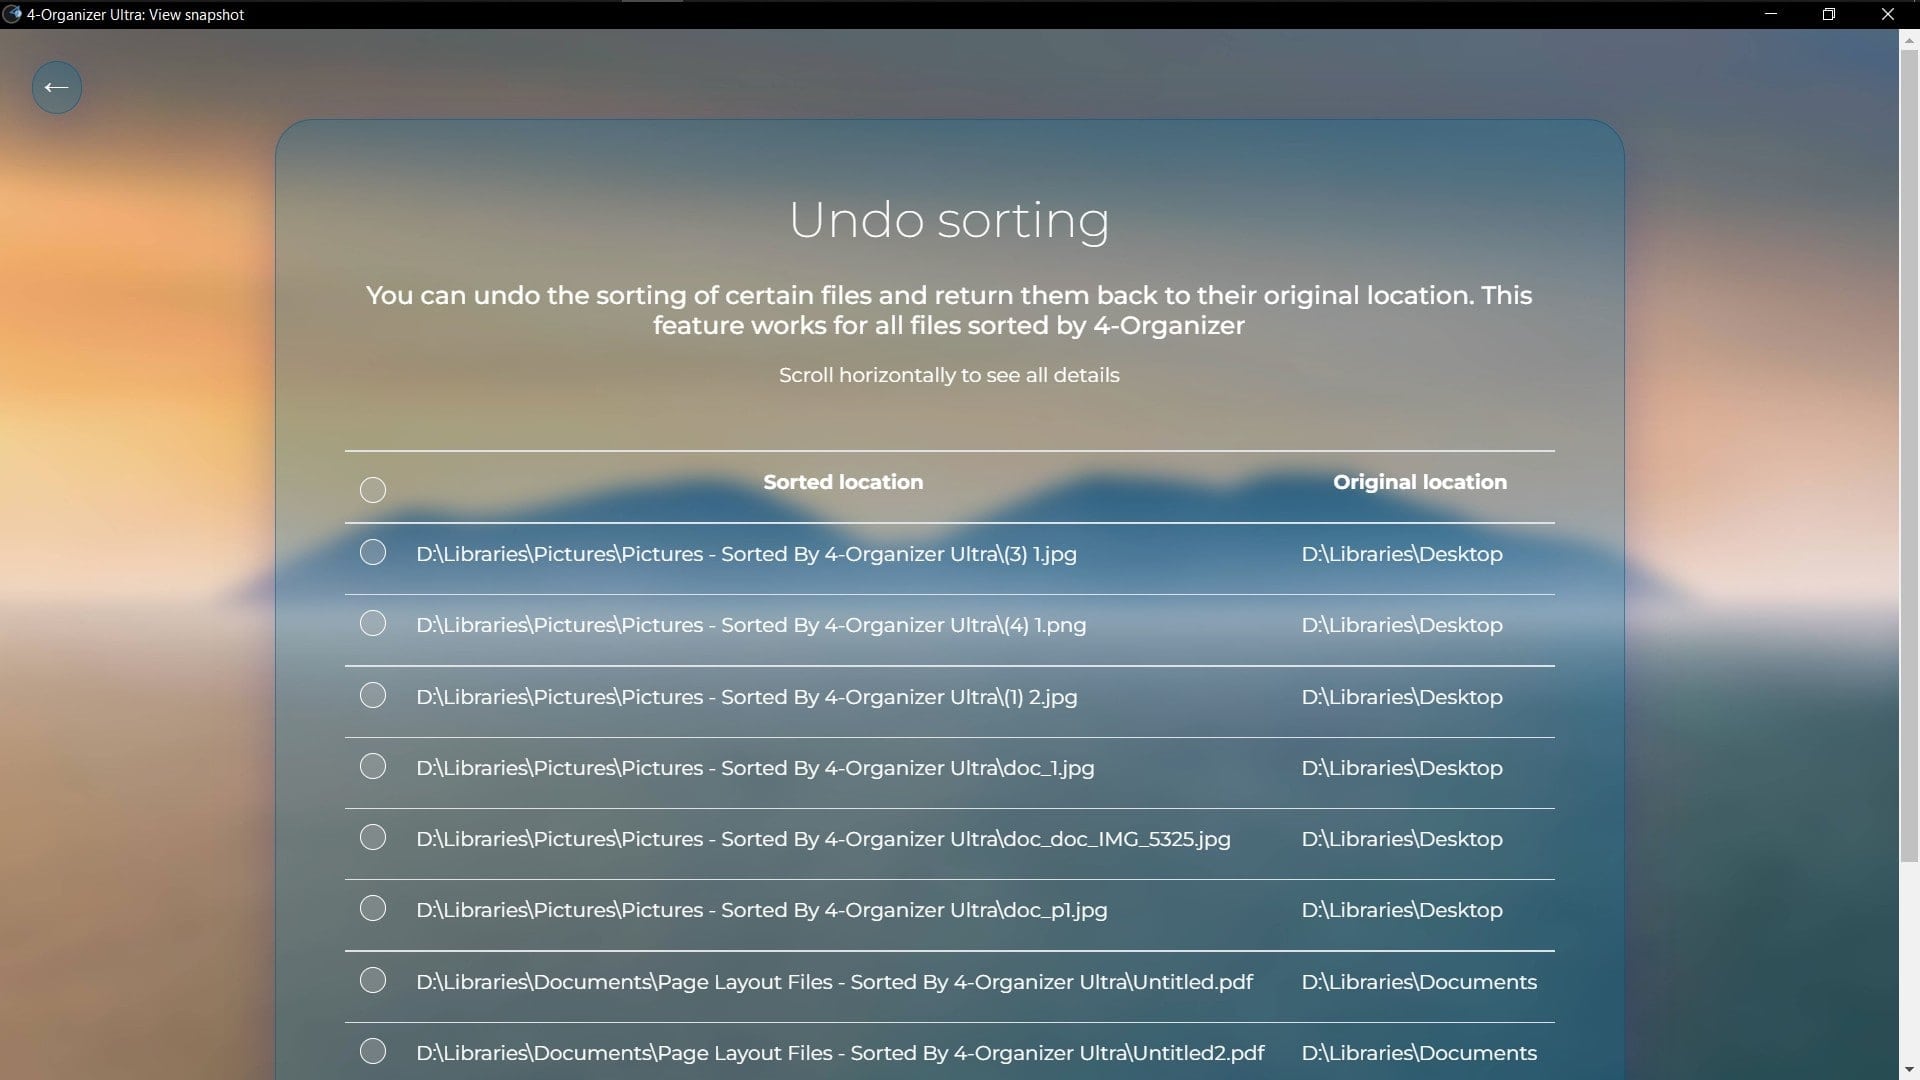
Yet another powerful feature of 4-Organizer Ultra is Rollback, a function that allows you to revert the sorting, that was performed.
All files that are sorted by 4-Organizer Ultra will automatically appear in the Rollback, and be stored as "snapshots". You can open a snapshot and easily undo the sorting that was performed.
Even further, you can revert the undo operation itself: Rollback is indeed a powerful function. Simply check the files by clicking on them or by using the Shift key, and press the "Undo" or "Redo" buttons.
› Statistics
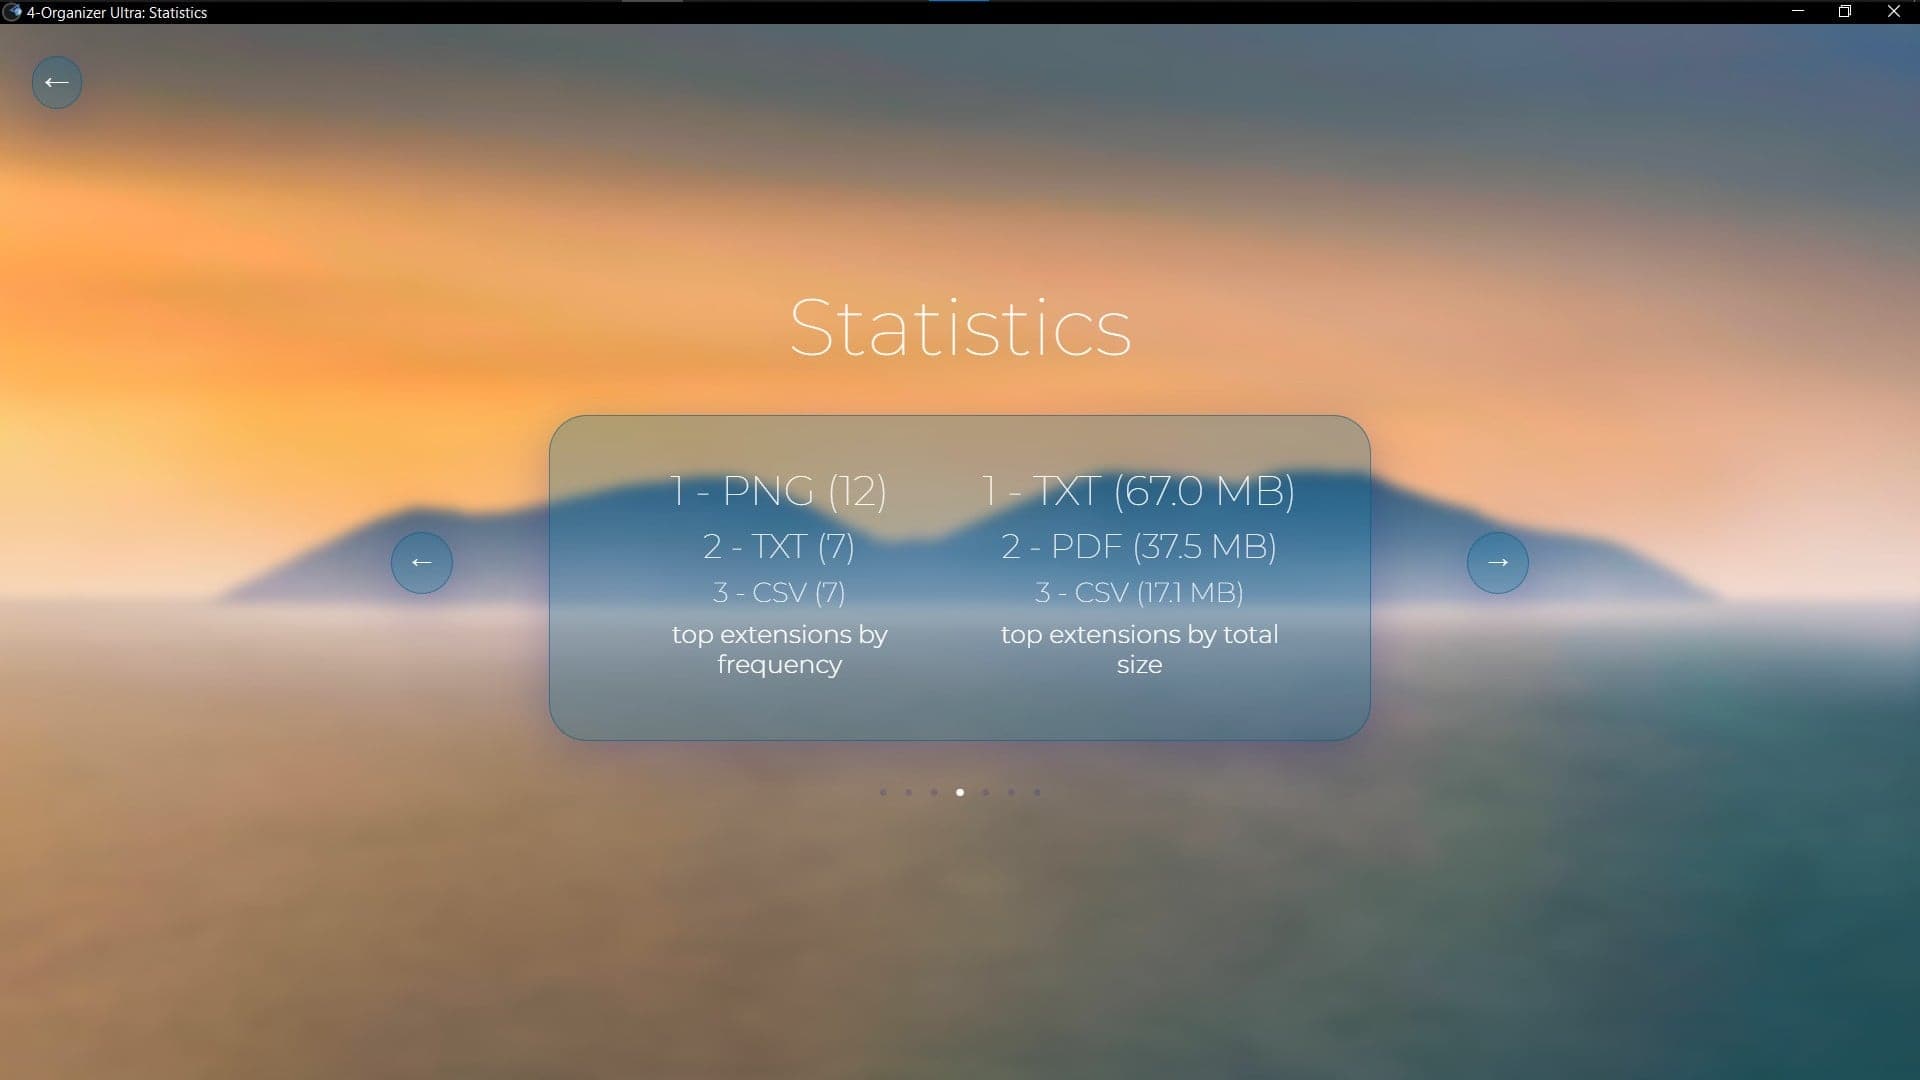
You can use the Statistics window to view the amount of trash cleaned, the number of files sorted, or explore interesting data. Use small white dots at the bottom of the screen or arrows on the left and right to navigate through different screens.
› Sorting scheme
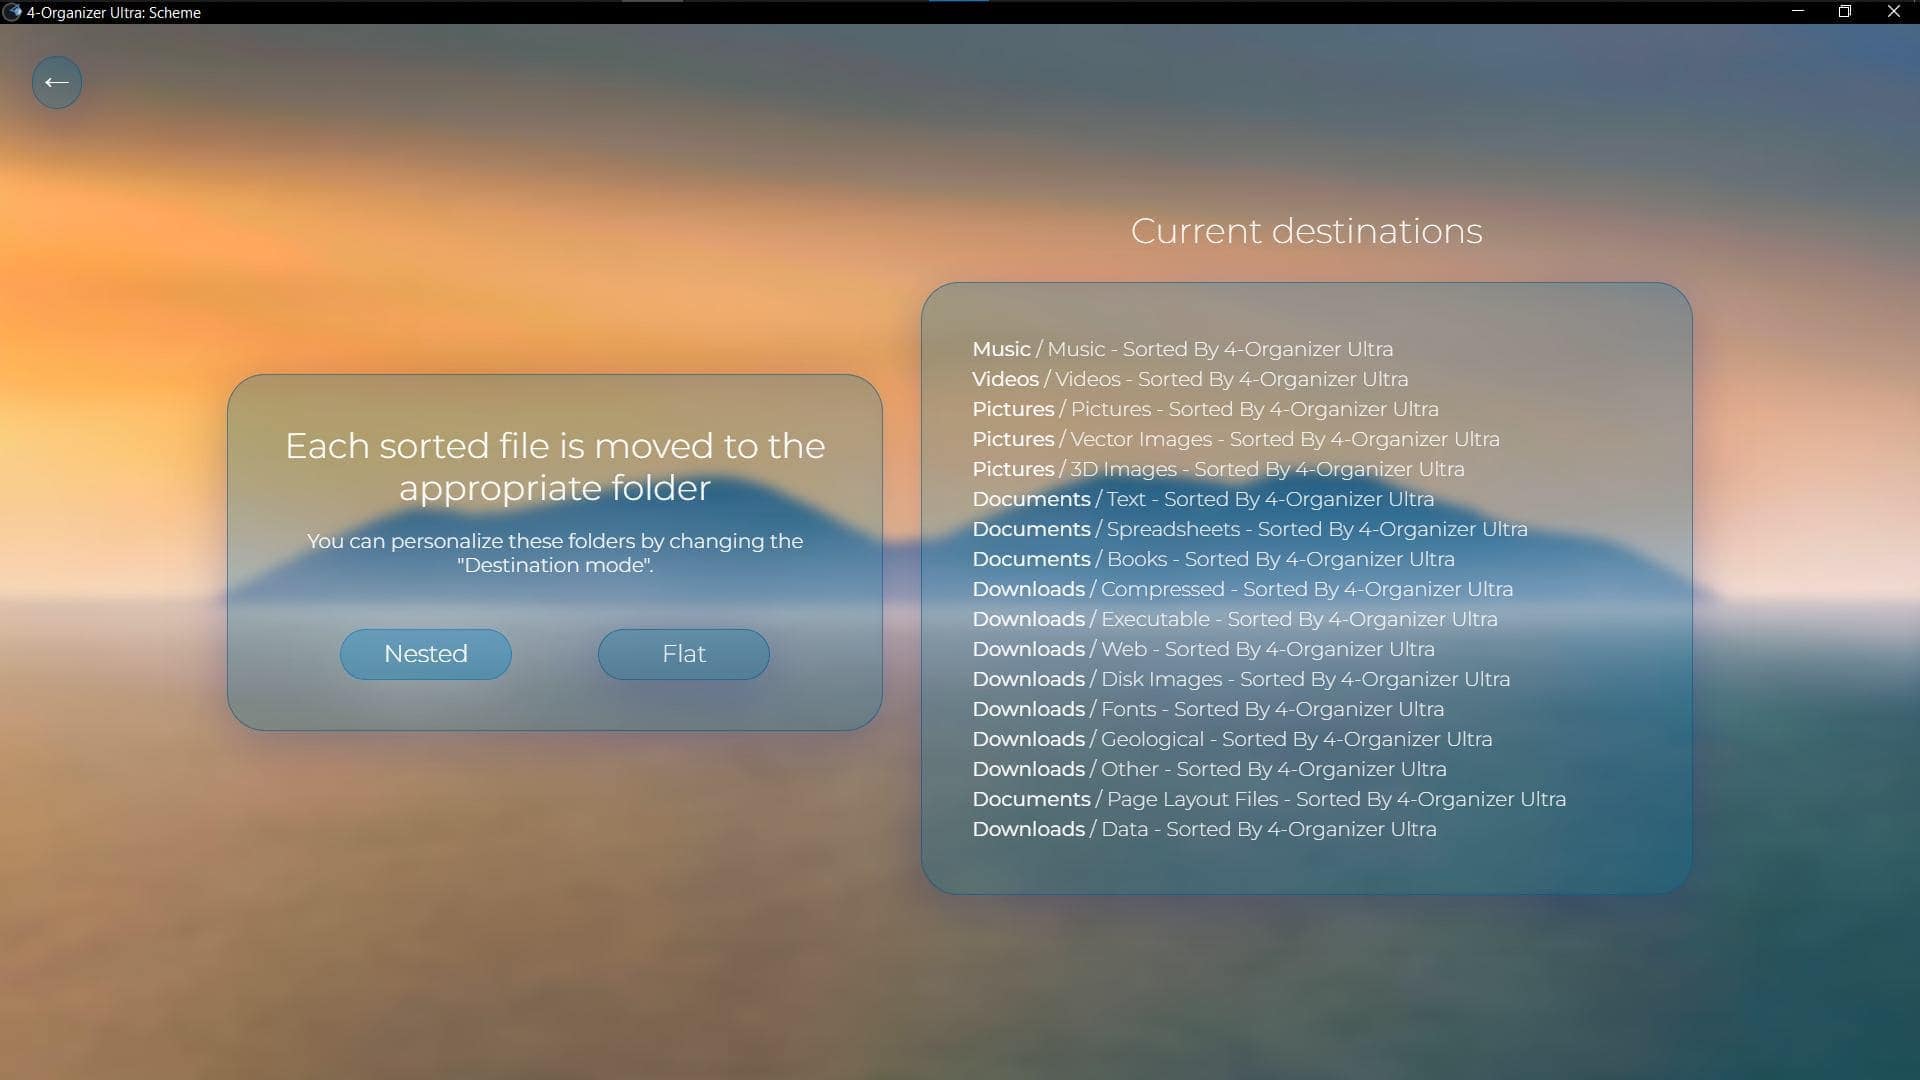
Depending on the number of files on your PC and, in general, your taste, you may want to change the sorting destinations - "Nested" or "Flat". The "Nested" Scheme (selected by default) is appropriate for most users who typically have many files of different types - consider the example below.
4-Organizer sorts the following three files:
"word_document.docx", "spreadsheet.xlsx", and "presentation.pptx".
When the "Nested" scheme is selected, 4-Organizer Ultra will move these files into three different folders, and the file tree will look like this:
... Documents \ Spreadsheets \ spreadsheet.xlsx
... Documents \ Text \ word_document.docx
... Documents \ Presentations \ presentation.pptx
At the same time, when the "Flat" sort scheme is selected, it will simply place all these files in the "Documents" folder:
... Documents \ "spreadsheet.xlsx", "word_document.docx", "presentation.pptx"
› Themes

4-Organizer Ultra includes the ability to change the interface using "themes" - you can change the look and feel of 4-Organizer according to your taste. Themes change the appearance of all windows of 4-Organizer and also the "splash screen" you see when the program starts.
Currently, there are 17 themes available - just click on the theme images in the window to preview them. The "Themes" window can be opened by using the pop-up menu on the main screen.
› License Information
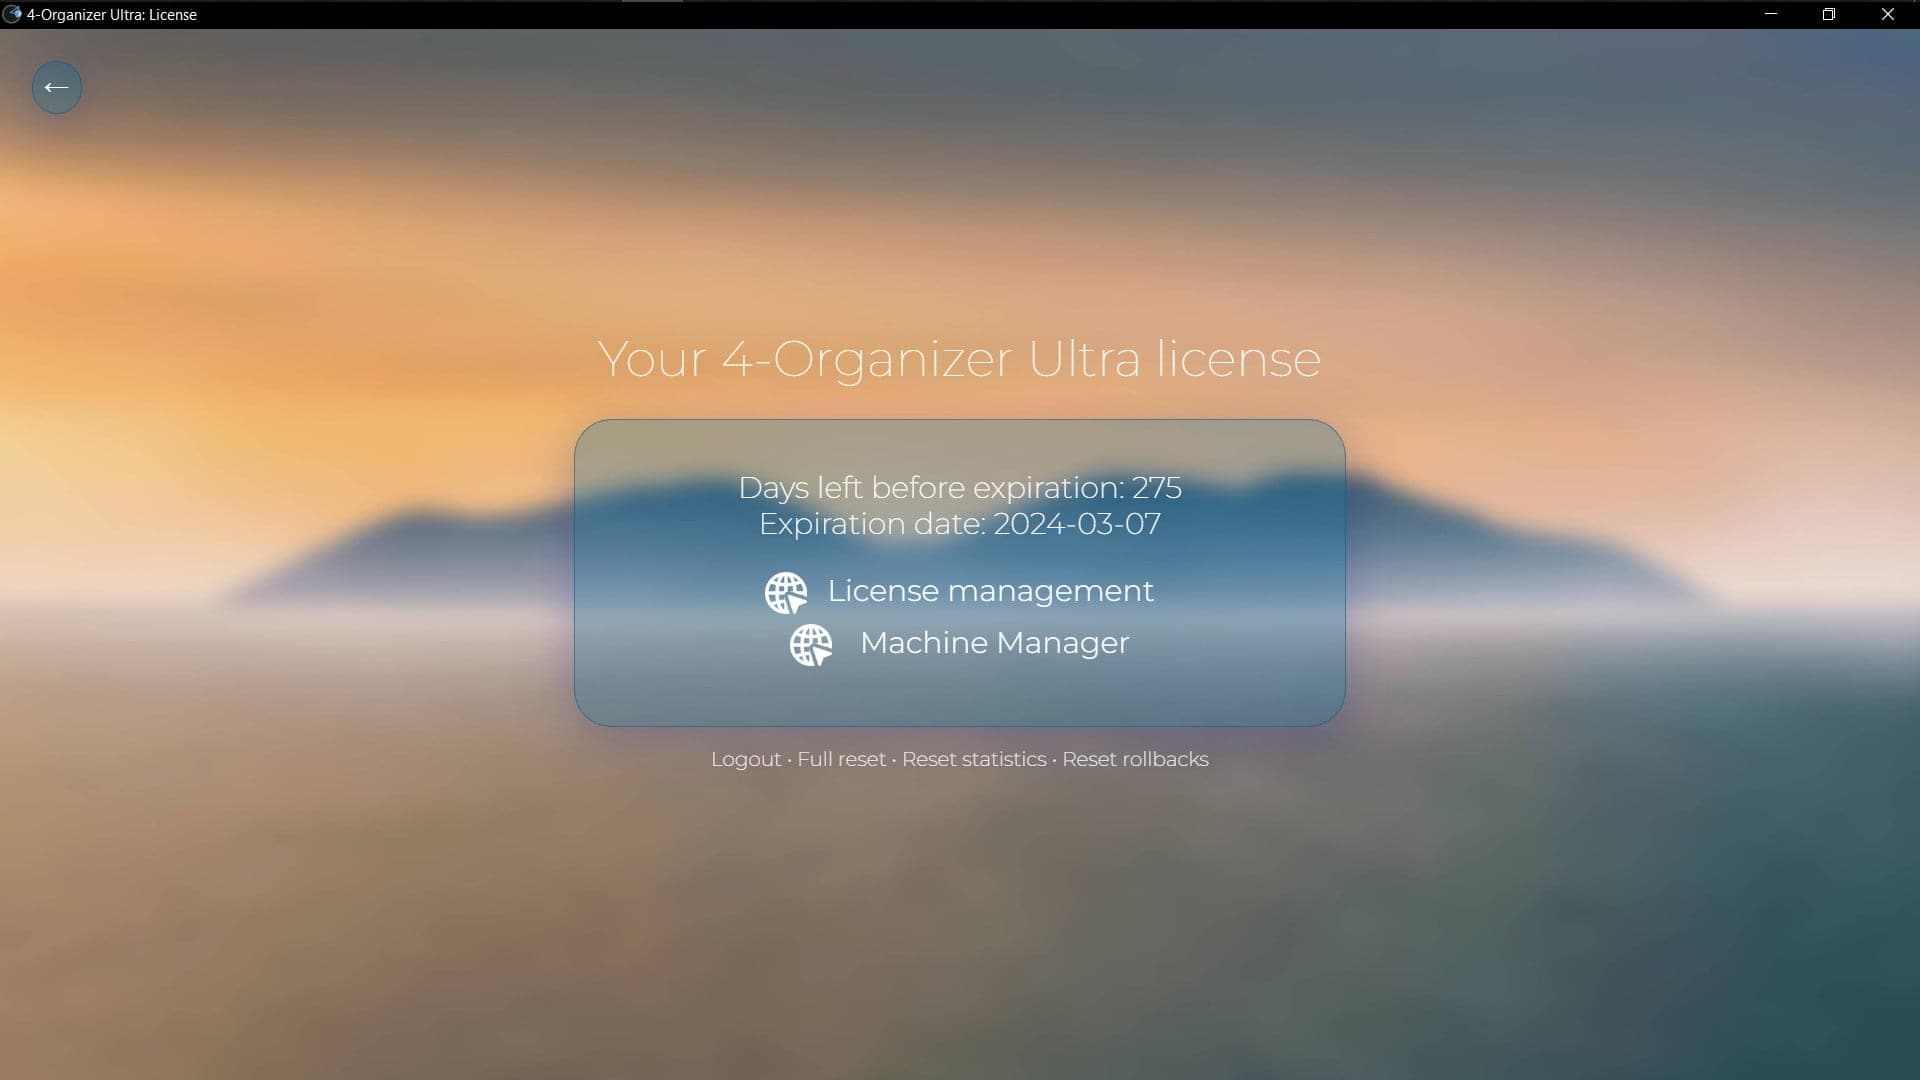
In this window, you can view the expiration date of your license, as well as access the Ambeteco Account Profile page and the "Machines Manager" tool.
Additionally, you can log out of your Ambeteco account or perform a reset of the Rollbacks, statistics, and all program settings.
› About window