4-Organizer Ultra Guide: How to automate the cleaning and organizing of your PC
Ambeteco product center


Warning: This article is a temporary draft. It may contain incorrect screenshots or inaccurate word choices. It will be replaced by a correct article in the soonest time: this is a temporary measure.
Your PC requires regular maintenance, and it's no secret. However, manually caring for your computer, cleaning, decluttering, or organizing it can quickly become a boring and repetitive task, which only takes valuable time that could have been spent on something more interesting and important than sorting or cleaning.
This is why 4-Organizer Ultra offers an innovative and outstanding technology Auto Scan AI, that provides fully automatic care for your PC, without any manual actions needed from you. Still, all people have different preferences and tastes — especially when it comes to their computers — so 4-Organizer Ultra offers easy configuration options to Auto Scan AI to make sure the automatic care meets your personal preferences and expectations.
This article will explain how you can configure Auto Scan AI, disable or enable it, and change integration settings with 4-Organizer AI Assistant.
What is Auto Scan AI
While other Windows apps remind you to perform cleaning, 4-Organizer Ultra uses advanced AI-powered technologies to provide fully automatic care of your PC, so you don't even need to think about it.
Reminding to clean can often be unproductive and useless. One of the most important philosophies of Ambeteco is that time is your most significant and valuable resource, and wasting it on tedious and repetitive tasks like tidying up, cleaning, or organizing files is not the best use of it. 4-Organizer Ultra saves your time for more important things by helping you keep your PC always in the best shape, and always ready for work.
How to configure Auto Scan AI in 3 easy steps
Just as with everything else in 4-Organizer Ultra — configuring Auto Scan AI is very easy. You simply need to follow these three steps:
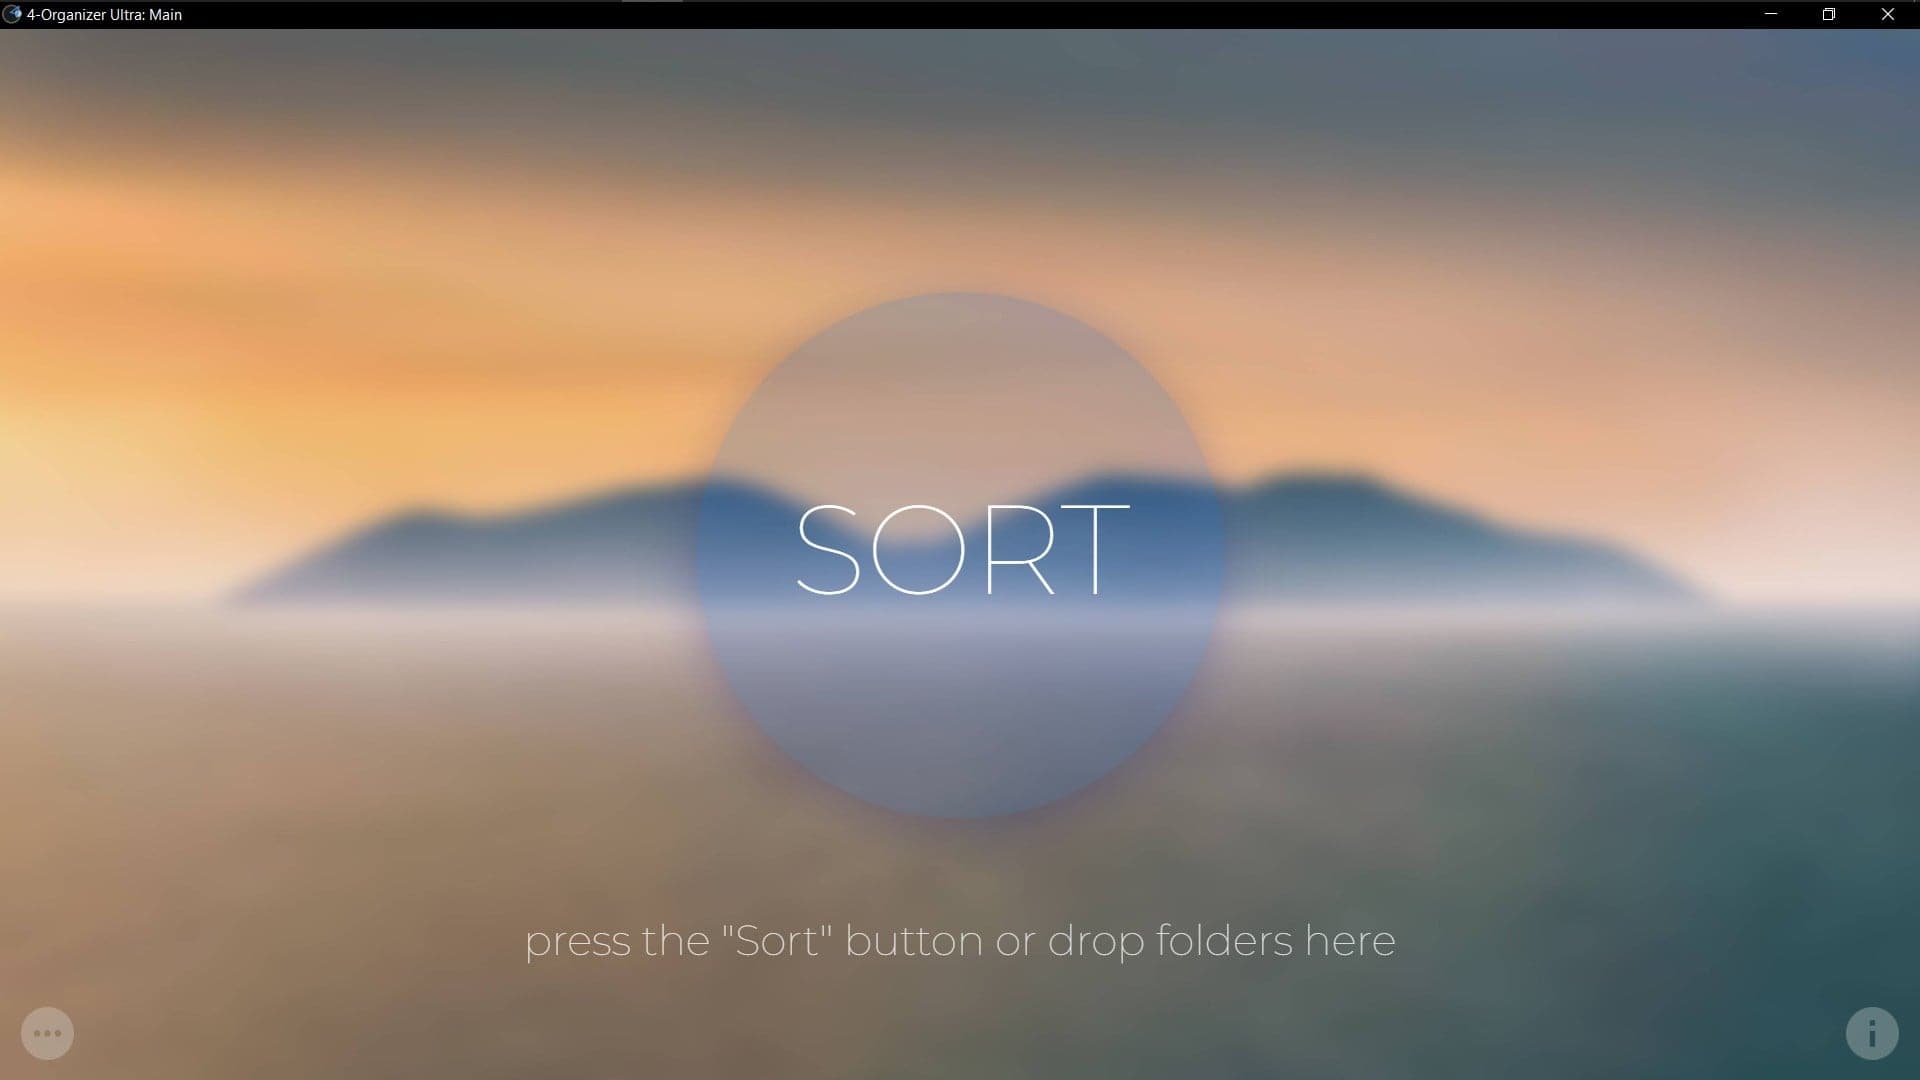
1. From the main window of 4-Organizer Ultra, press the “Sort” button.
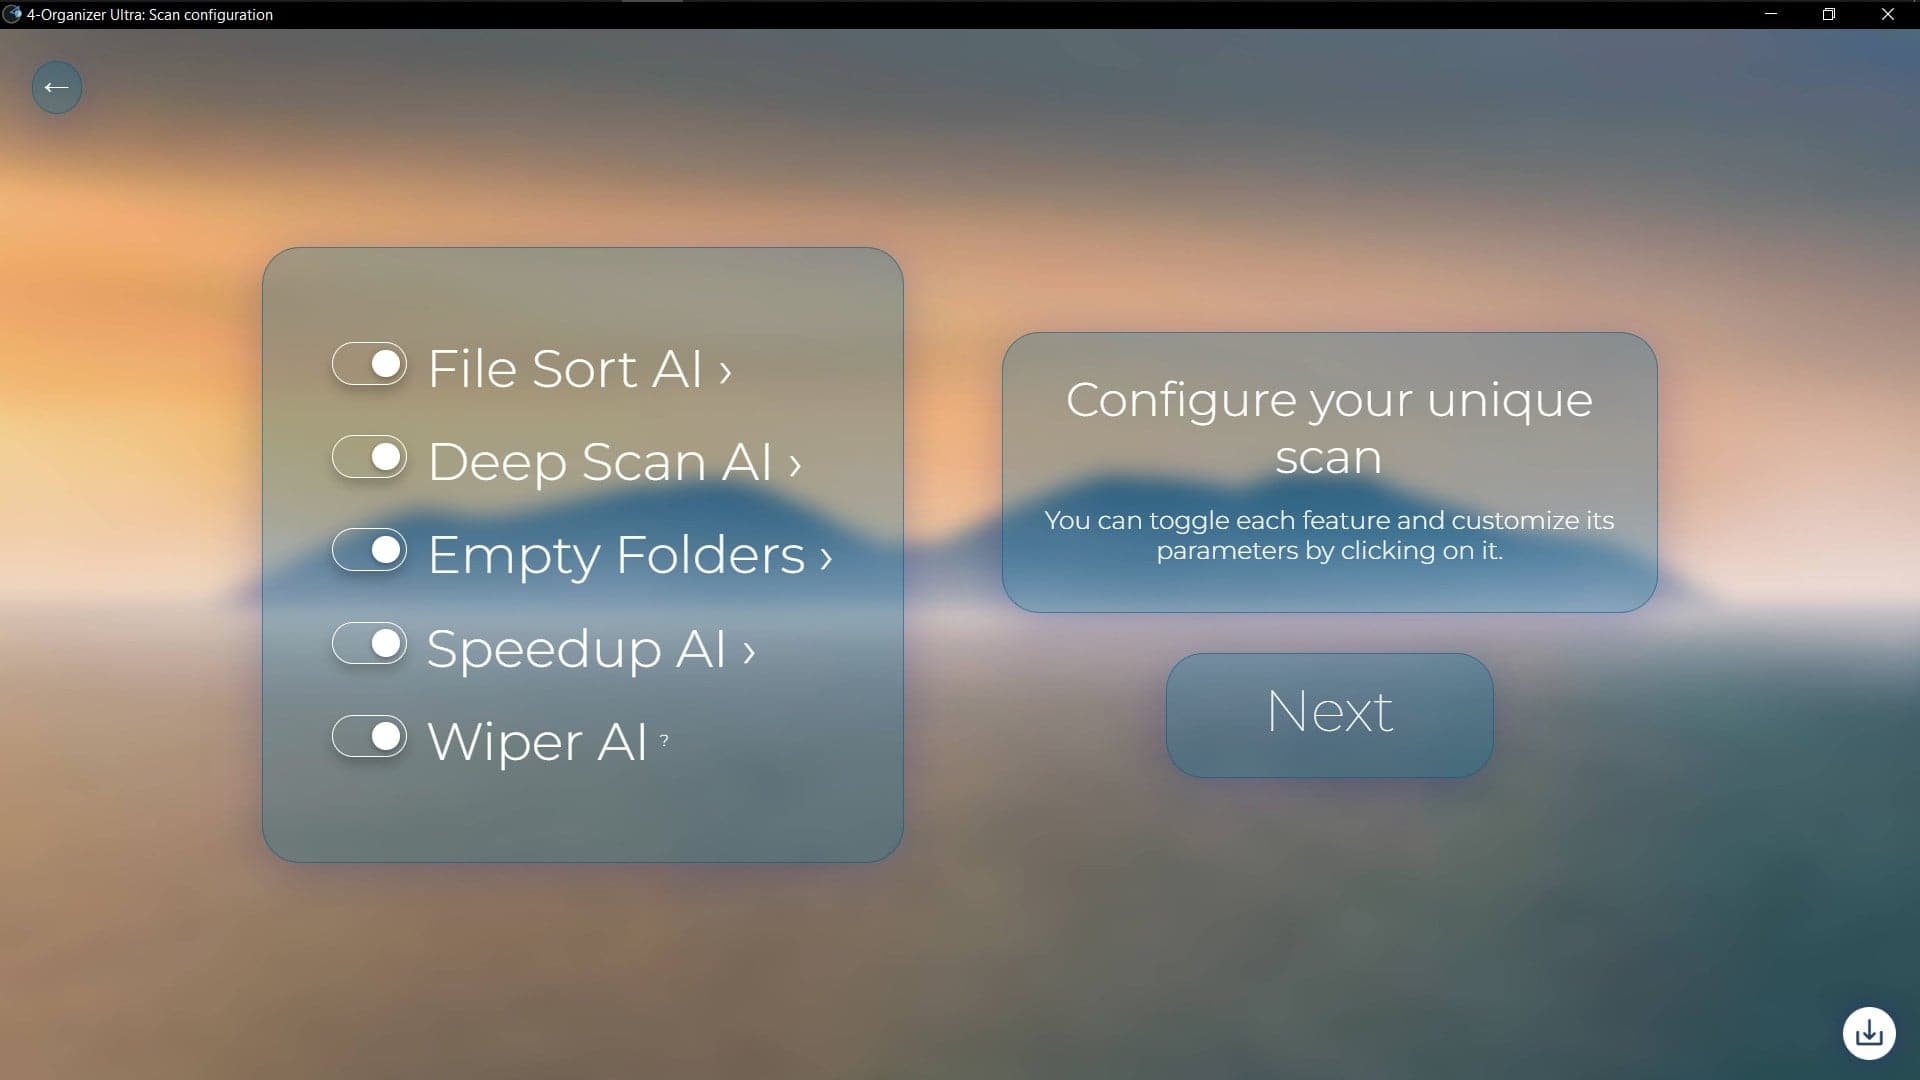
2. Configure everything as you wish — just as if you wanted to run a Unique Scan.
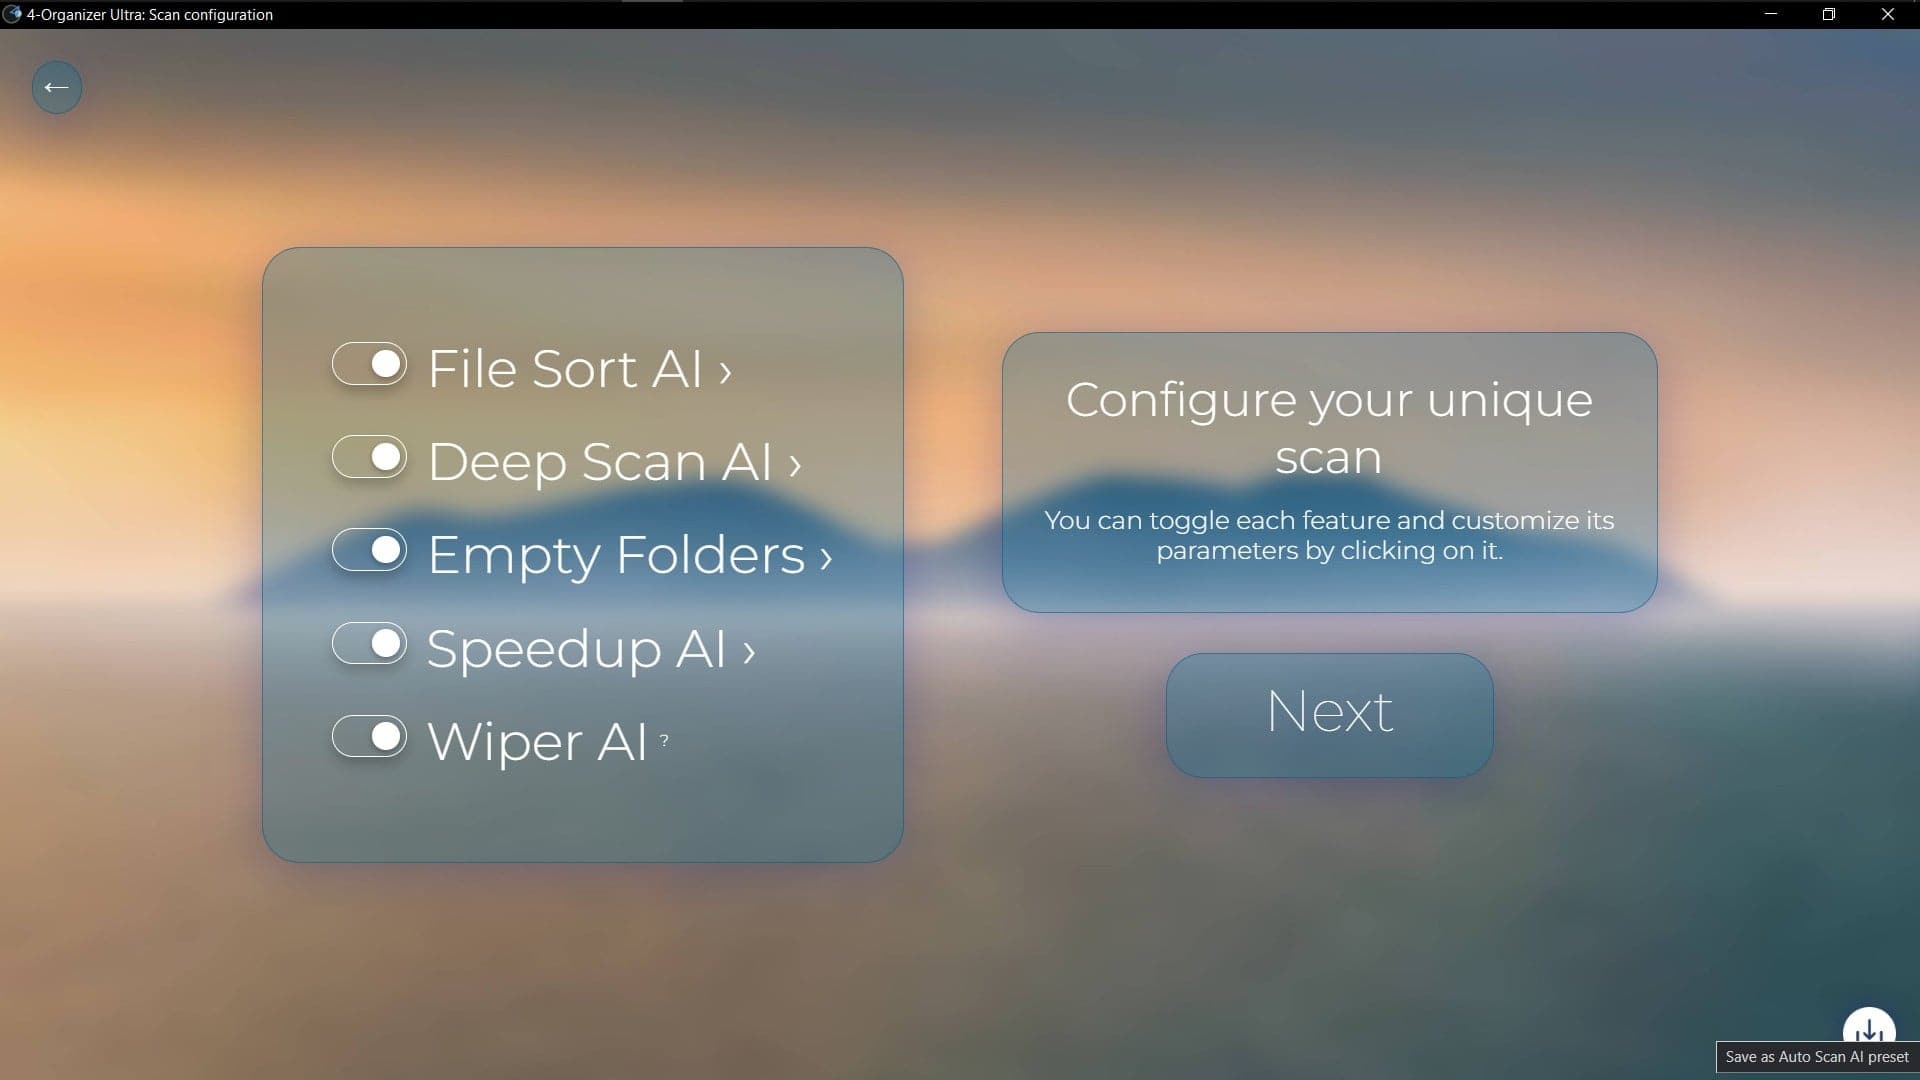
3. Press the “Save as Auto Scan AI preset” button, located in the bottom-right corner.
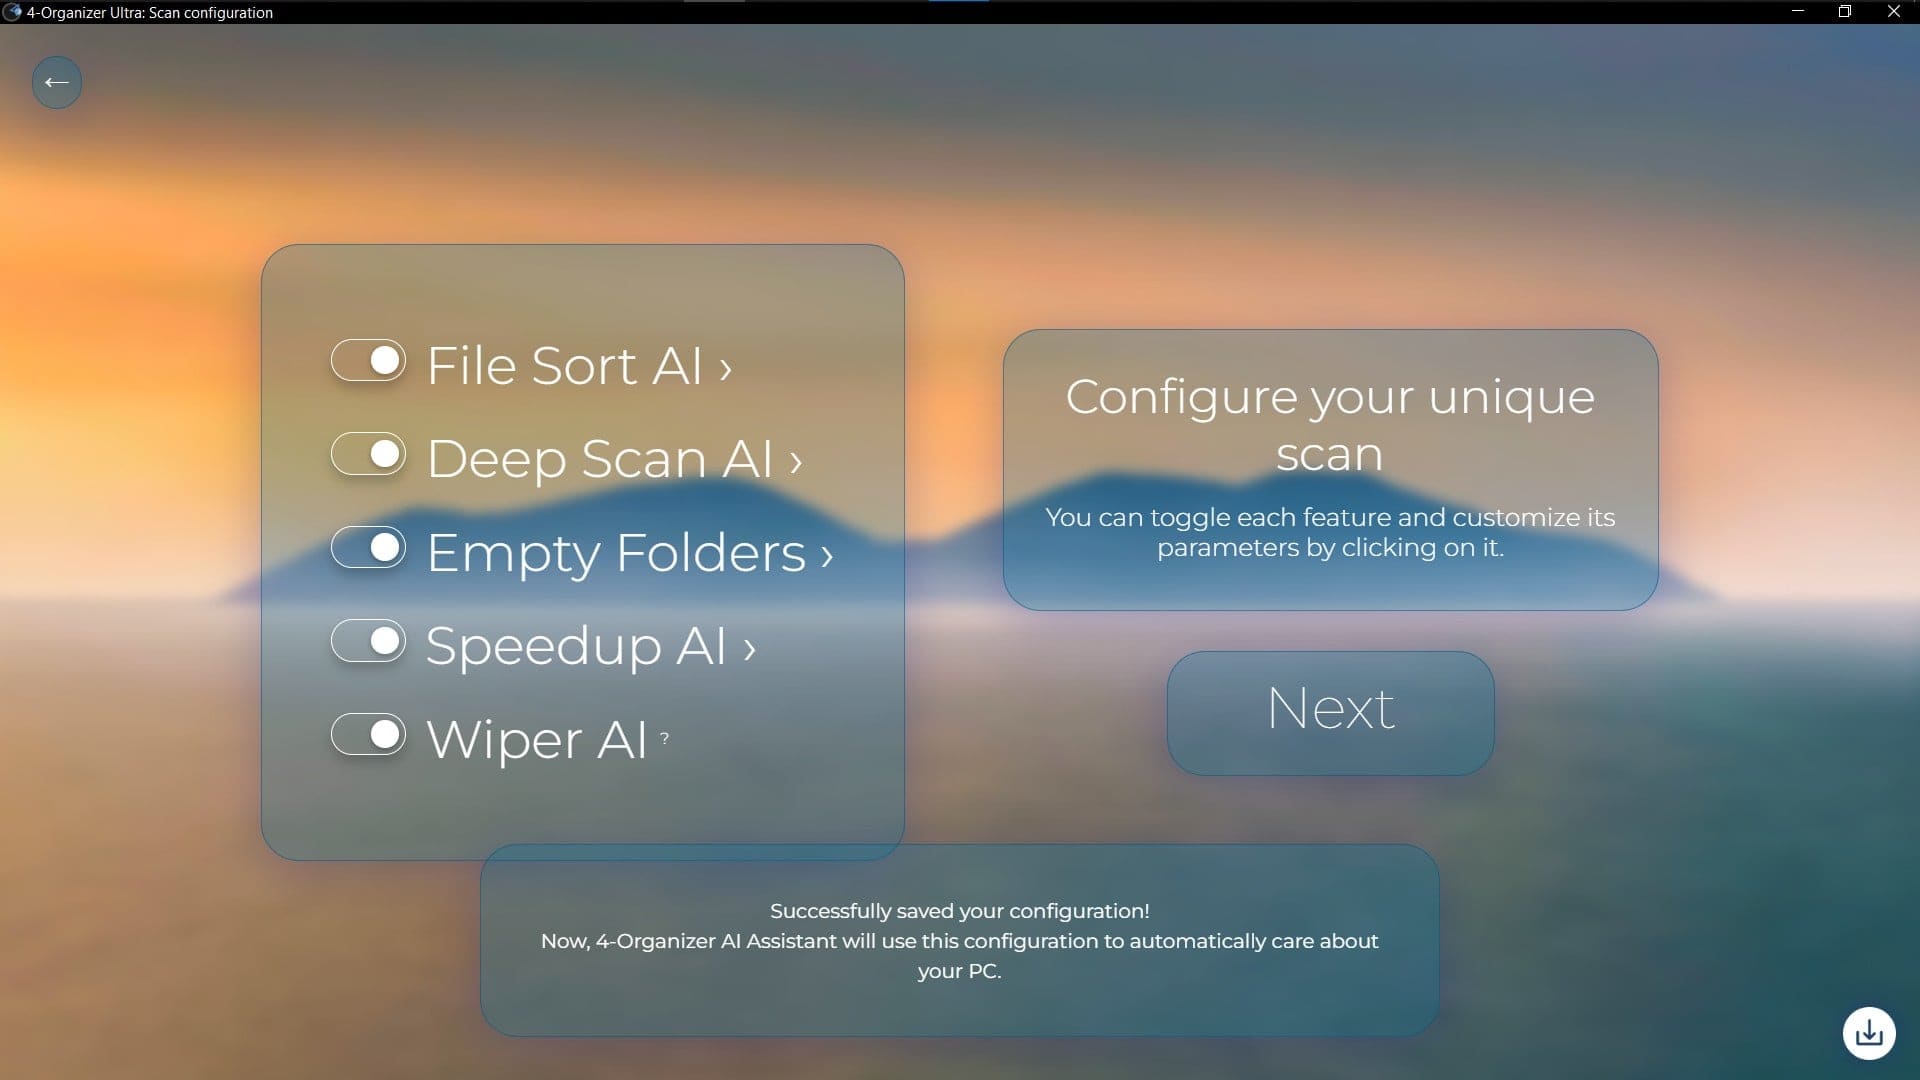
After completing these steps, you will see a notification that confirms that your new configuration was successfully saved and will be used by the Auto Scan AI in the future. Auto Scan AI will remember the settings you choose to maintain your PC. This way, you will get a more personalized experience and Auto Scan AI can take care of your PC more efficiently, according to your preferences.
How to enable or disable Auto Scan AI
You can use the Setup Tour to enable or disable Auto Scan AI, to do it, follow these easy steps:
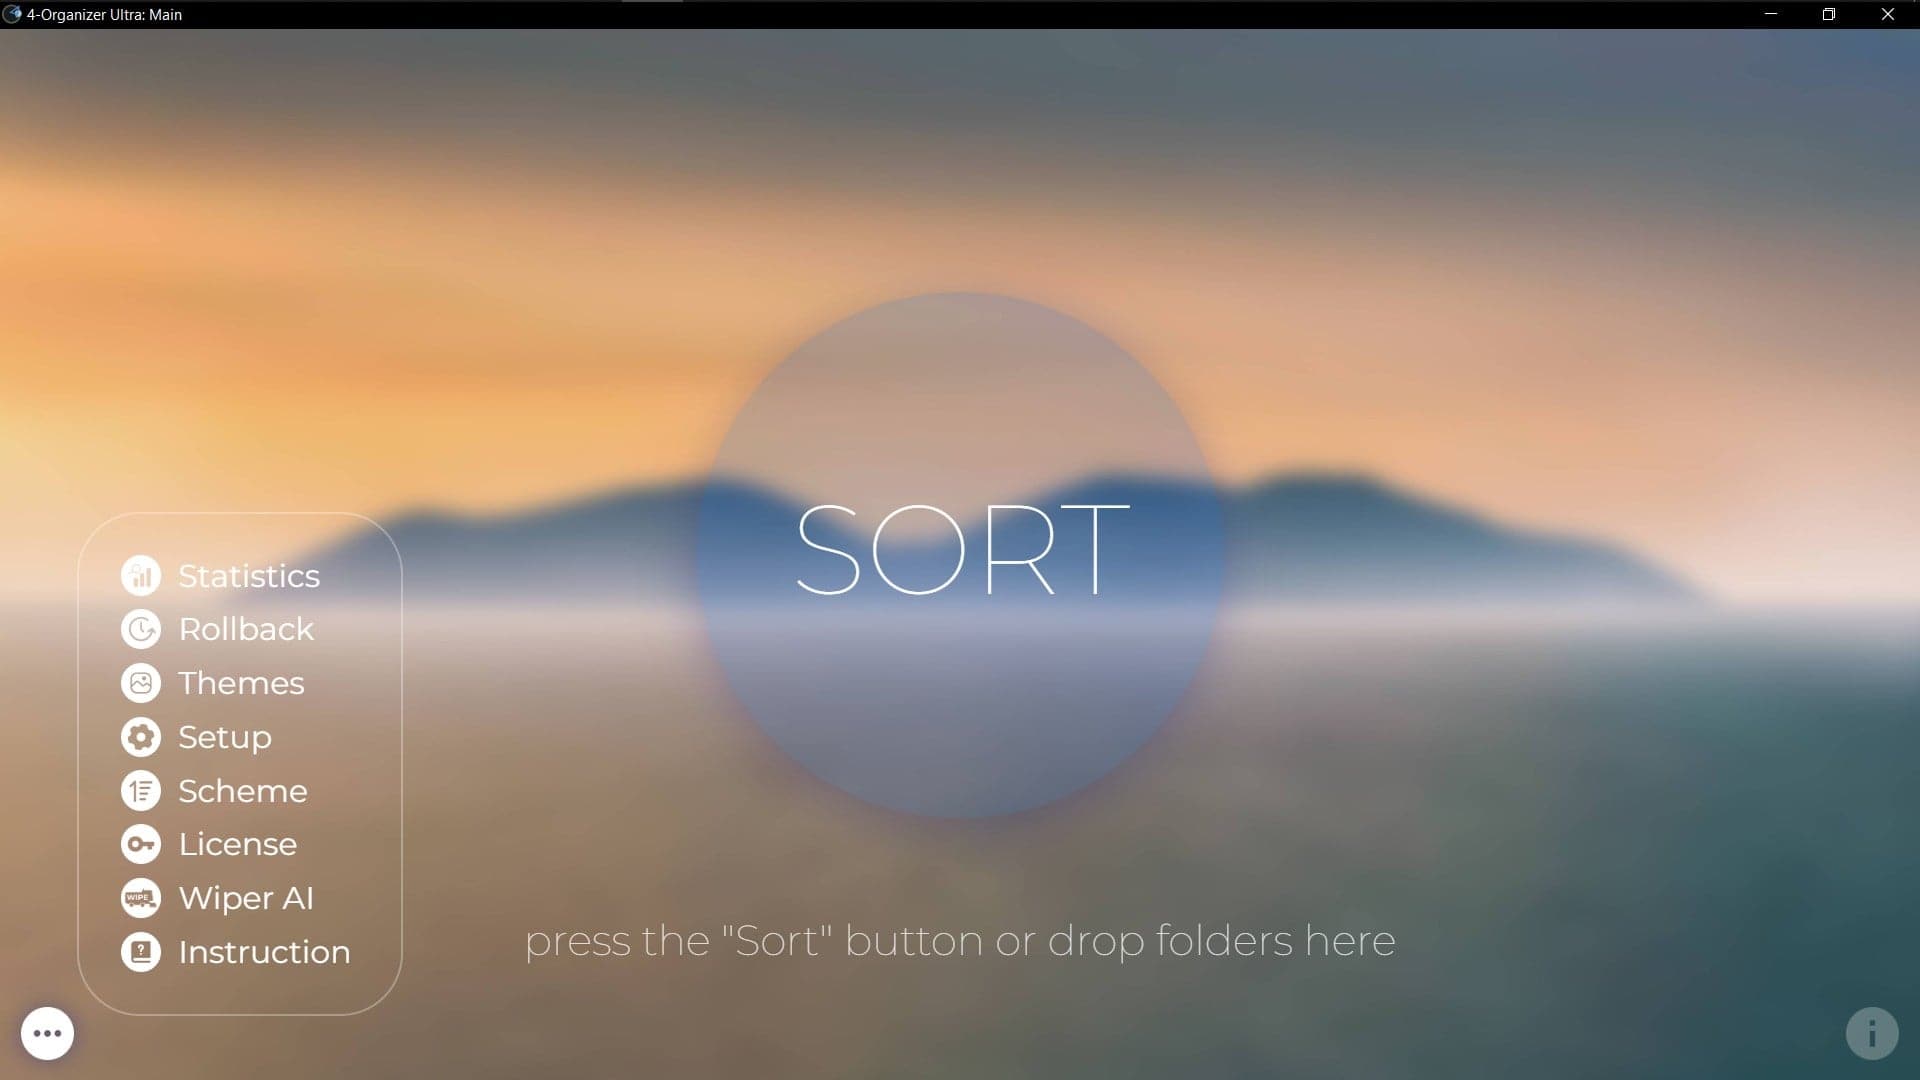
1. In the main window of 4-Organizer Ultra, press on the menu icon in the bottom-left corner. In the menu, click on the “Setup” button.
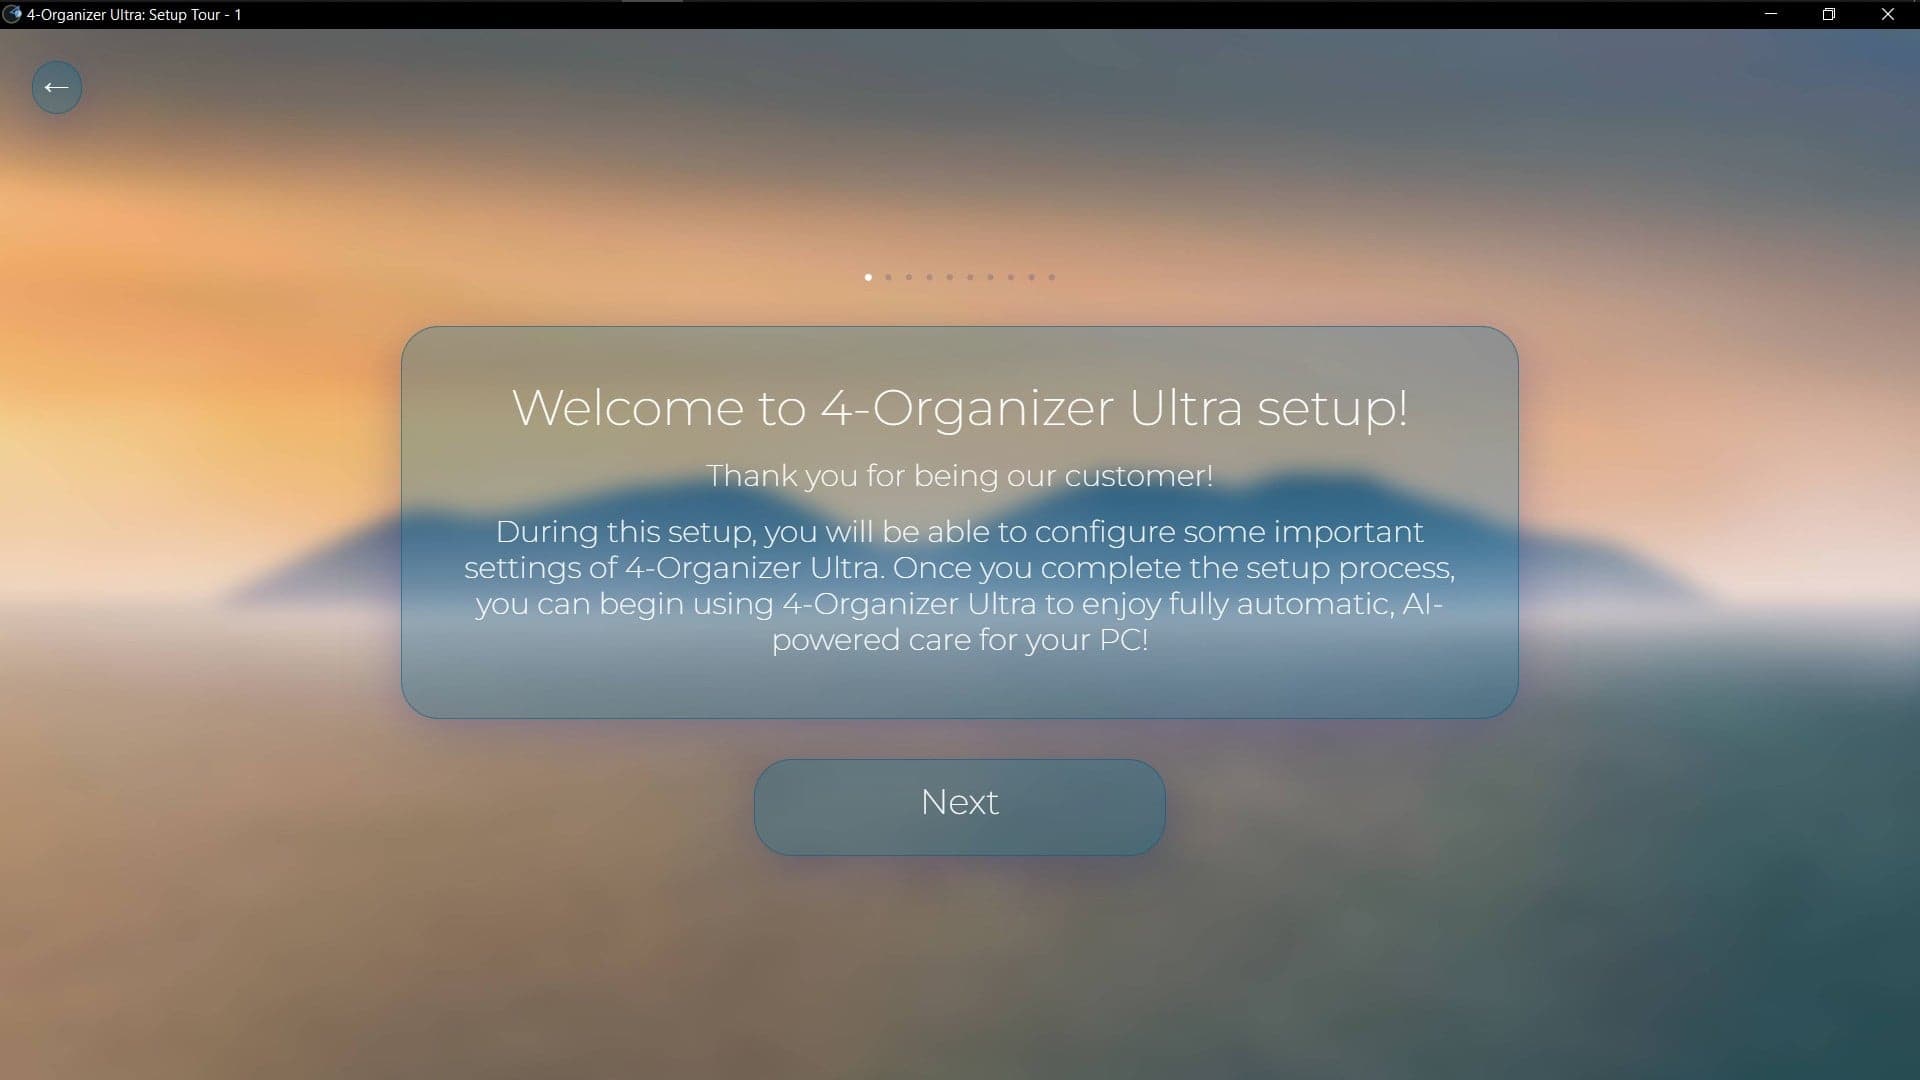
2. You can read through the Setup if you wish to, or simply open the 8th screen, where you can configure Auto Scan AI. You can click on the 8th dot to open it quickly.
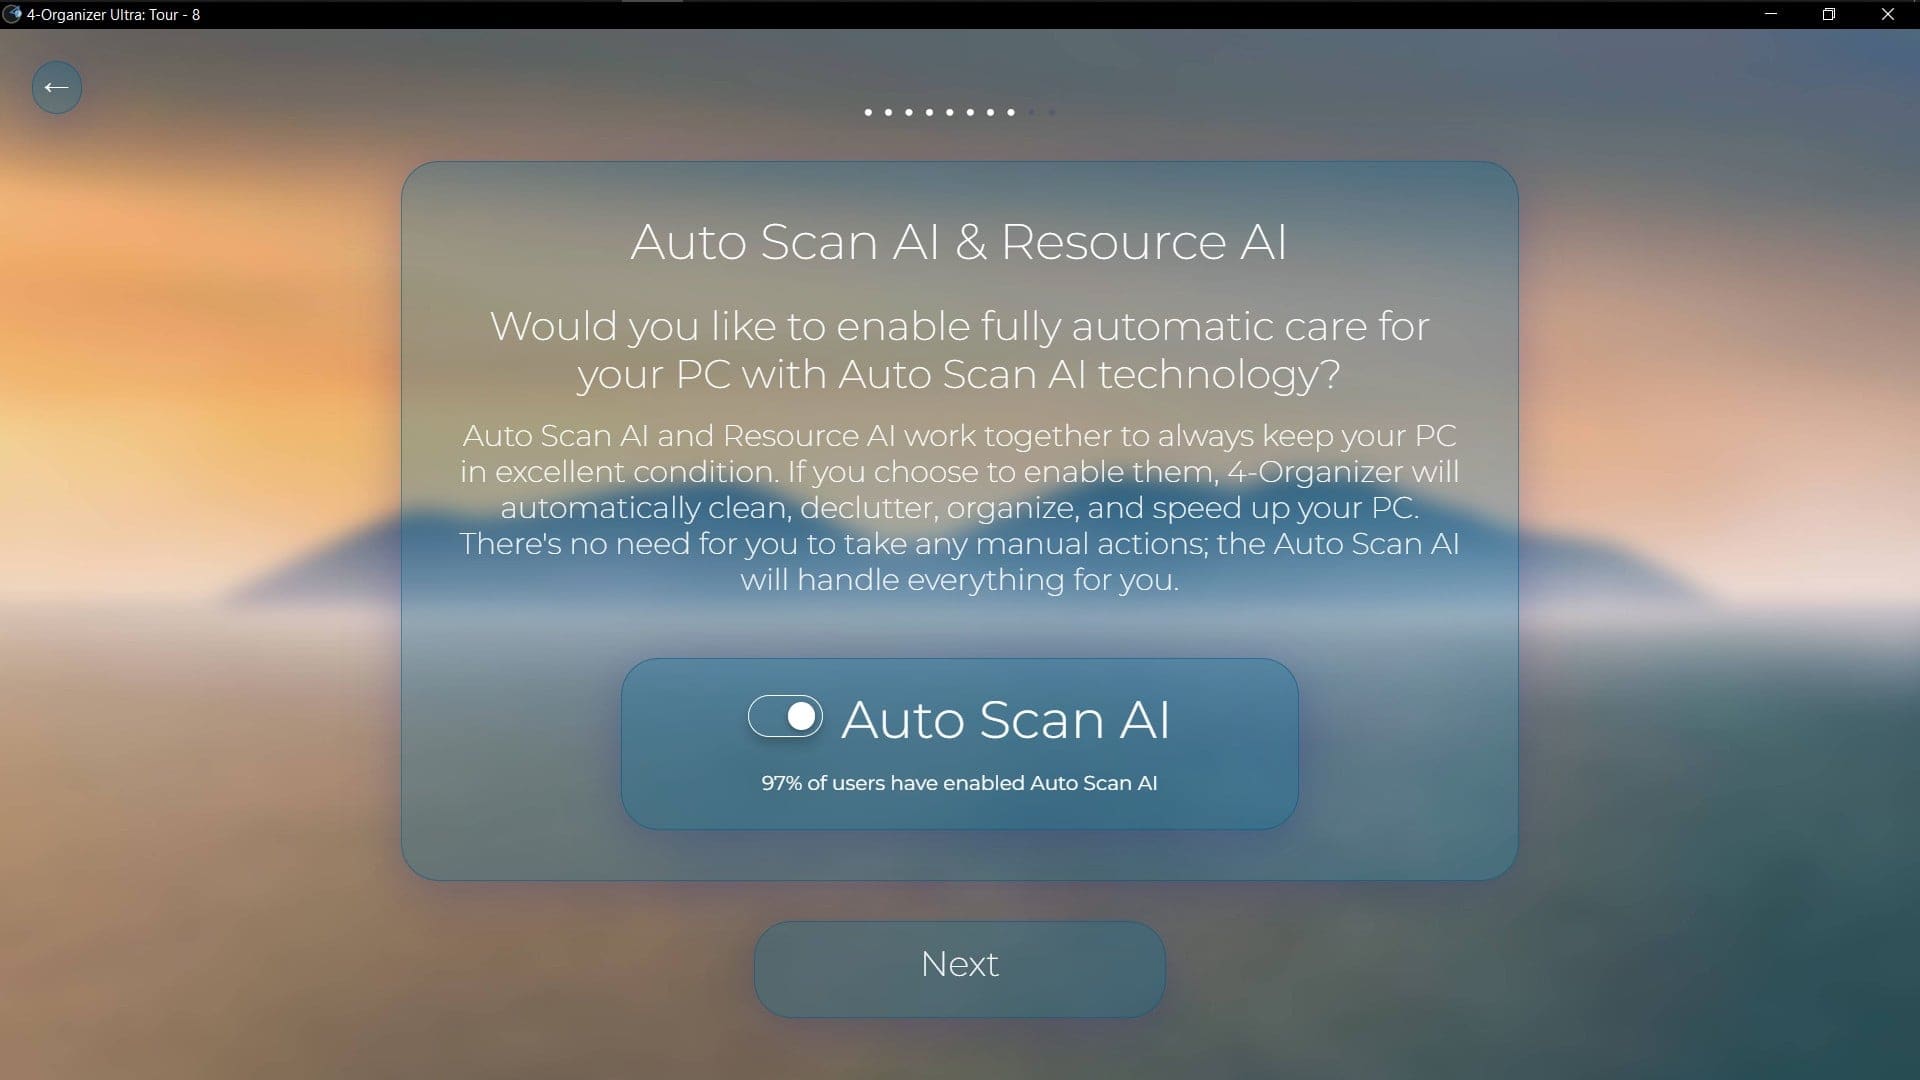
3. Use the toggle button to enable or disable Auto Scan AI.
Your settings are saved automatically, there is no need to save anything manually.
Learn more about the 4-Organizer Ultra here.


