Warning: This article is a temporary draft. It may contain incorrect screenshots or inaccurate word choices. It will be replaced by a correct article in the soonest time: this is a temporary measure.
If you are an active PC user, you probably have a lot of files on your computer that need to be organized. You may have documents, photos, videos, music, and other types of files that are scattered across different folders and locations. Sorting your files manually can be time-consuming and tedious, especially if you have a large number of files or complex folder structures.
Luckily, AI-powered software like 4-Organizer Ultra can make the process much simpler. In this article, we will show you how to easily sort any files by just dragging and dropping them in 4-Organizer Ultra.
With 4-Organizer Ultra’s Custom Scan mode, you can sort individual files, folders, or even entire file trees if necessary. This makes it easy to quickly sort files on your PC, or even flash drives or external drives.
How to use Custom Scan in 4-Organizer Ultra
Use Custom Scan to organize your files in a fast and convenient way. To learn how to use Custom Scan, you just need to follow the simple steps below. They will help you understand the different sorting modes offered by Custom Scan and choose the one that works best for you.
Step 1 — Select
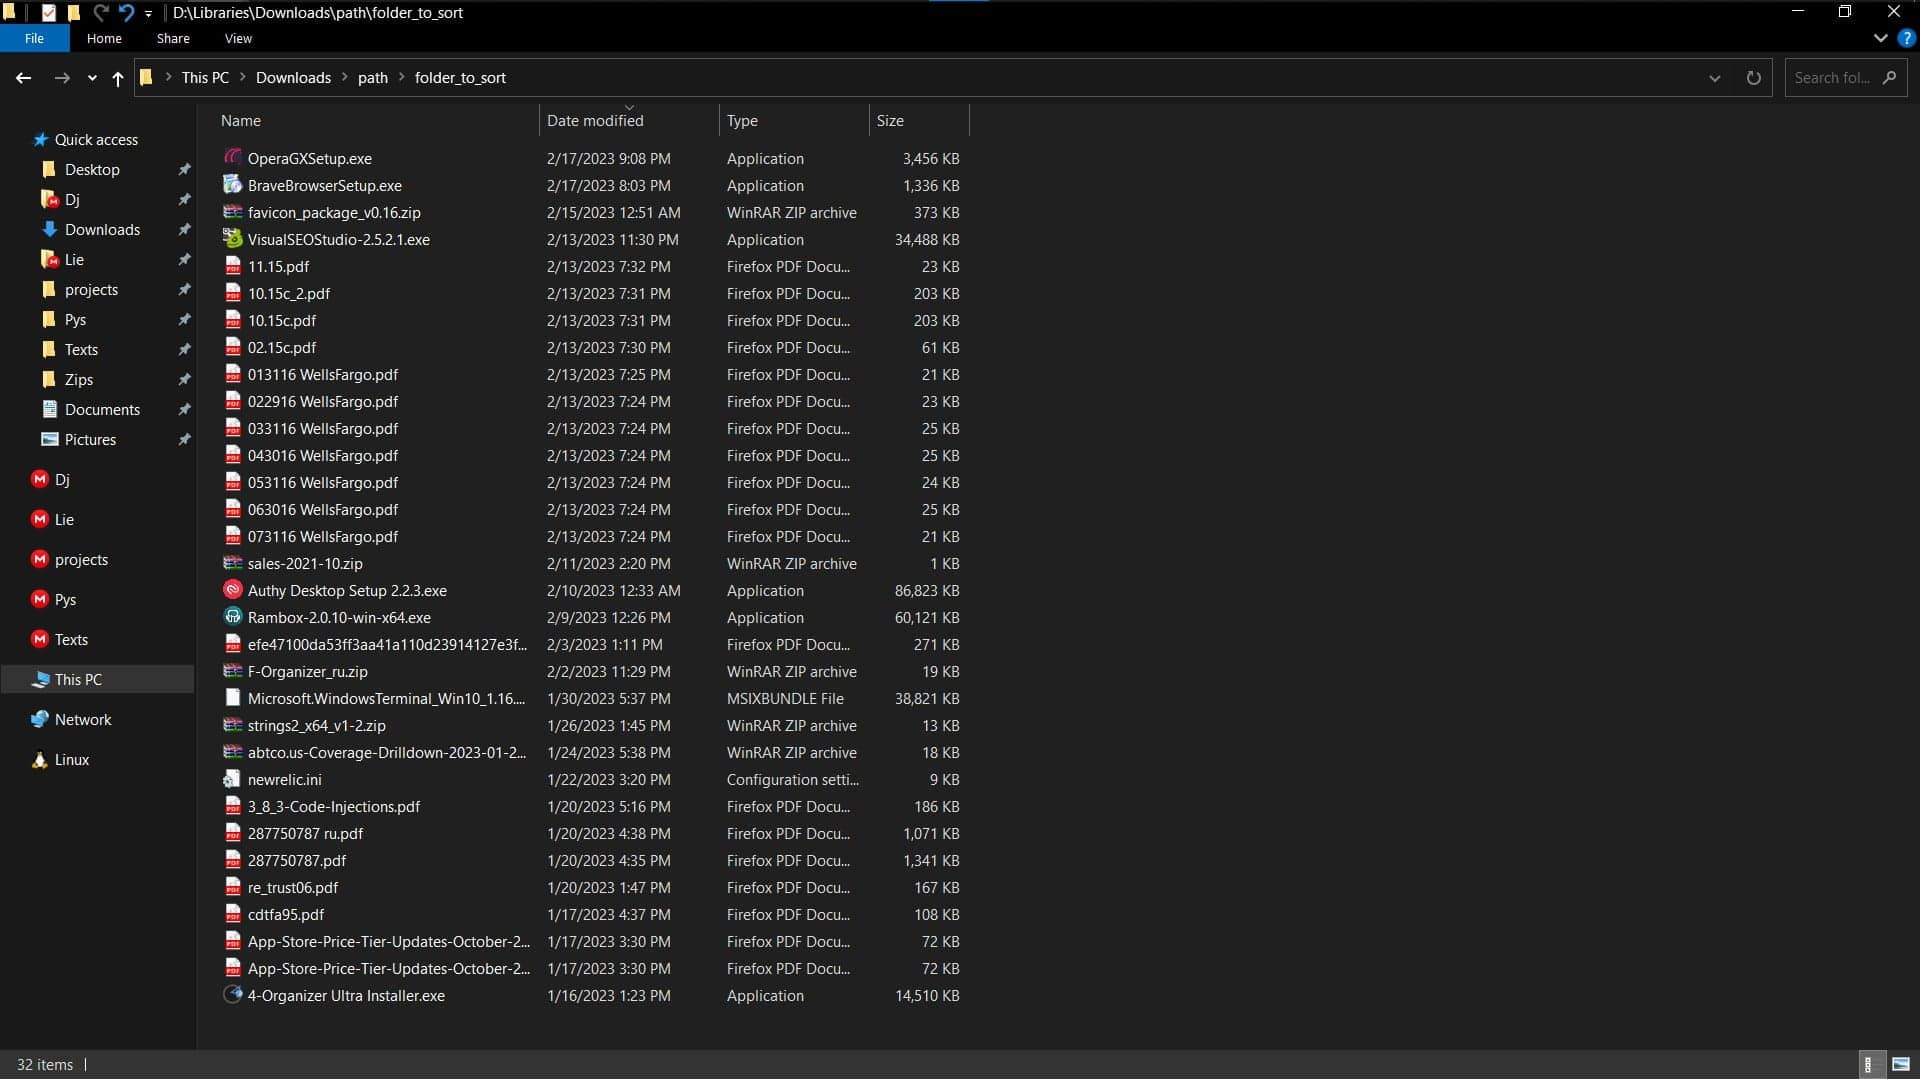
Select the files or folders that you wish to sort.
Step 2 — Drag-and-drop
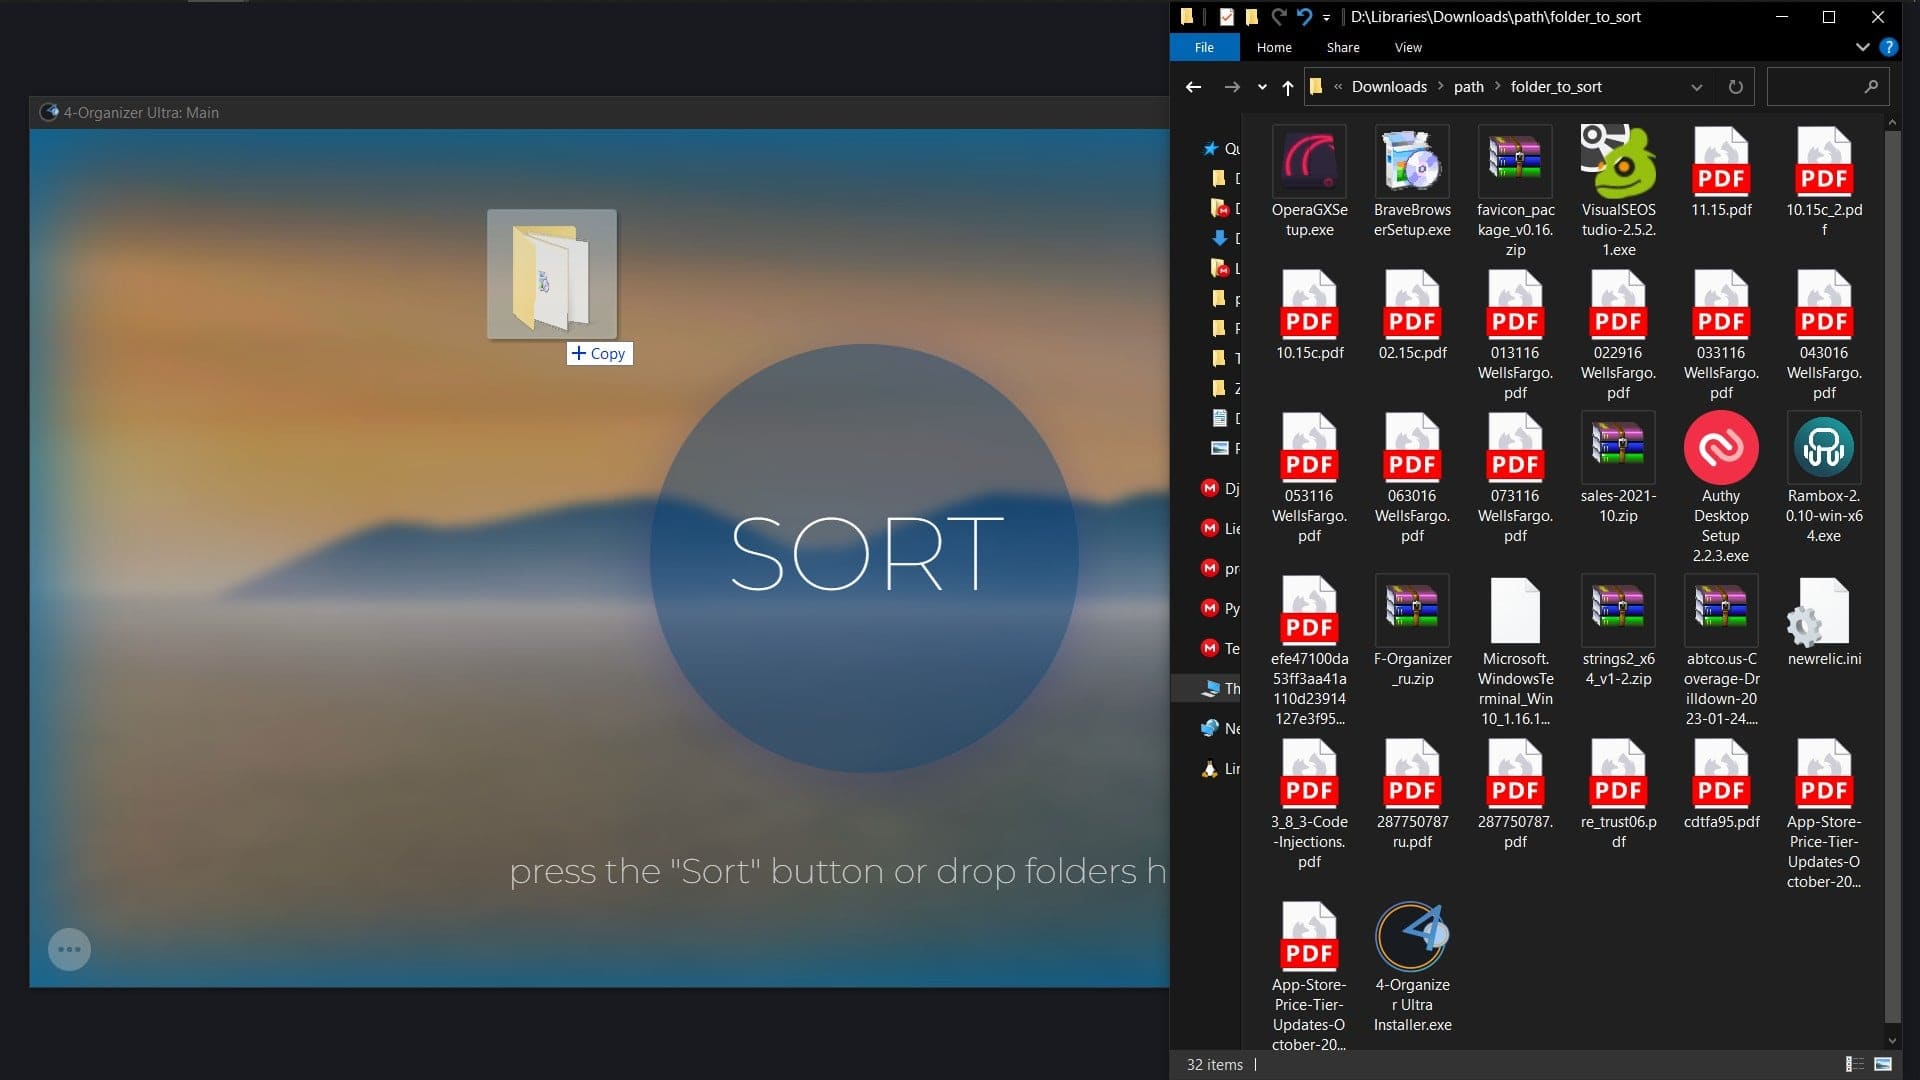
Drag and drop the files you selected onto the main window of 4-Organizer Ultra. 4-Organizer Ultra will display a beautiful animation with blue accents on its borders when you do it.
Step 3 — Configure and run
To customize the sorting process of your files, you can use different sorting modes. Sorting mode refers to the folders to which the files will be moved. Custom Scan offers two sorting modes.
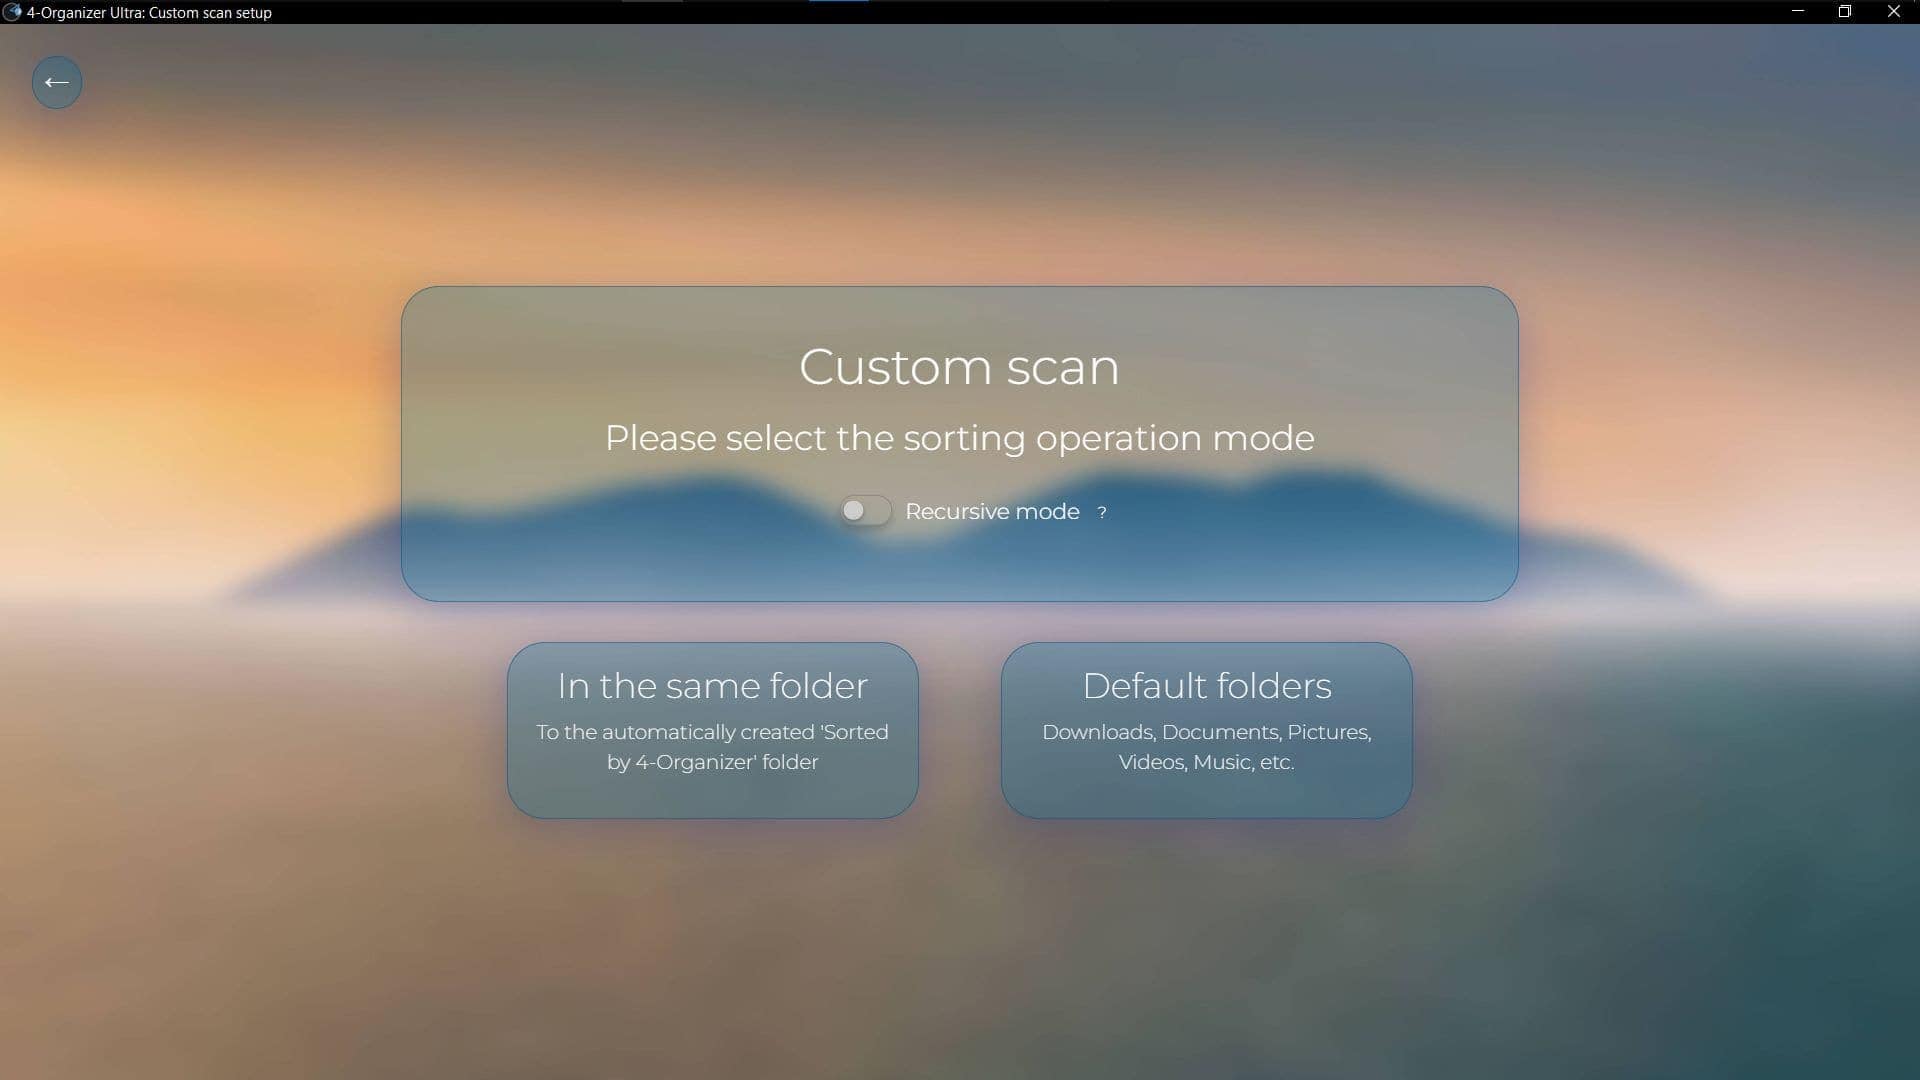
The first sorting mode is called “Default folders”. This option will sort files you have drag-and-dropped into your PC’s default library folders, such as Documents, Music, Movies, Downloads, or Pictures. It’s a quick way to declutter your PC.
The second sorting mode is called “In the same folder”. This option will sort files in-place, right in the folder you drag and drop them into. This mode is especially useful for organizing flash drives, external devices, or independent folders.
With Custom Scan, you can also choose to enable a “recursive” mode: The “recursive” mode is a feature in Custom Scan that allows you to sort all the files in the directory tree, for example in a folder that contains many other folders, which may contain more folders and files, and so on. This feature should be used with caution, as it sorts all the files in the entire file tree. It is disabled by default, as it is primarily designed for more advanced use cases. Still, the recursive mode is a powerful feature of 4-Organizer Ultra that deserves its own guide: you can learn more about it by reading our 1-minute guide dedicated to it.
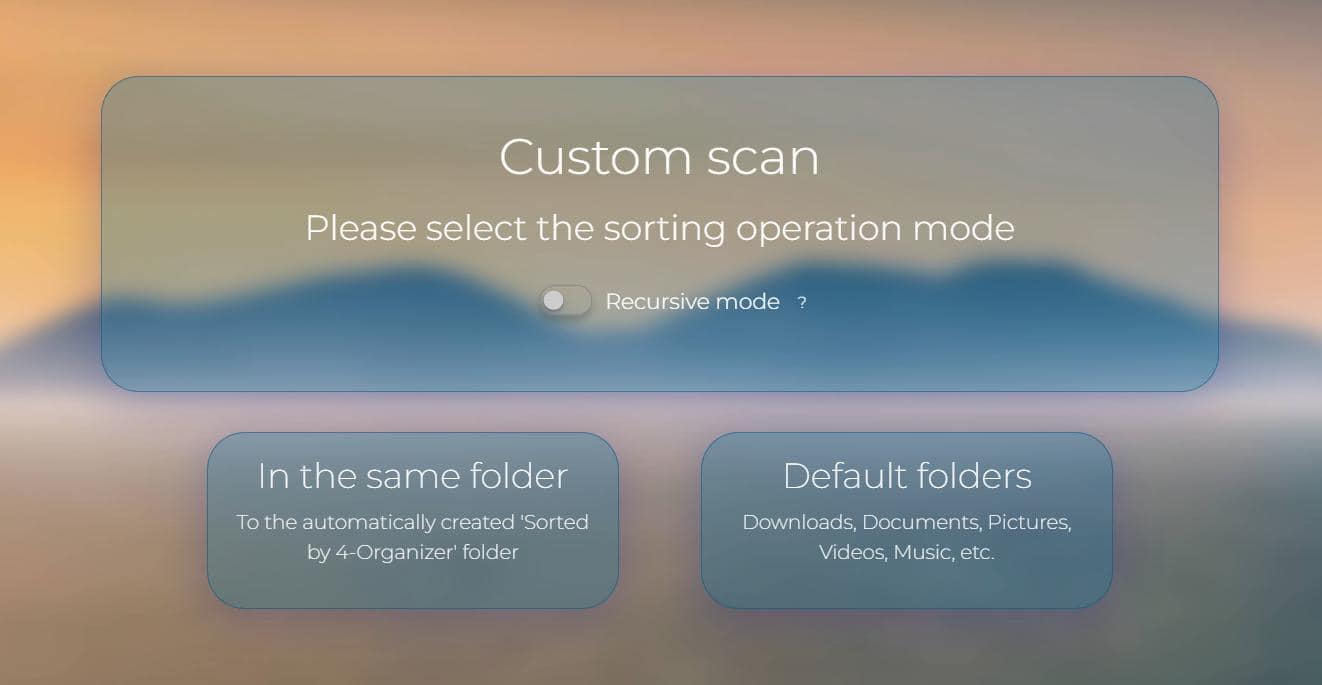
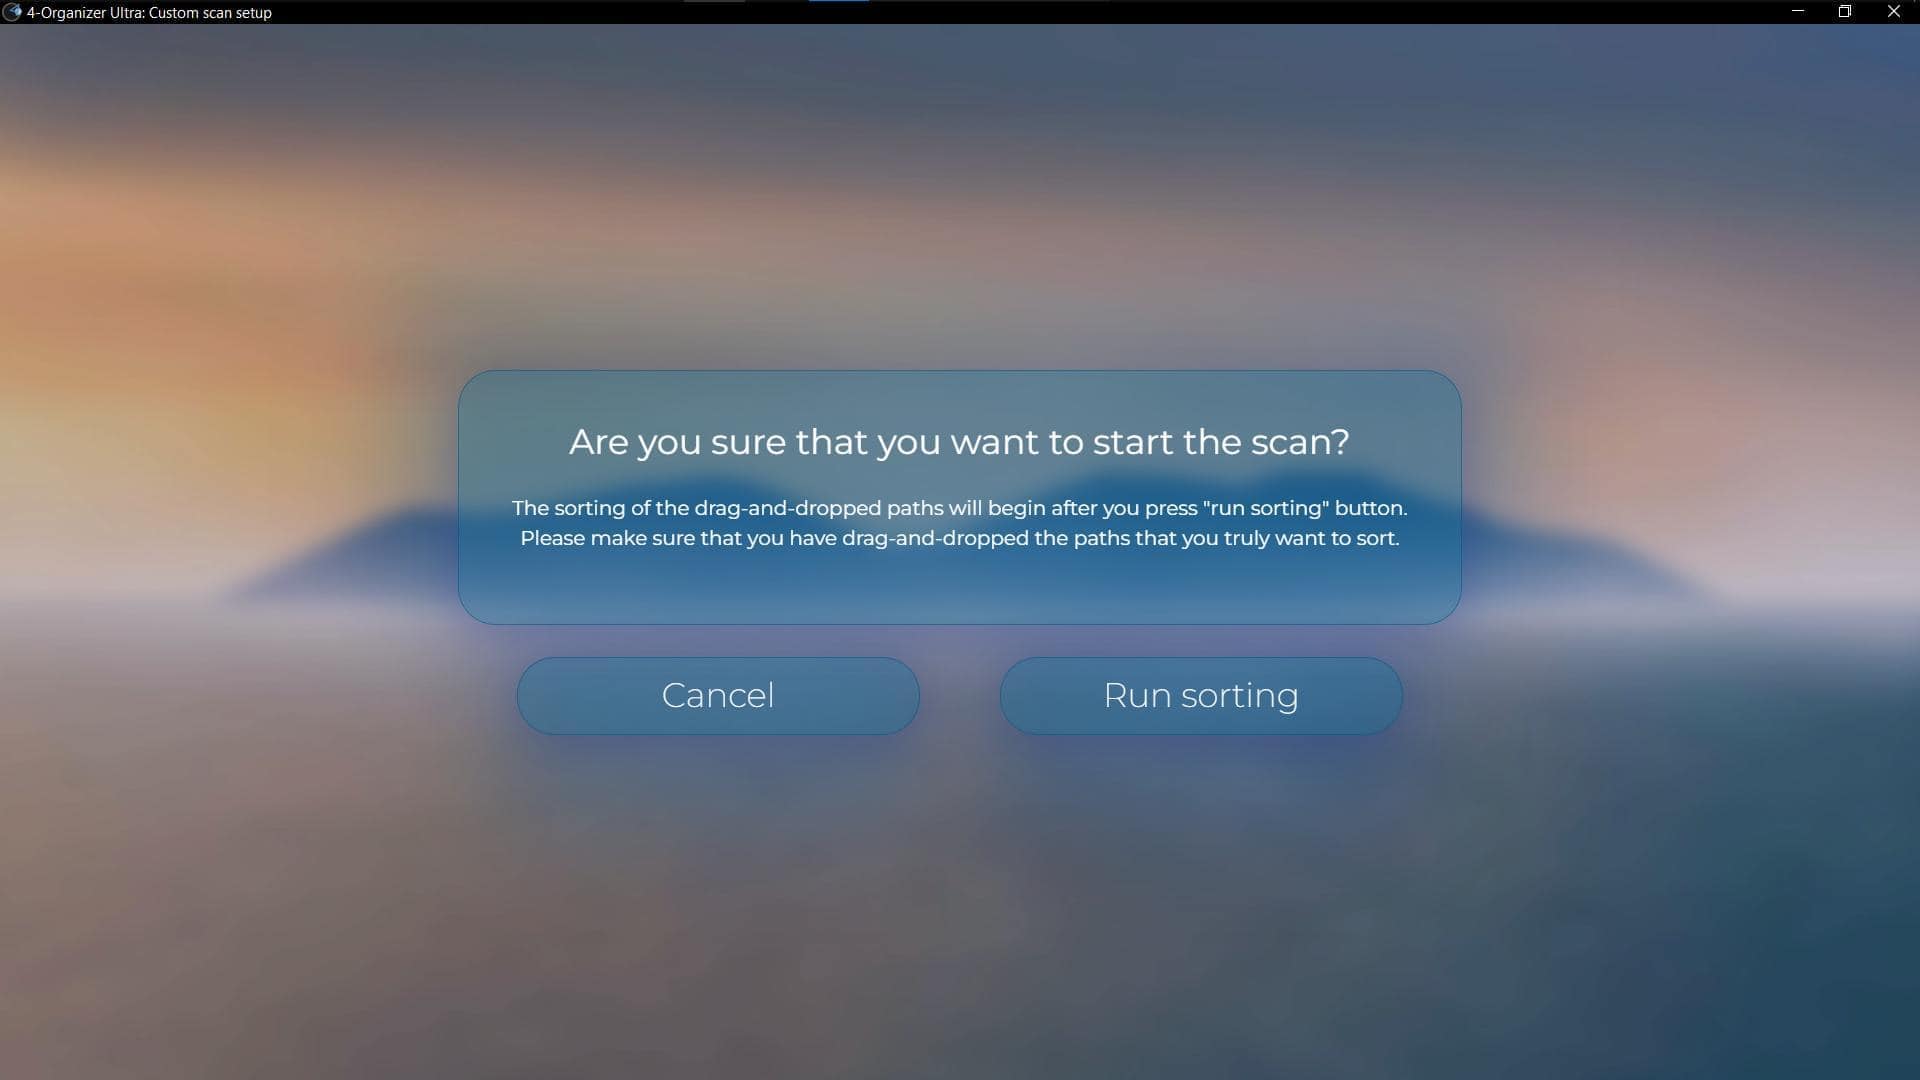
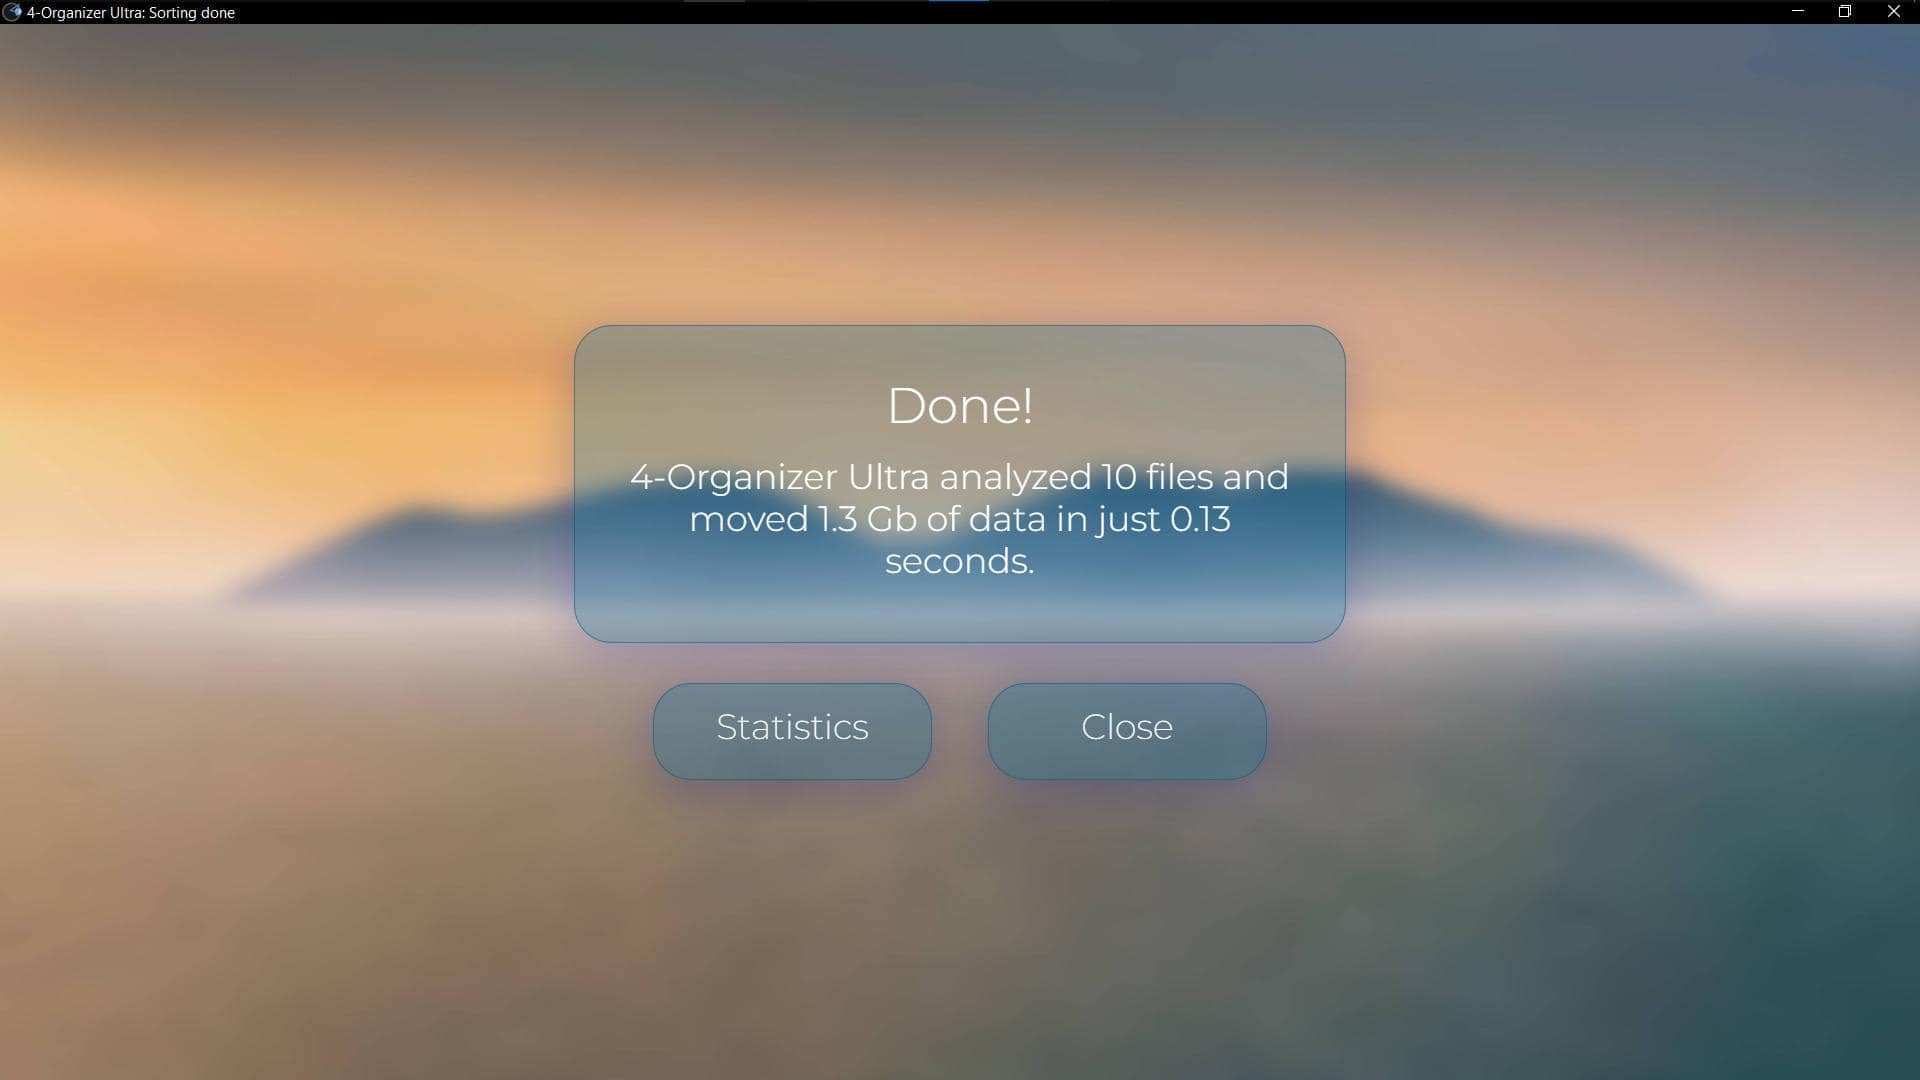
When you have decided which sorting mode to use, click on the corresponding button and a confirmation dialogue will appear asking you to confirm your choice. Once you confirm, 4-Organizer Ultra will begin sorting your files. After the scan is complete, you will see a “scan done” window with details about the sorted files including the amount, size, and time.
You can try experimenting with the sorting modes to gain a better understanding of how they work. If you accidentally sort something and want to undo it, you can use 4-Organizer Ultra’s powerful “Rollbacks” feature to revert to any previous sorting of your files. To learn more about this feature, check out our 1-minute guide on Rollbacks (that will be published soon!), which is essentially a “Ctrl-Z” function in 4-Organizer Ultra.
In conclusion, utilizing the Custom Scan mode in 4-Organizer Ultra makes sorting files on your PC a breeze. By using a simple drag and drop action, you can organize your files in either Default folders, which moves the files to the appropriate library folders on your PC, or In the same folder, which instantly sorts them in-place. The Custom Scan mode offers a simple and effective way to quickly and conveniently organize your files and folders. Take advantage of this functionality today and see for yourself how 4-Organizer Ultra can help you maintain a clean, optimized, and organized PC.
Take your PC organization to the next level with 4-Organizer Ultra. Try out its powerful features today and see for yourself how it can help keep your PC optimized and clutter-free. Learn more about 4-Organizer Ultra here.


